
This article will guide you how to install XPEnology DSM 7.2 using a new loader called RR (Redpill Recovery) Loader. The installation process is almost the same as when using ARC Loader, with only a few steps different when configuring the boot loader.
I. Download ARC Loader and create USB Bootloader
Go here to find the latest RR Loader download: https://github.com/RROrg/rr/releases/tag/24.7.2. Current version is 24.7.2.
Download file rr-24.7.2.img.zip to computer and unzip.
Plug the USB Flash Drive (minimum capacity 4GB and recommended USB 3.0) into the computer, then use Rufus to create Bootloader from file rr.img.
II. Bootloader Configuration
Plug the USB Bootloader into the Server that needs to install Xpenology. Start and select boot from USB. Wait a few minutes, you will see the screen display the message as below
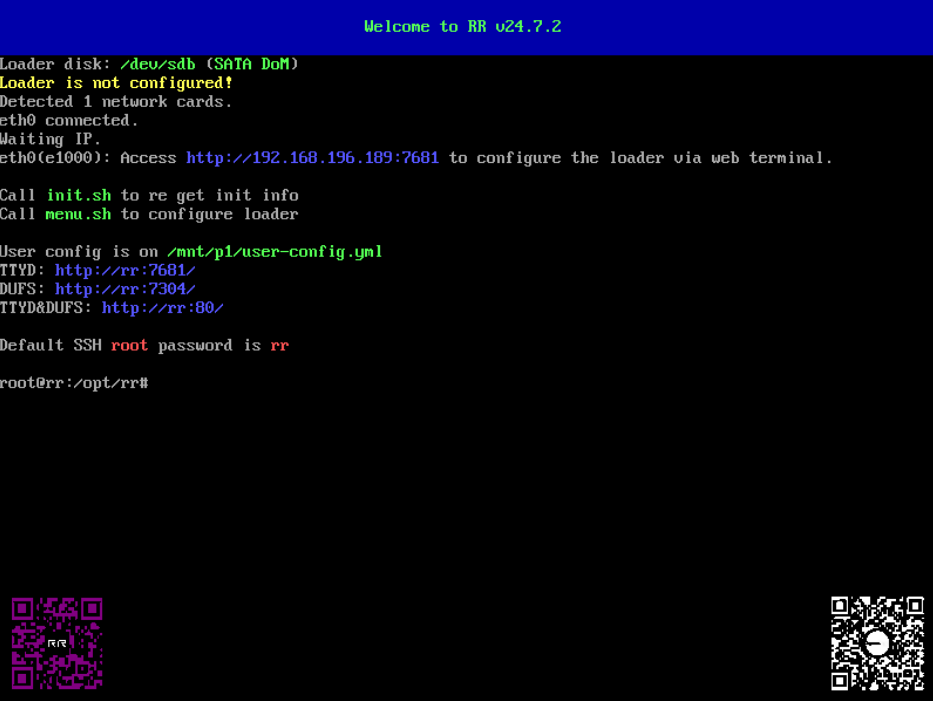
You can configure directly on the server or SSH or use a web browser on another computer and access the address. http://<IP>:7681I use browser access to easily take screenshots and write articles.

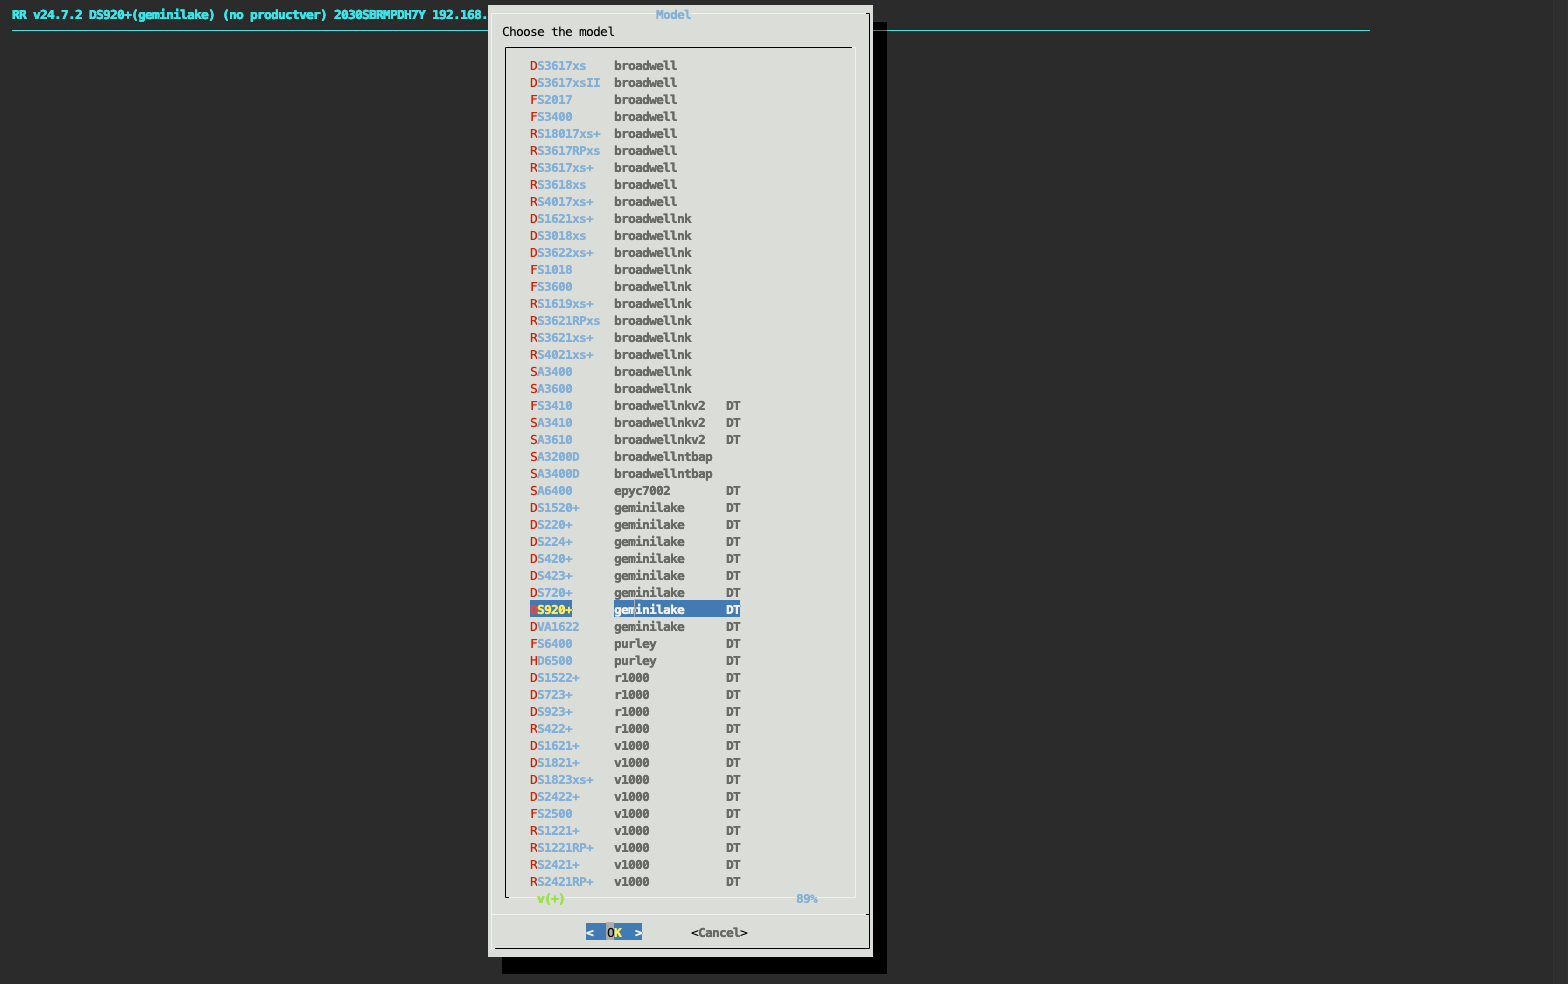
Select model: I choose DS920+ or choose your Model Series Device
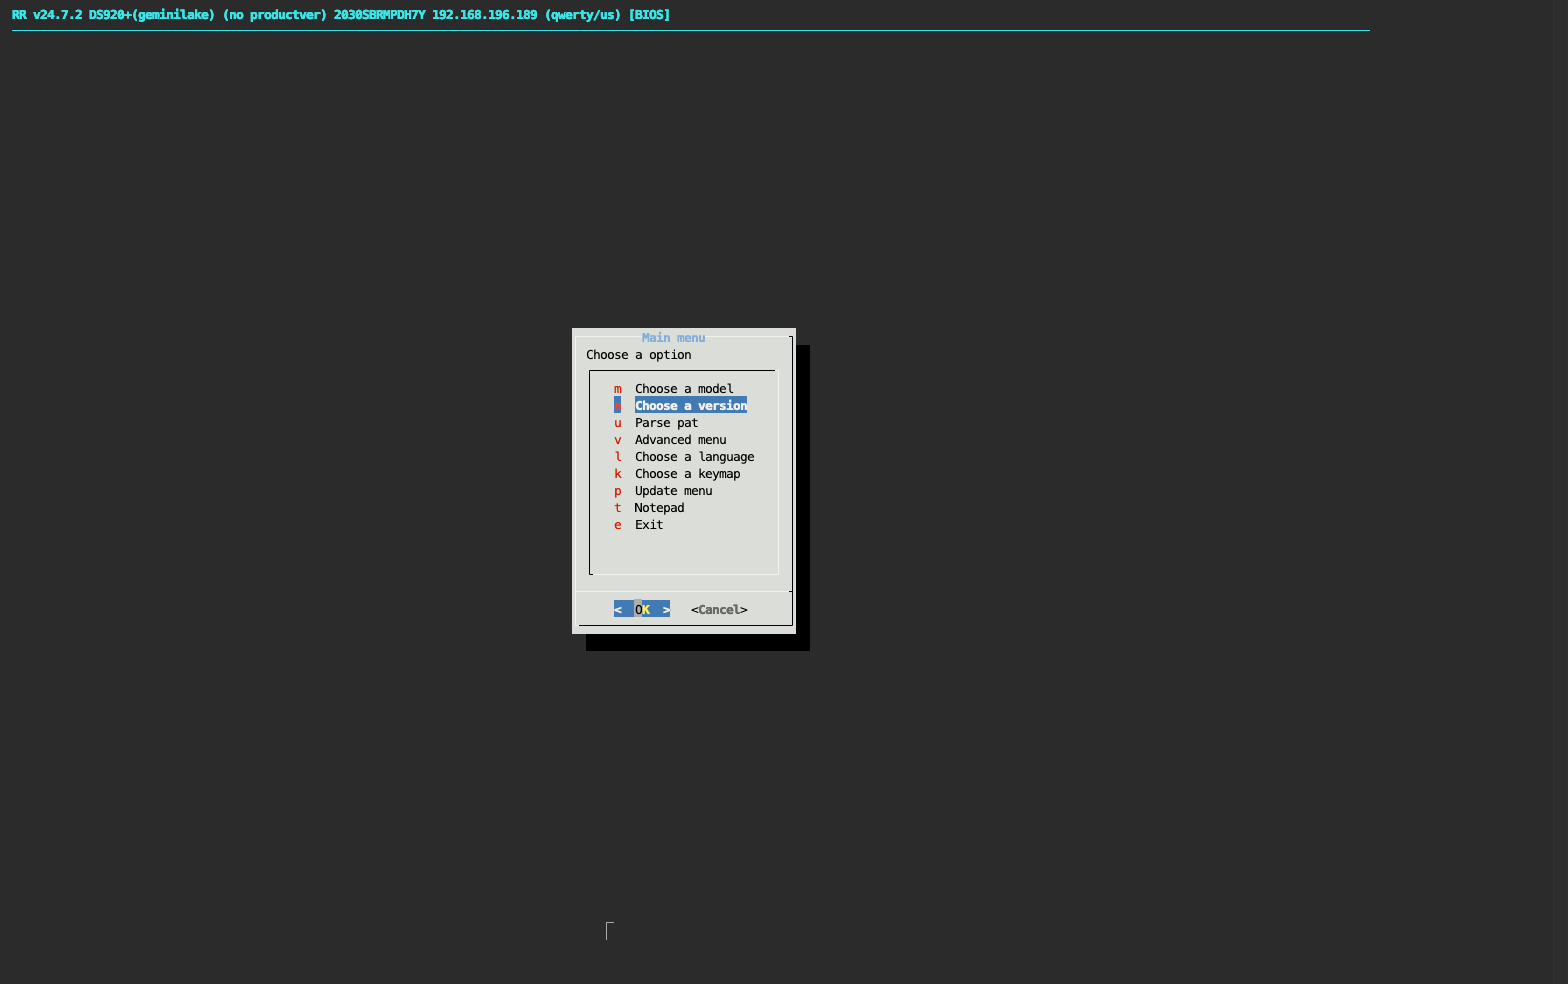
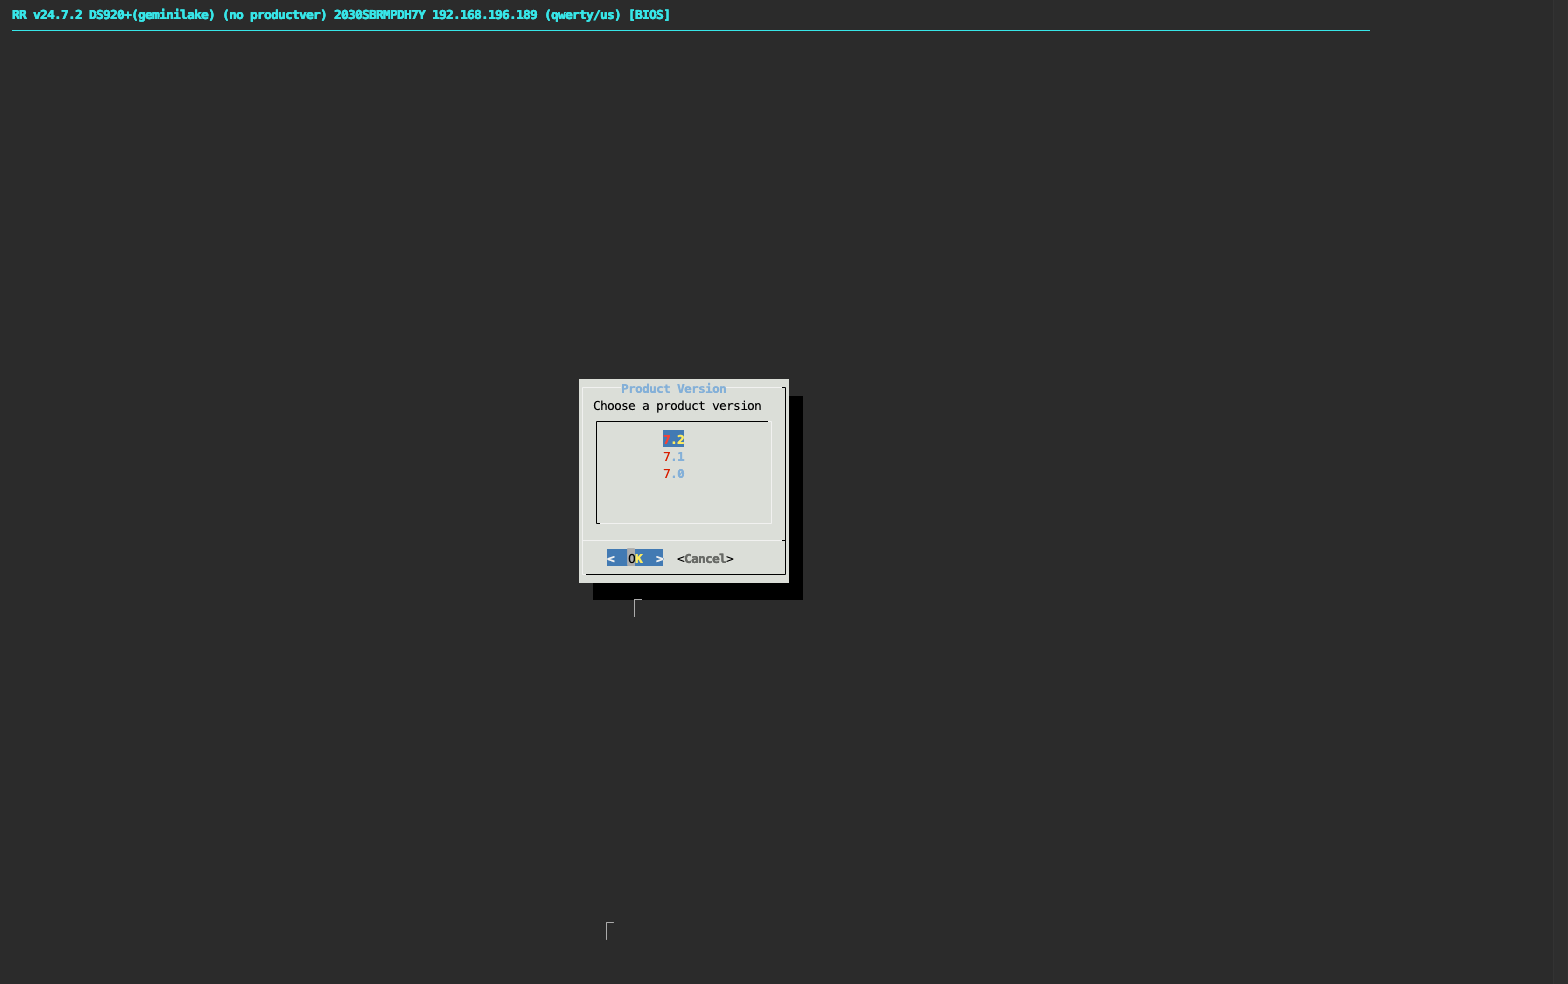
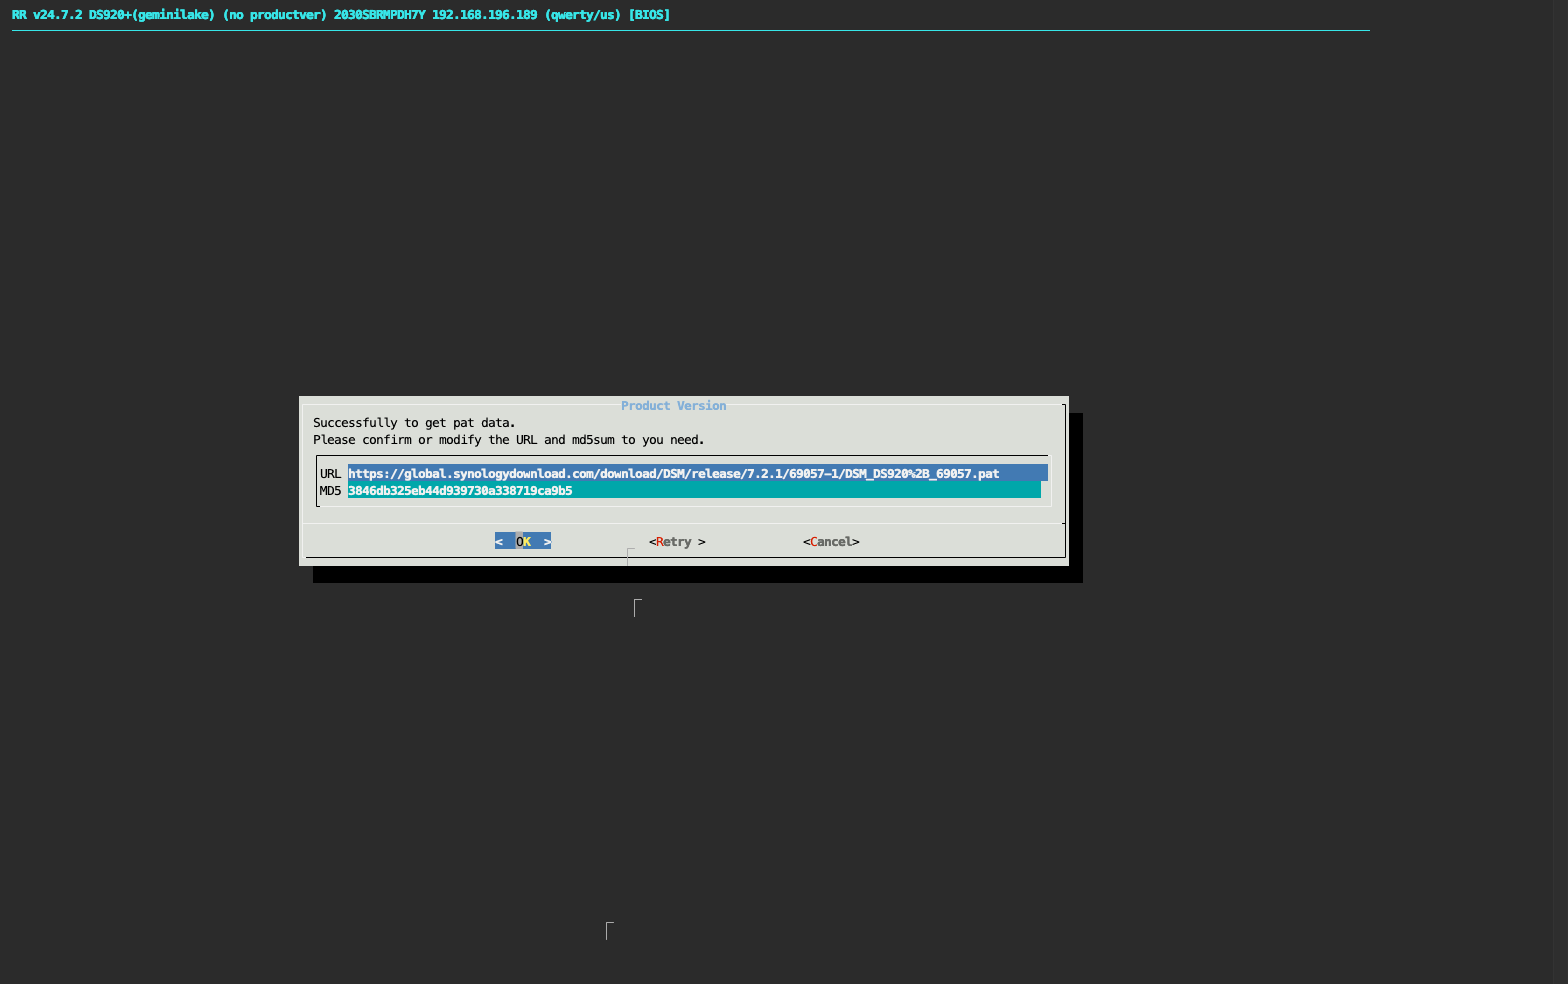
Select the latest version: 7.2
Keep the default and Enter
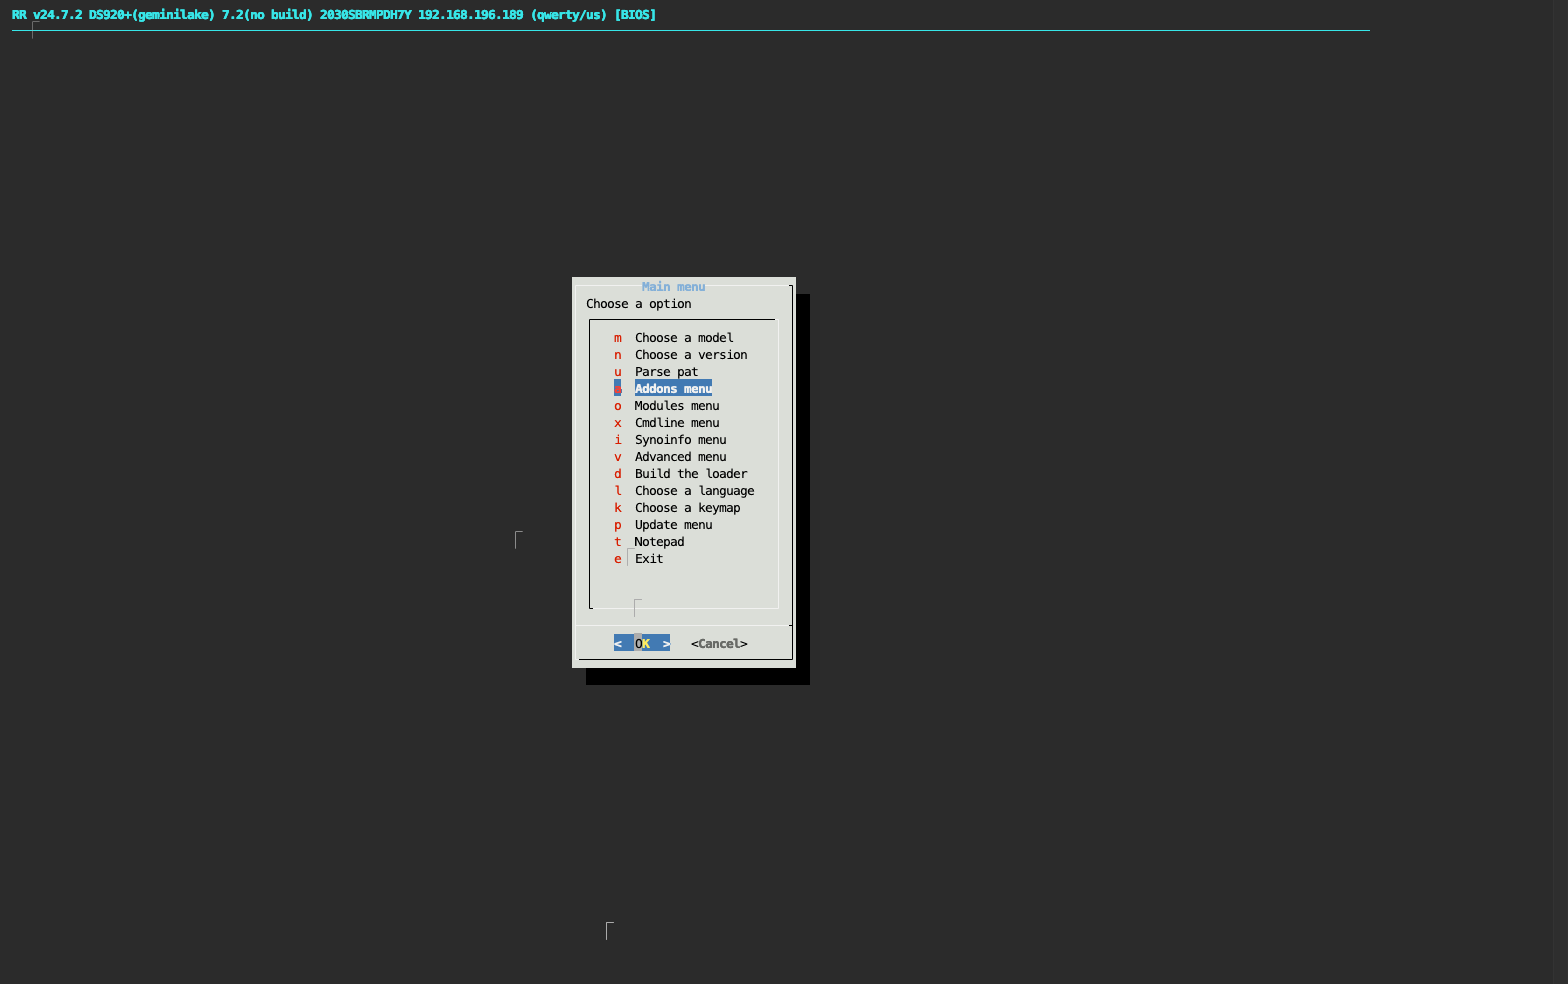
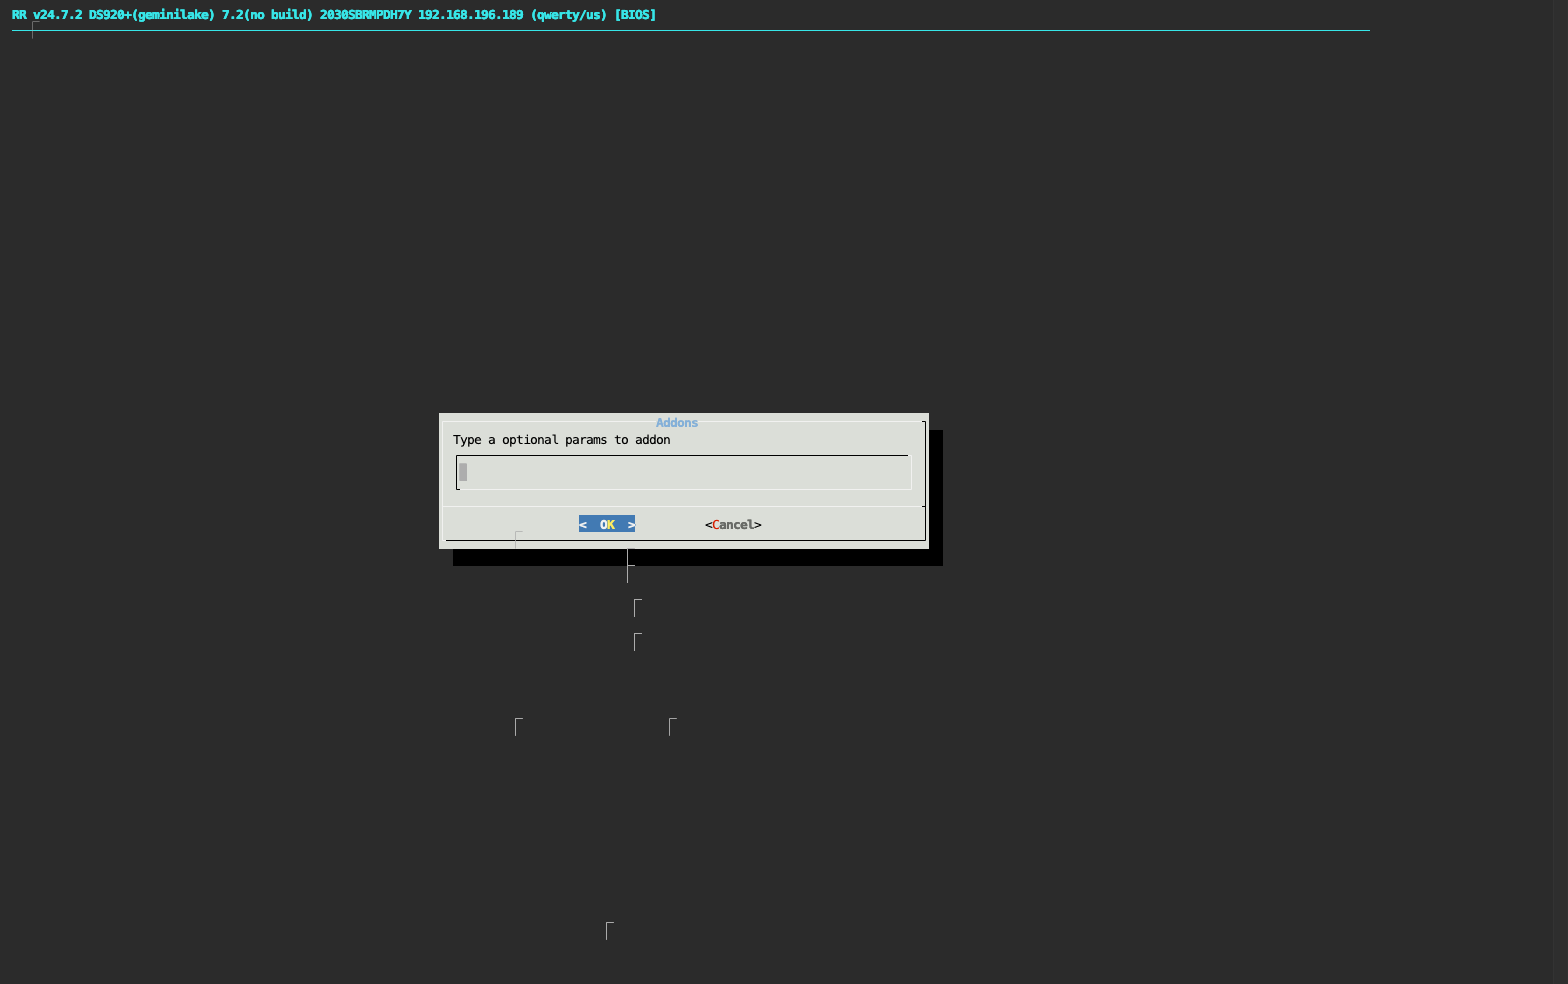
Next step, you can access the Addons menu to install more Addons if needed.
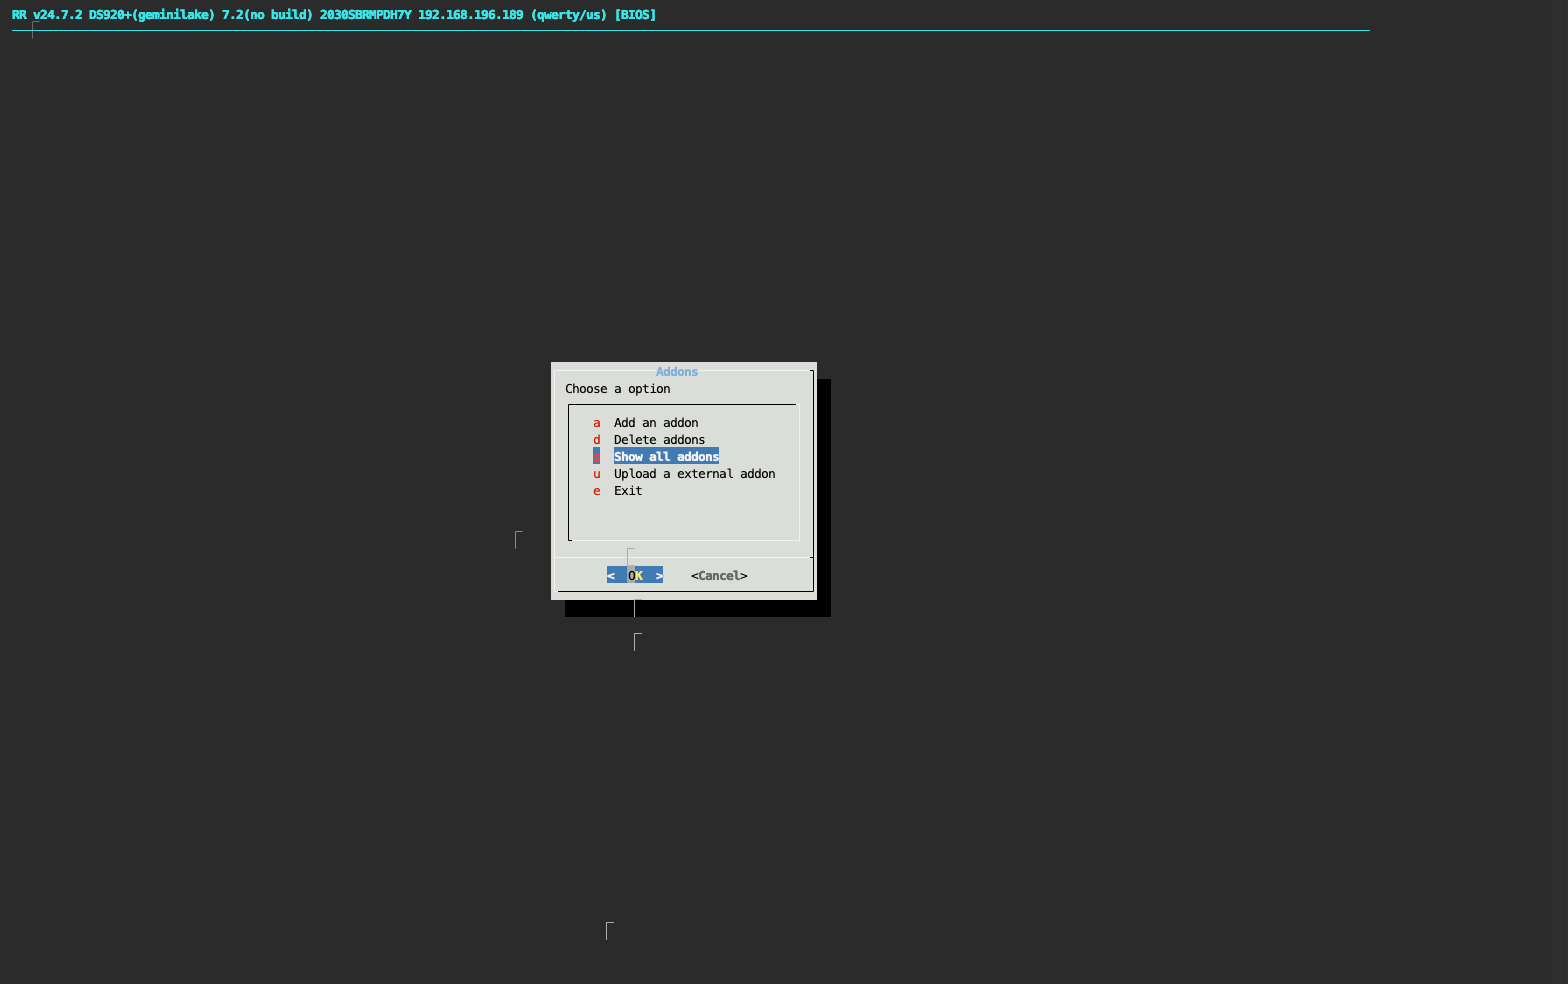
Select Show all addons to see a list of all supported addons
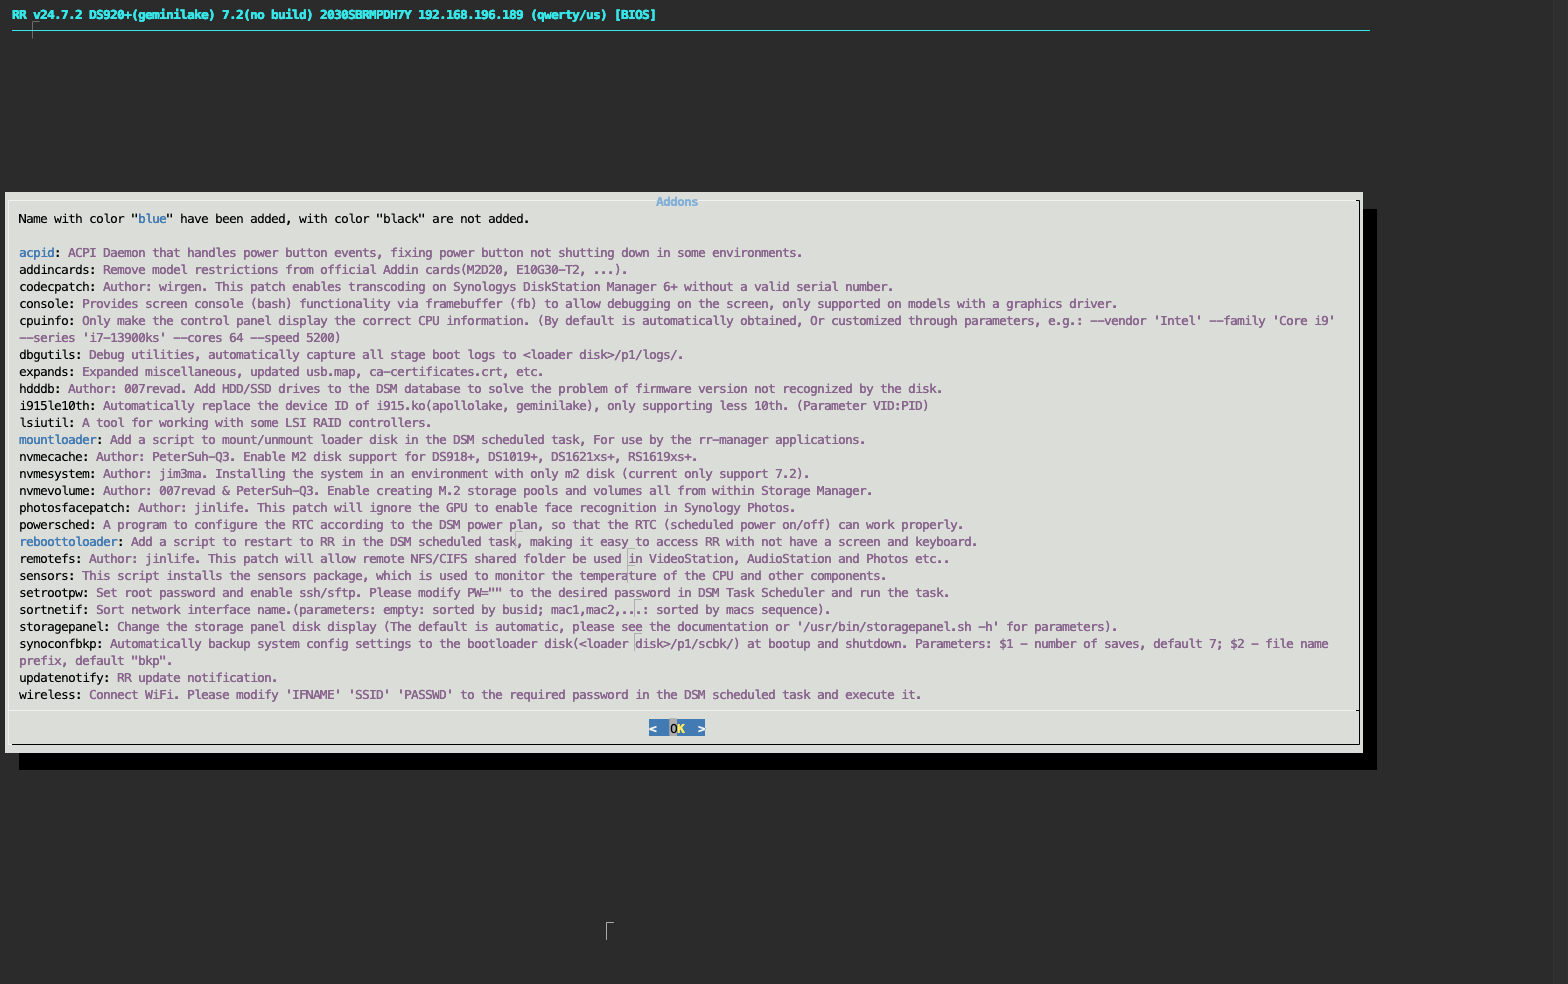
Addons in blue are already enabled, while those in black are not added. Click OK to return.
To add a new addon, select Add an addon

I choose the codecpatch addon to install

Click OK to confirm
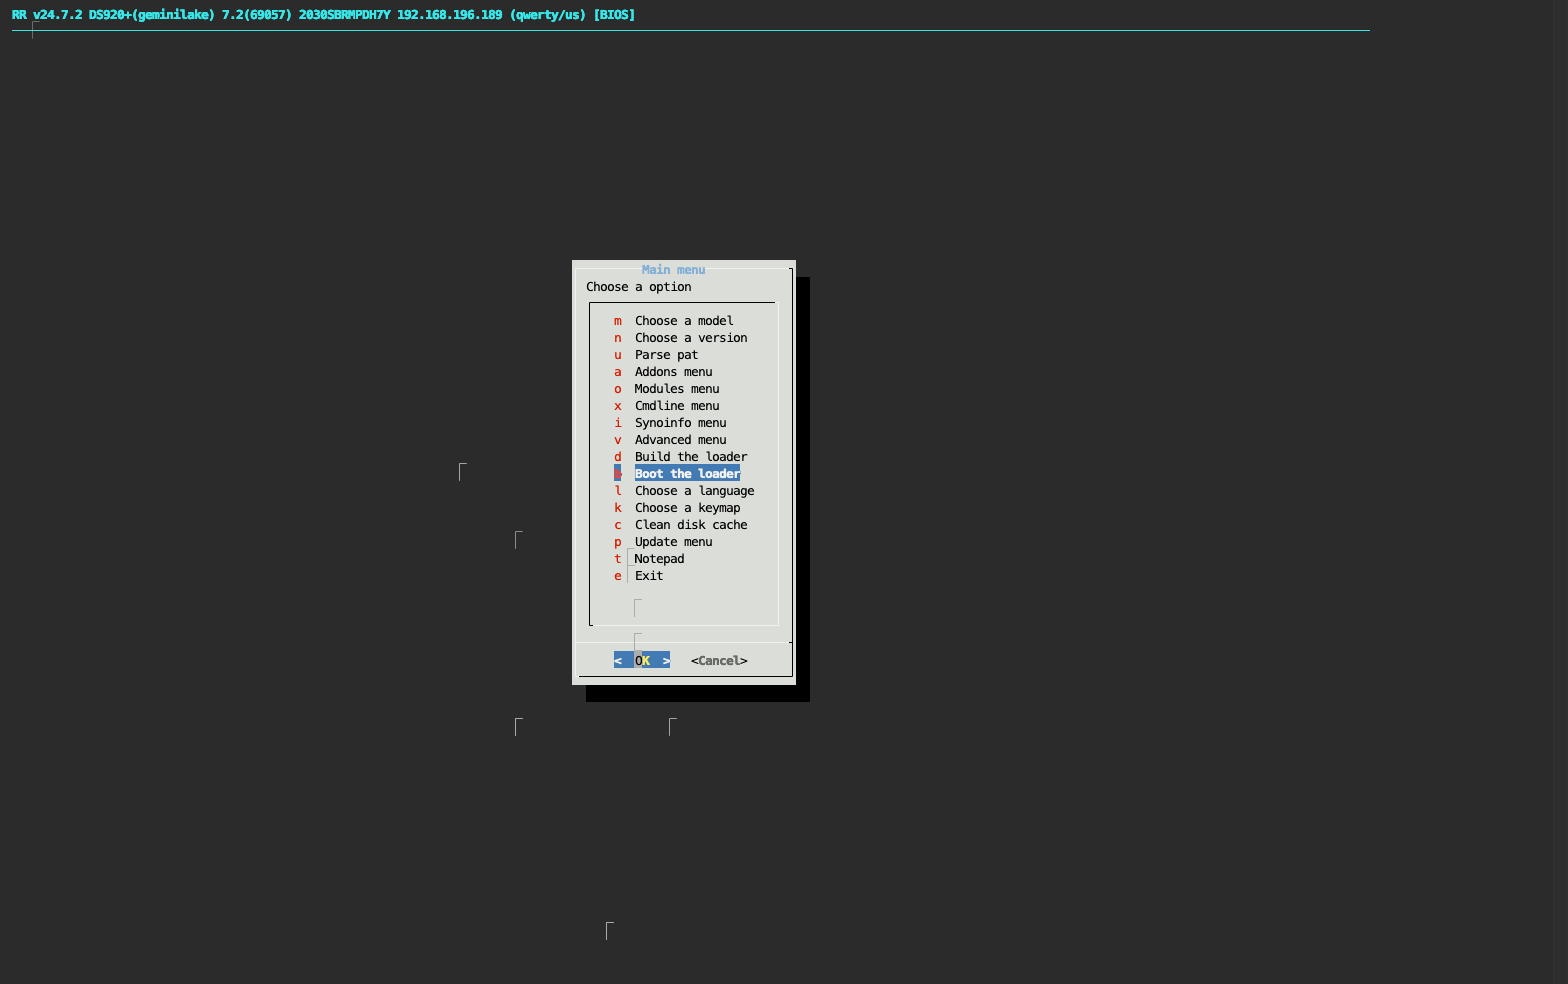
Back to the main screen, select Build the loader to create a Loader according to the selected configuration.

After Bootloader is created, select Boot the loader to start Loader.
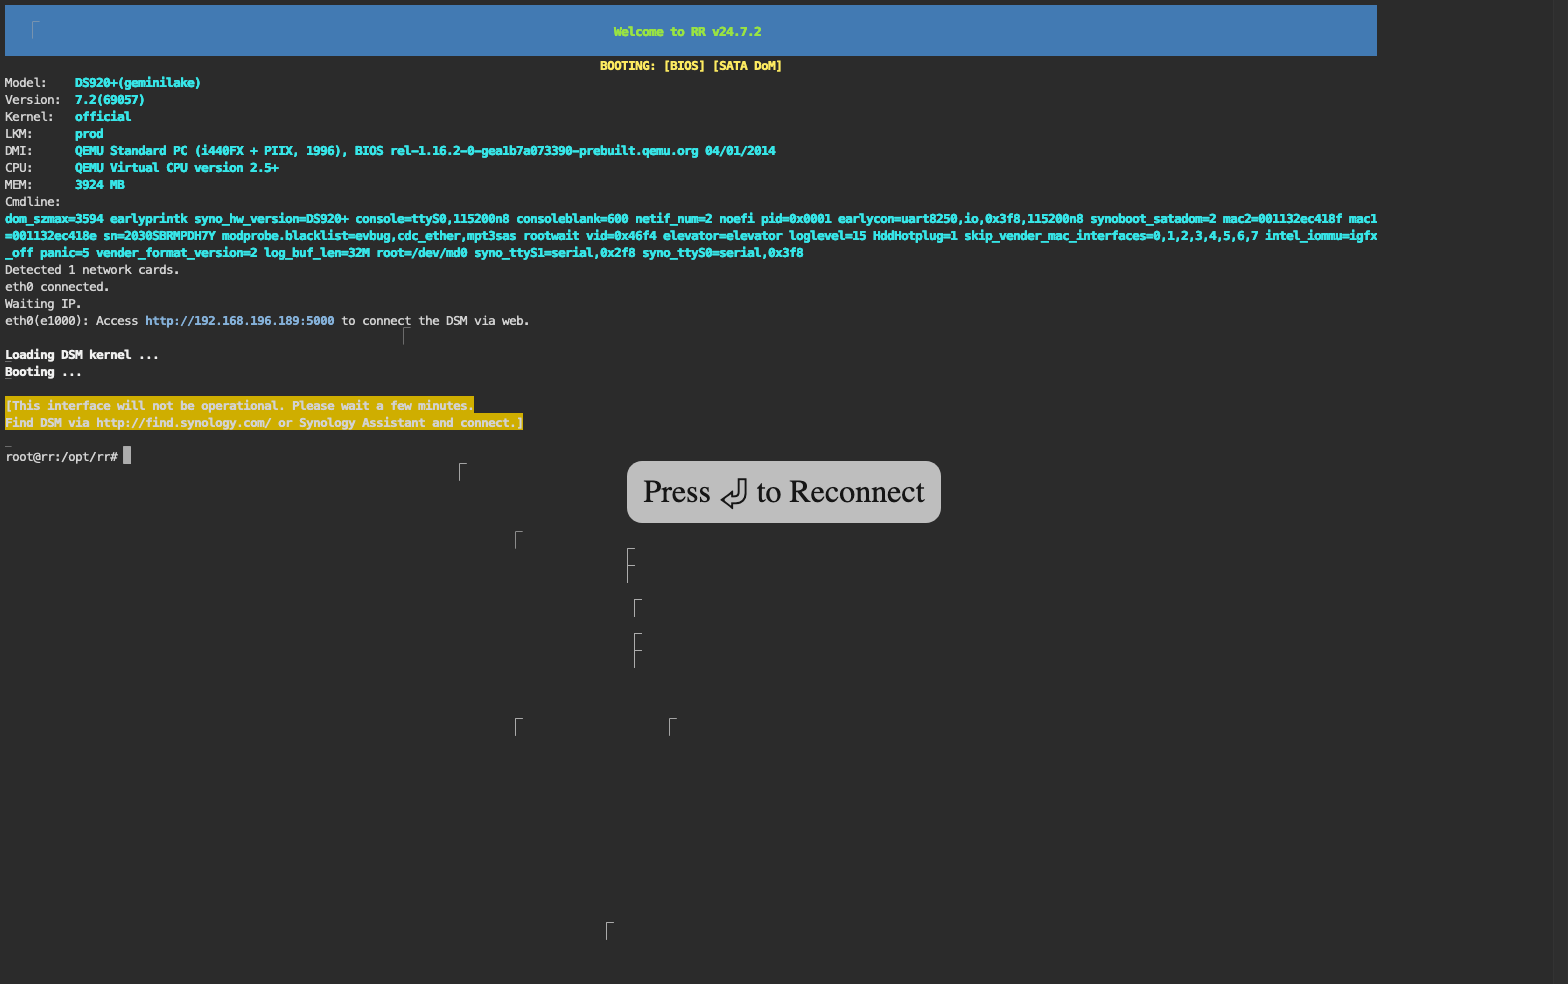
Wait a few minutes and then access the address. http://<IP>:5000 to start installing DSM 7.2
III. Install DSM 7.2
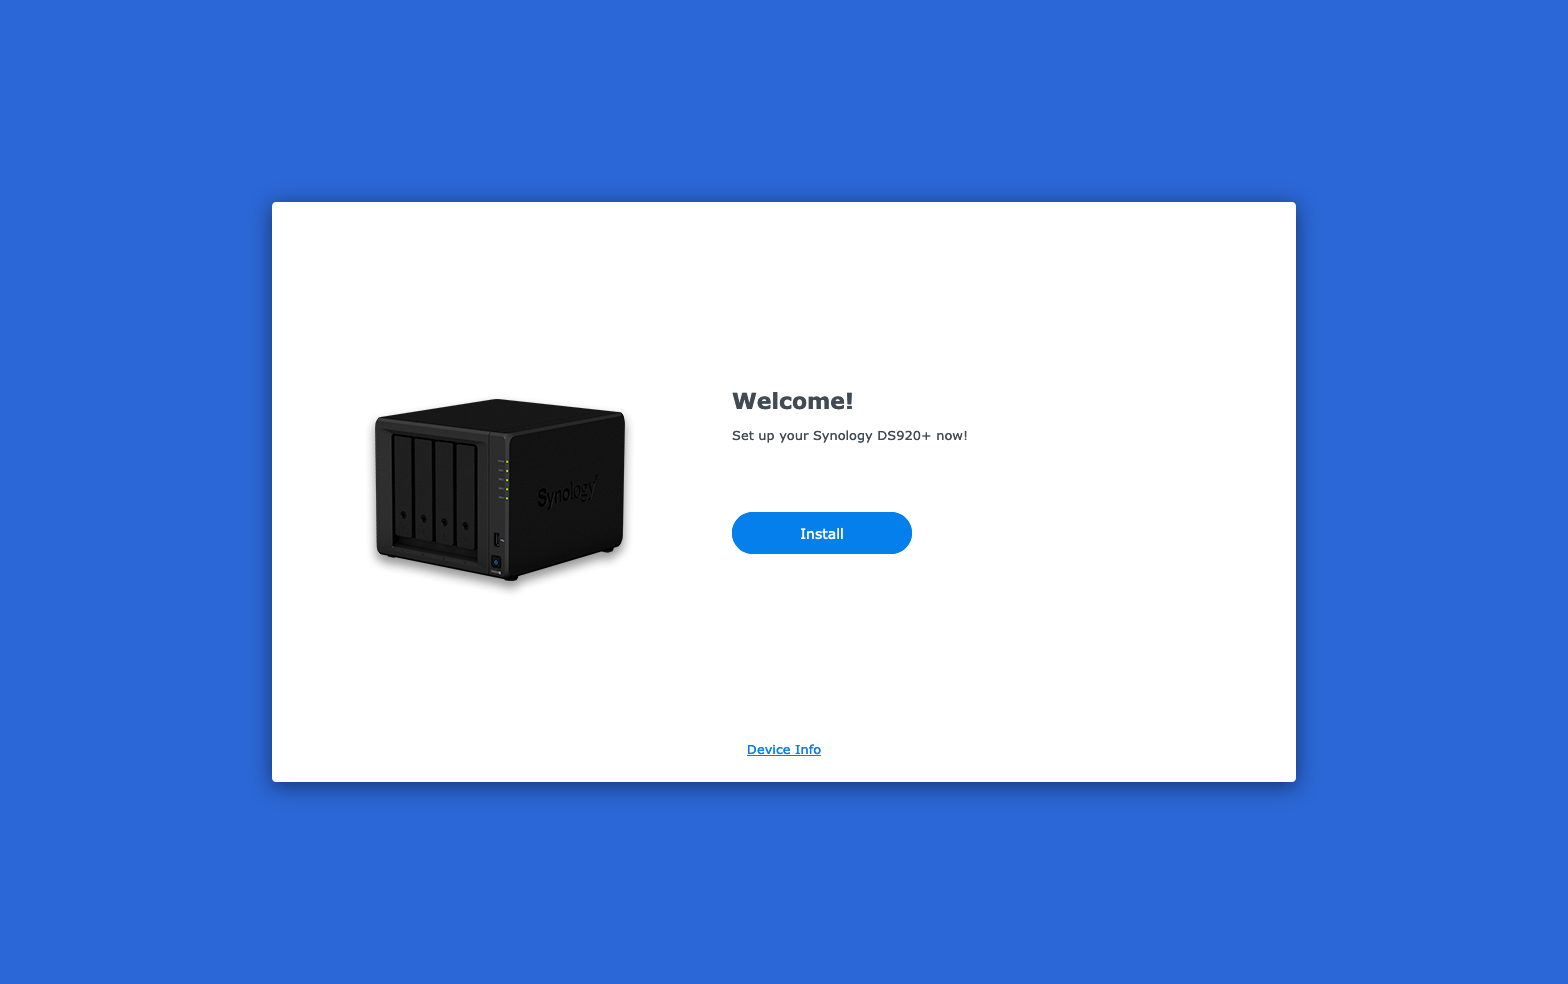
Open a new tab on your web browser, go to the address http://<IP>:5000to start installing DSM 7.2
Click Install to begin.
Select Automatically …, click Next
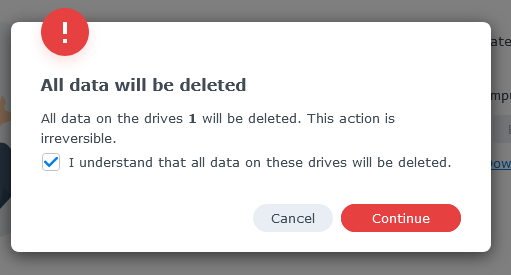
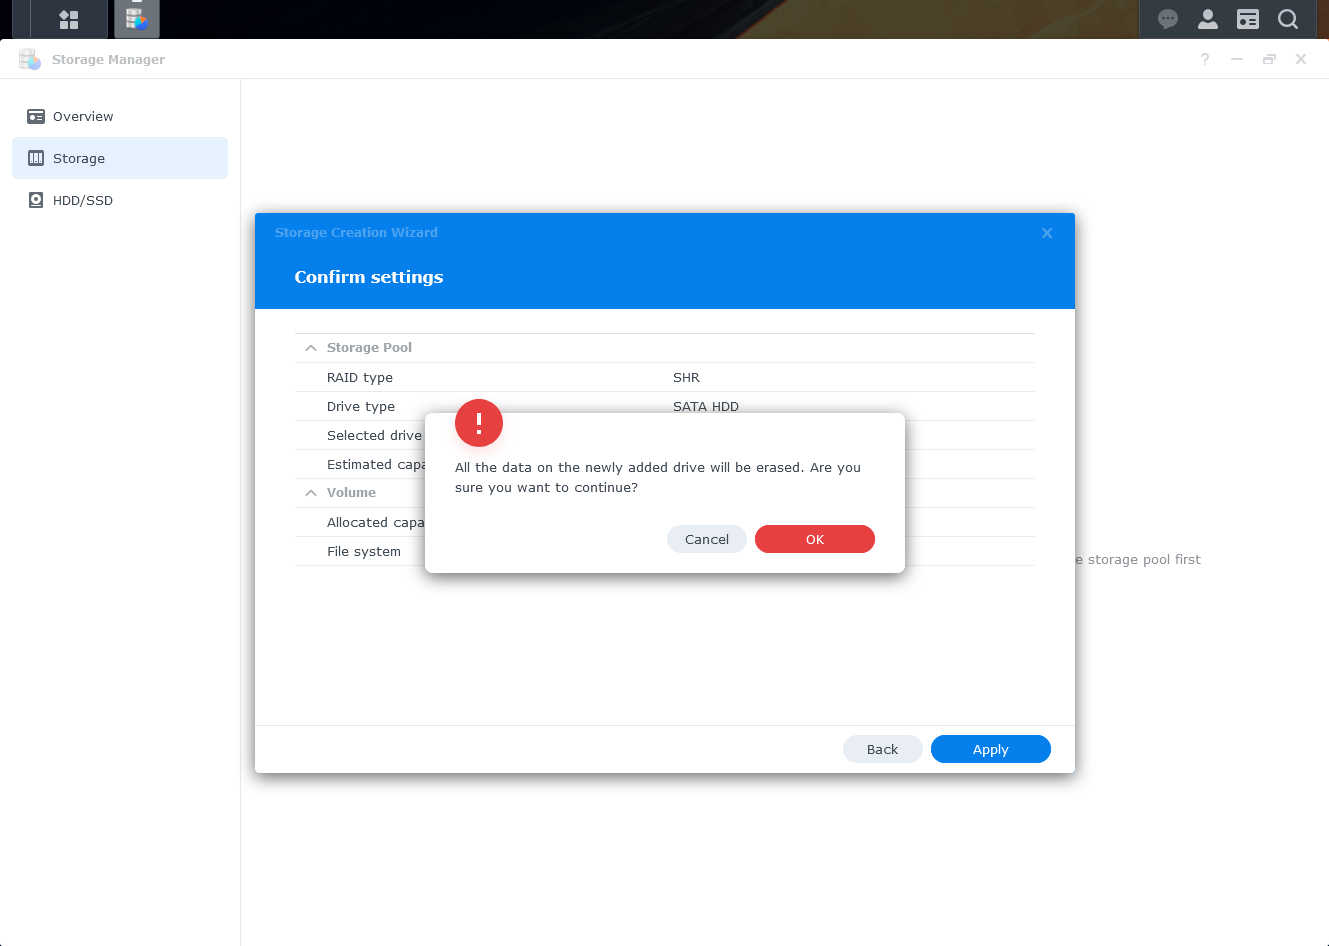
Confirm that the data will be deleted. Click Continue
The installation process takes about 5-10 minutes depending on the network connection and virtual machine configuration.

IV. Configuring DSM 7.2 after installation
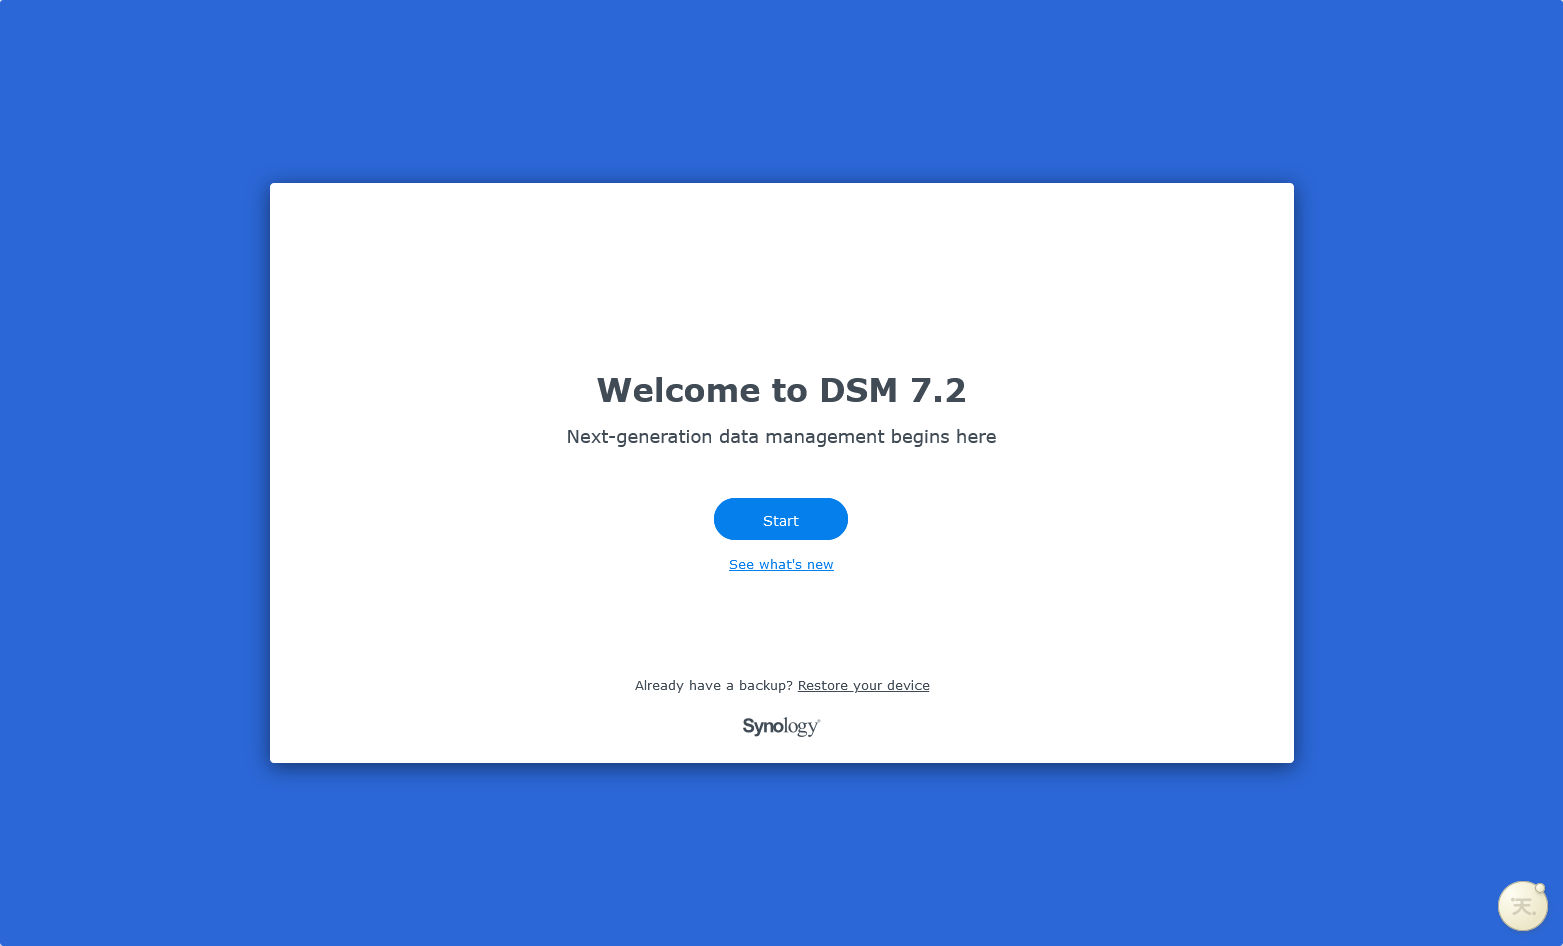
If the installation process goes smoothly, after 10 minutes you will see the screen as below. Click Start to start configuring parameters for DSM 7.2
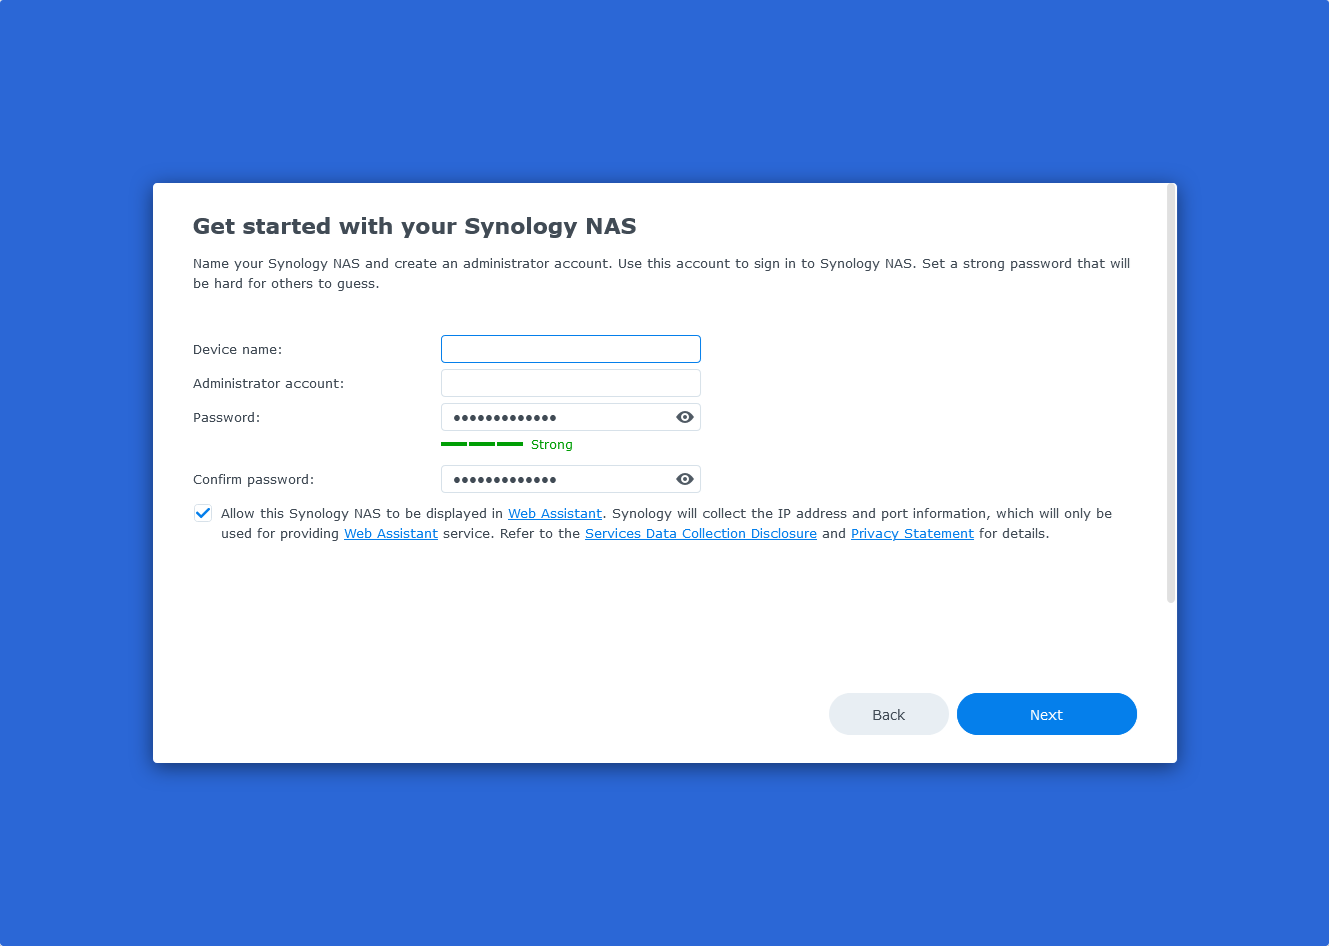
1. System Configuration
Enter basic parameters and click Next
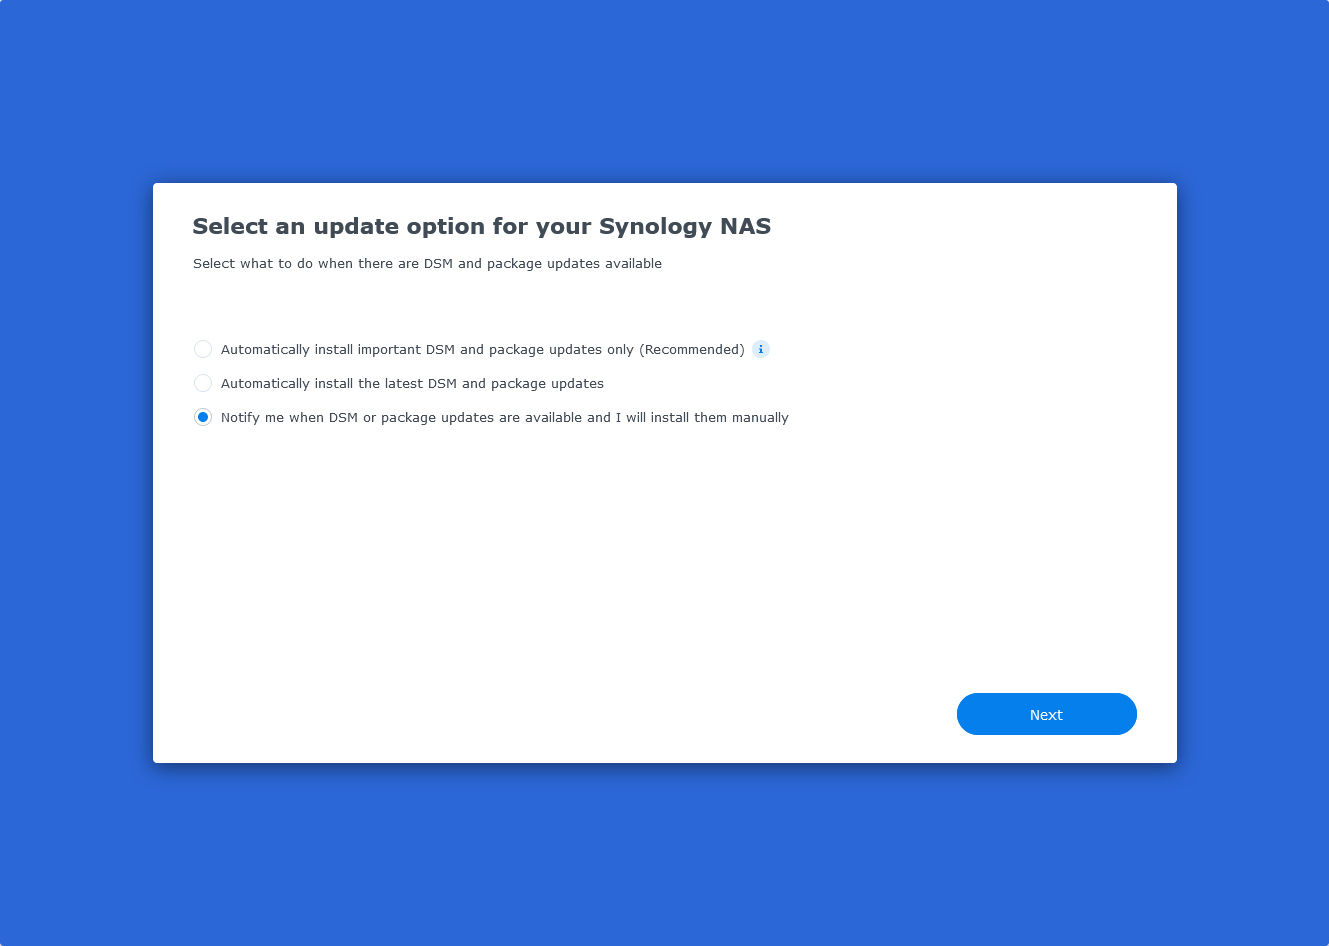
Select “Notify me when…” to prevent the system from automatically updating, in case of incompatibility events that make Xpenology inaccessible.
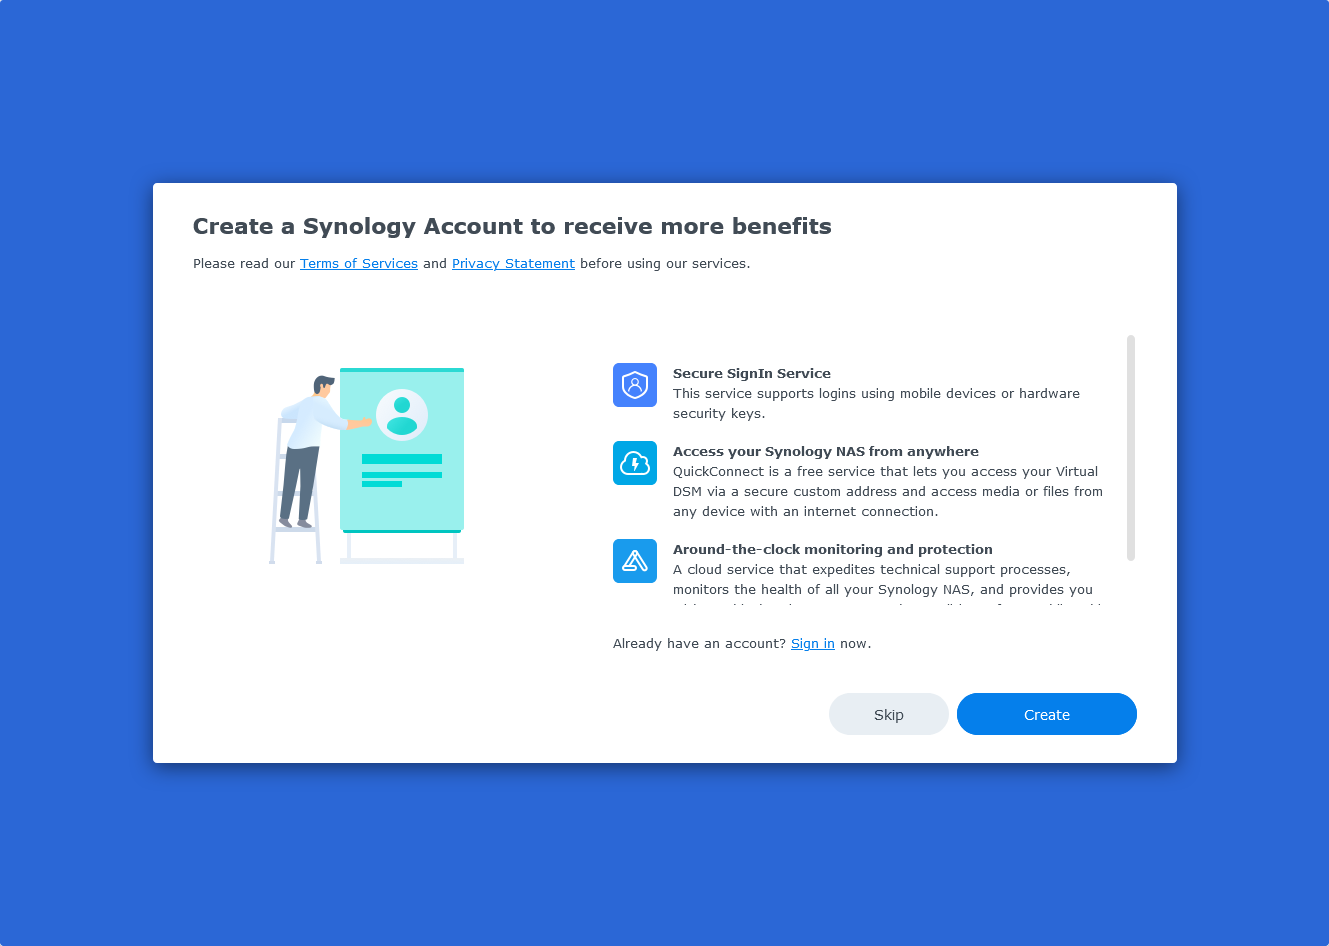
This part can be skipped by clicking Skip, no need to connect to Synology account.
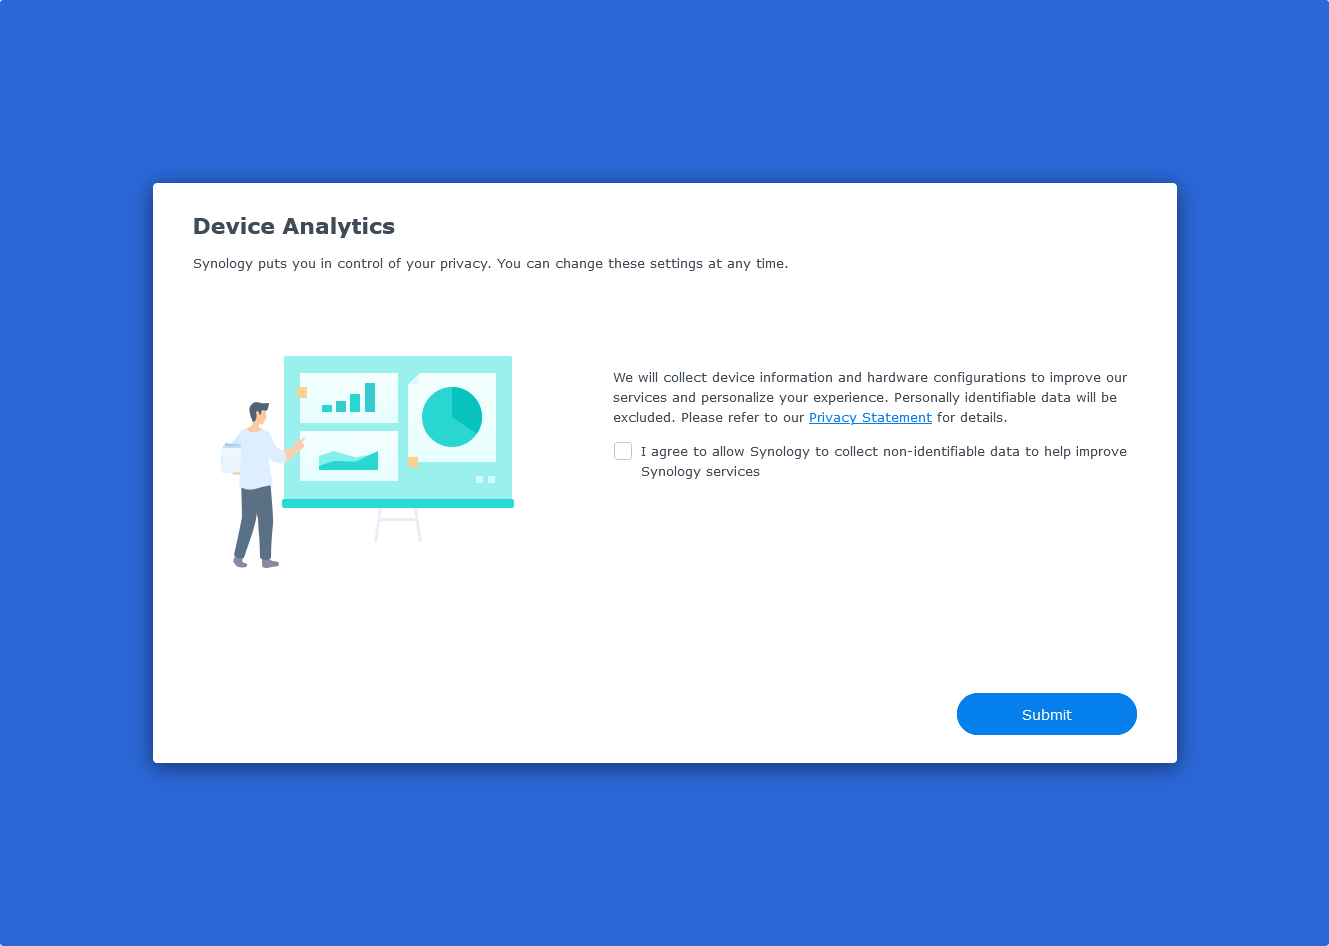
Click Submit.
The DSM interface has appeared. Delicious!
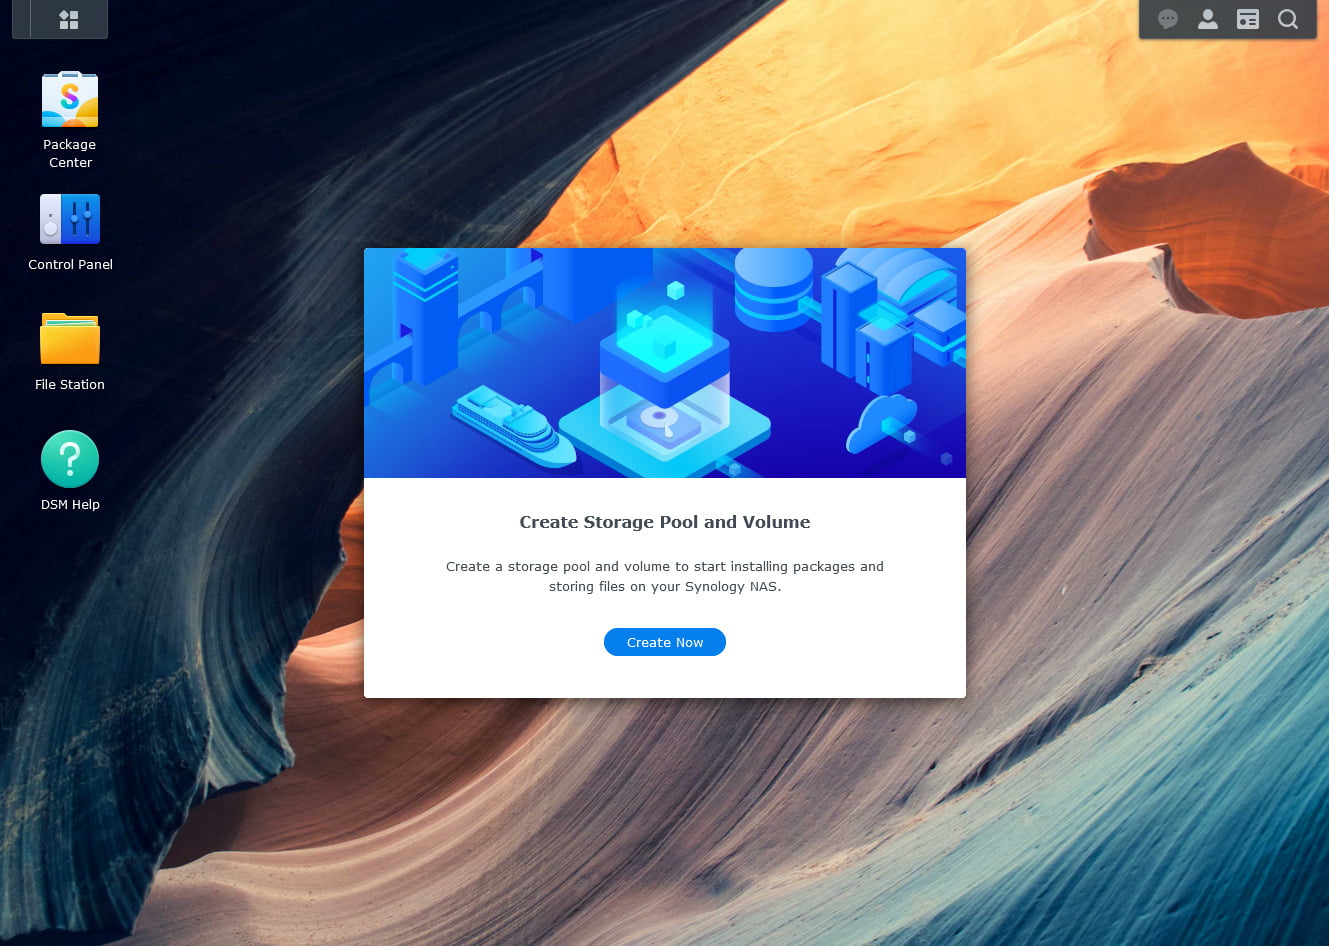
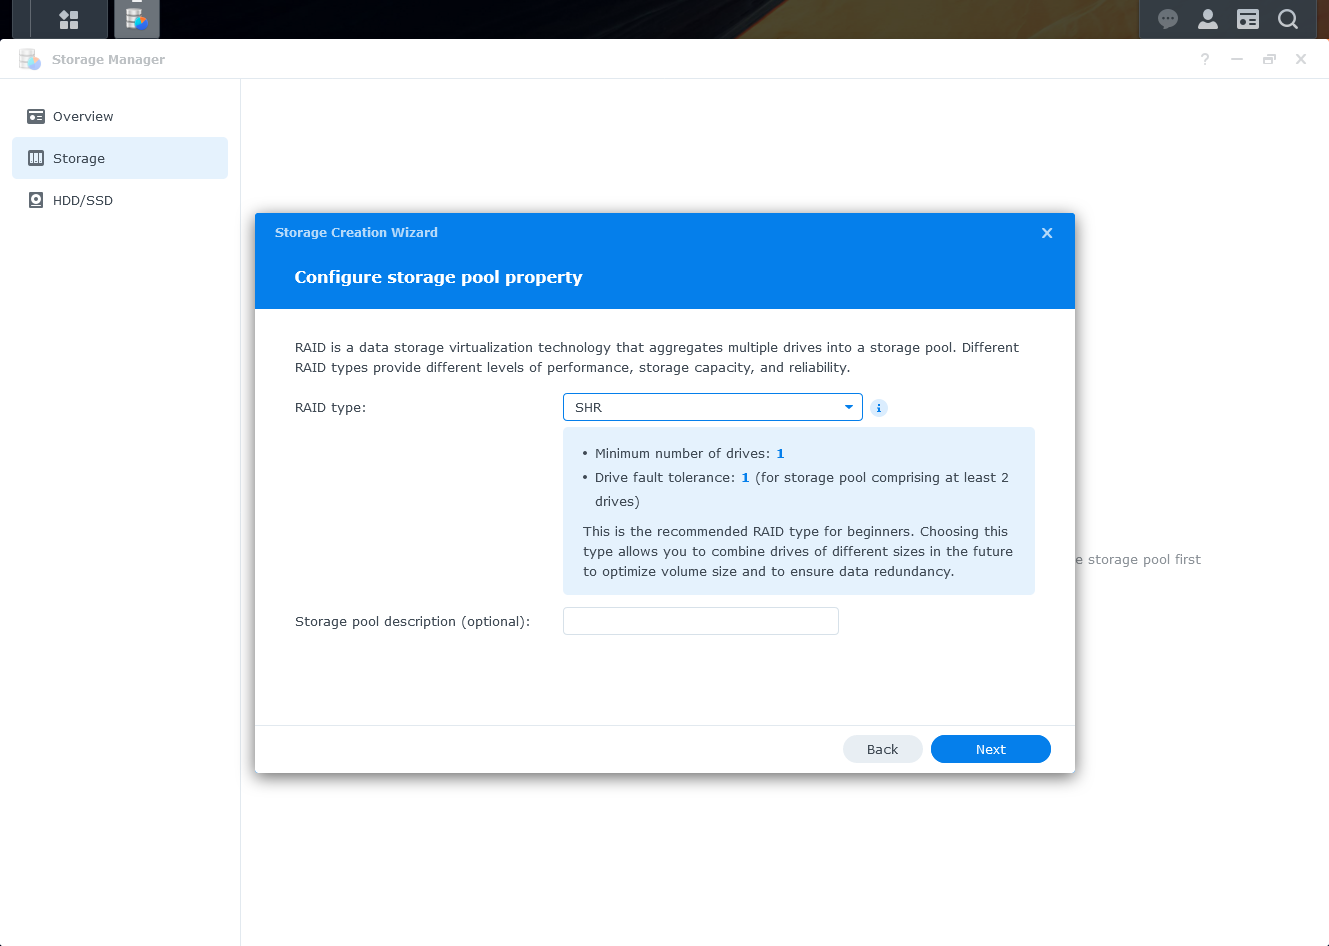
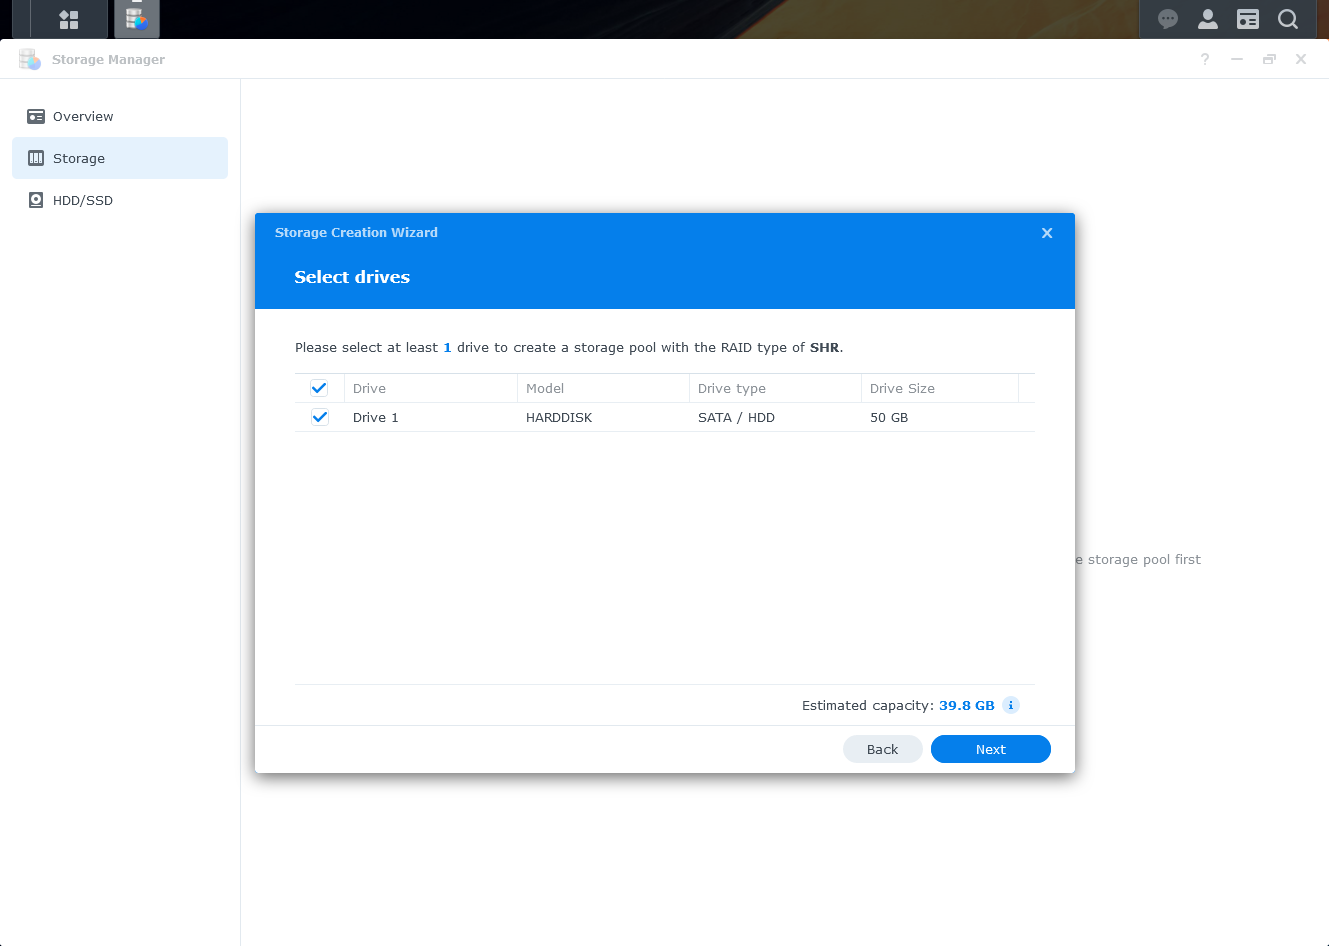
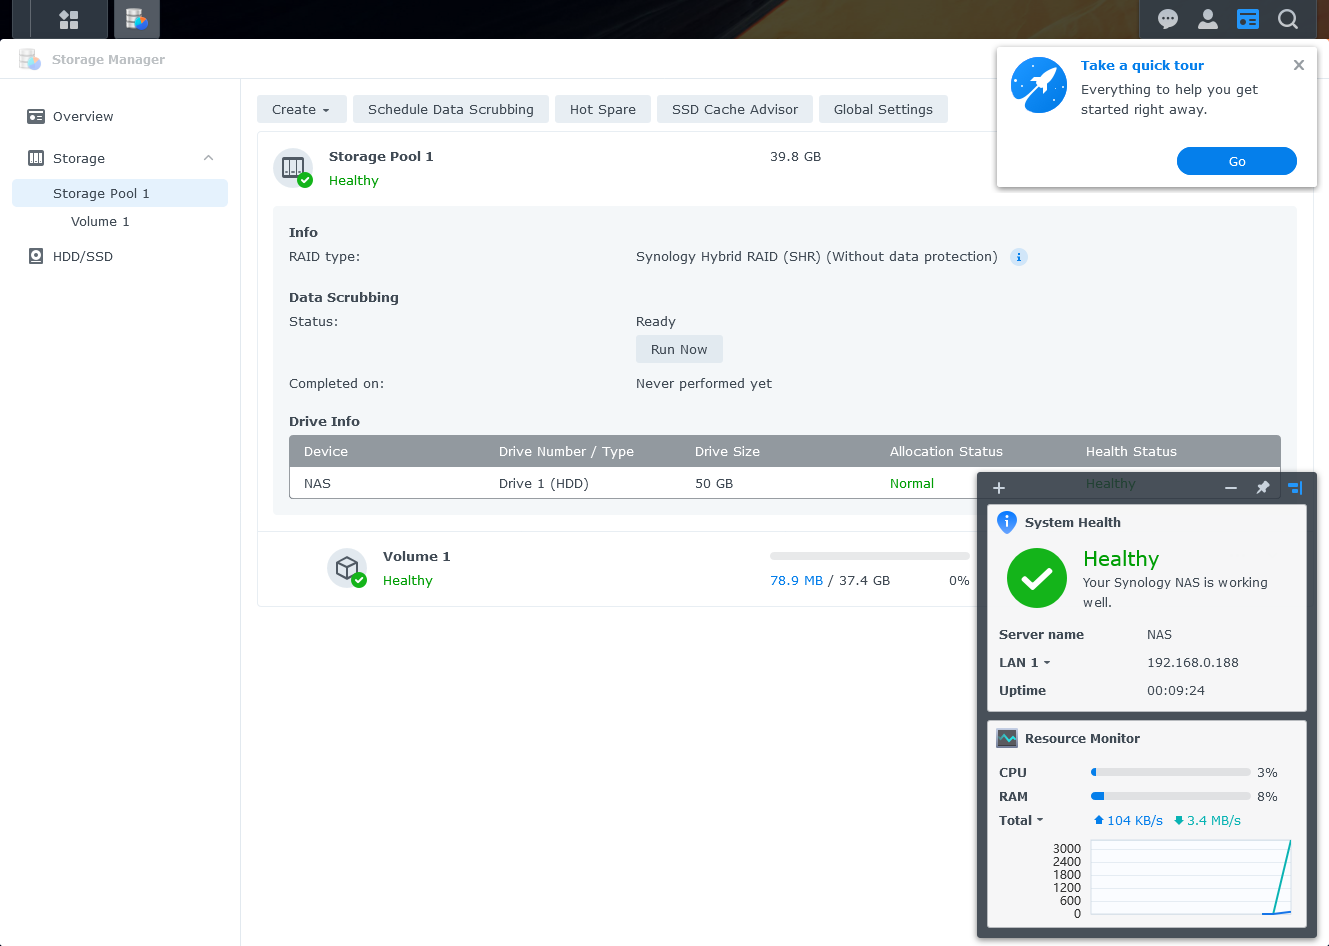
2. Storage Pool Configuration
Continue with the Storage Pool installation step. Click Start to begin.
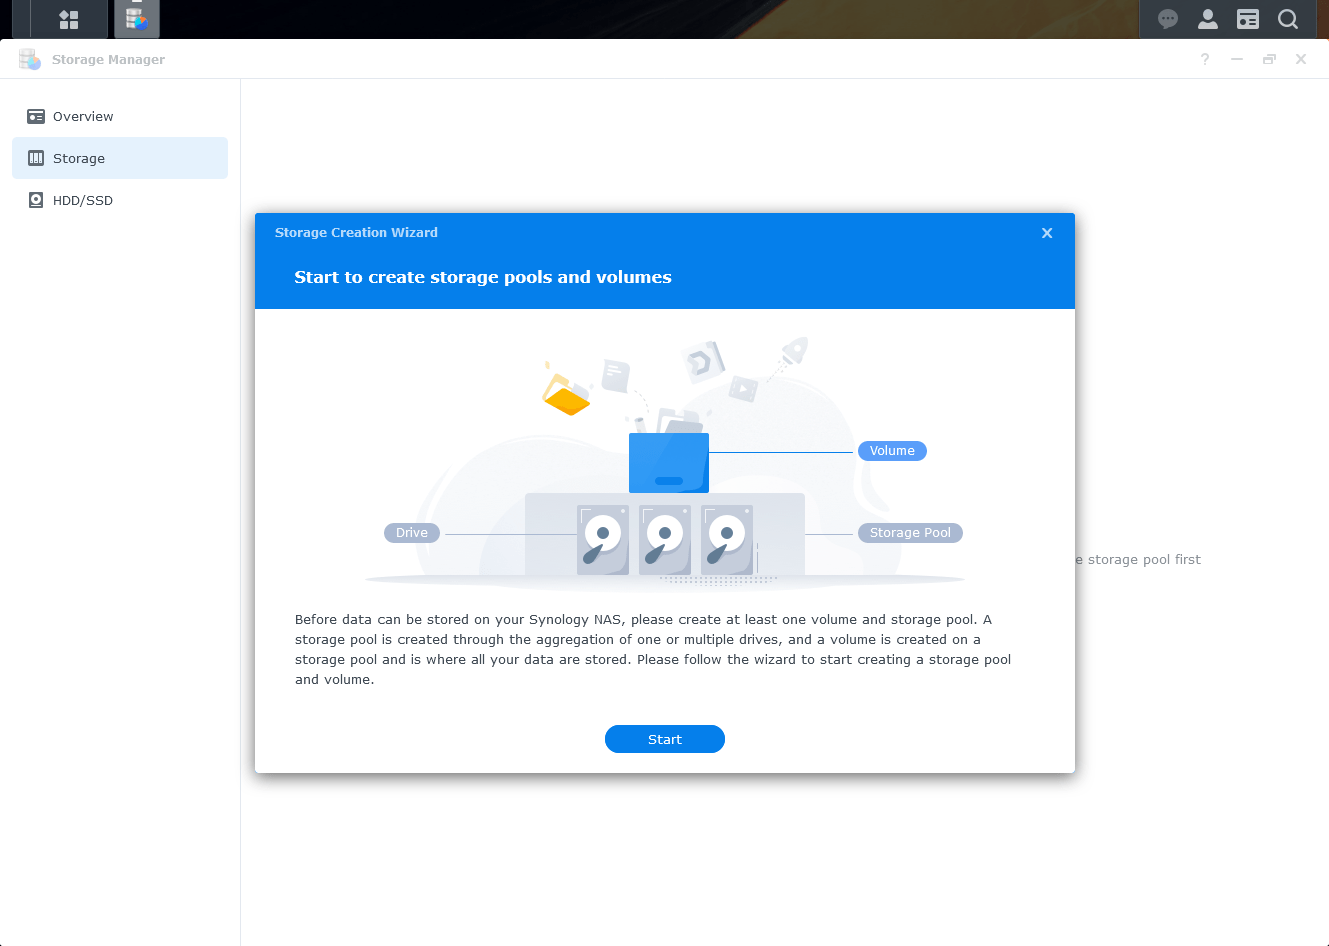
Select RAID Type: I’m not familiar with the differences between these, so I temporarily select SHR. Click Next.


Installation complete. Synology is ready to go.
That’s it! Happy installation!
If my article provides useful information and knowledge to you, don’t hesitate to invite me for a beer to have more motivation to share more. Thank you!
Comment Policy: We truly value your comments and appreciate the time you take to share your thoughts and feedback with us.
Note: Comments that are identified as spam or purely promotional will be removed.
To enhance your commenting experience, consider creating a Gravatar account. By adding an avatar and using the same e-mail here, your comments will feature a unique and recognizable avatar, making it easier for other members to identify you.
Please use a valid e-mail address so you can receive notifications when your comments receive replies.