After getting familiar with Hyper-V and XCP-ng, recently I’ve been researching more about KVM virtualization technology through the open source platform Proxmox VE.
I. What is Proxmox?
Proxmox VE(Proxmox Virtual Environment), or simply Proxmox, is an open-source virtual machine management platform developed based on Debian. The power of Proxmox is the ability to manage both KVM hardware virtualization and LXC operating system virtualization, through an intuitive, easy-to-use Web-based interface.
Proxmox Features:
- Virtualization: Supports KVM and LXC virtualization
- Management: Powerful management tools: Web-based UI, CLI, REST API
- HA Cluster: can set up a cluster of multiple Proxmox servers to enable High Availability feature (High availability, avoid downtime)
- Network: supports creating up to 4094 network bridges to set up many different network configurations.
- Storage: supports a variety of popular storage standards: LVM, ZFS, CephFS, SMB/CIFS, NFS,…
- Backup: supports virtual machine backup and recovery
- Firewall: built-in firewall feature to protect the network system from unauthorized access.
Because it is developed based on the GNU open-source copyright, we can use Proxmox completely free of charge. If you need technical support from the Proxmox development team, you can register for the Proxmox VE Subscription package with prices starting from 295 euros/year. See detailed price list: Proxmox Pricing.
Below are instructions for installing Proxmox VE 8.2 – the latest version at the time I wrote this article.
II. Prepare Ingredients
You need to download the ISO file of Proxmox to your computer: Proxmox VE 8.2 ISO Installer(1.39 Gb)
1. Install on Physical Machine
To install Proxmox on a physical computer, you need to create a Proxmox installation on a USB drive, using Rufus(Win) or Etcher(Win / Mac).
If you use Rufus to create USB, please note that you need to select DD mode so that Proxmox can boot when starting up.
Once the USB drive is ready, plug it into the computer waiting for Proxmox to be installed. Set the BIOS to boot from USB to enable the Proxmox VE installer.
2. Install on Virtual Machine
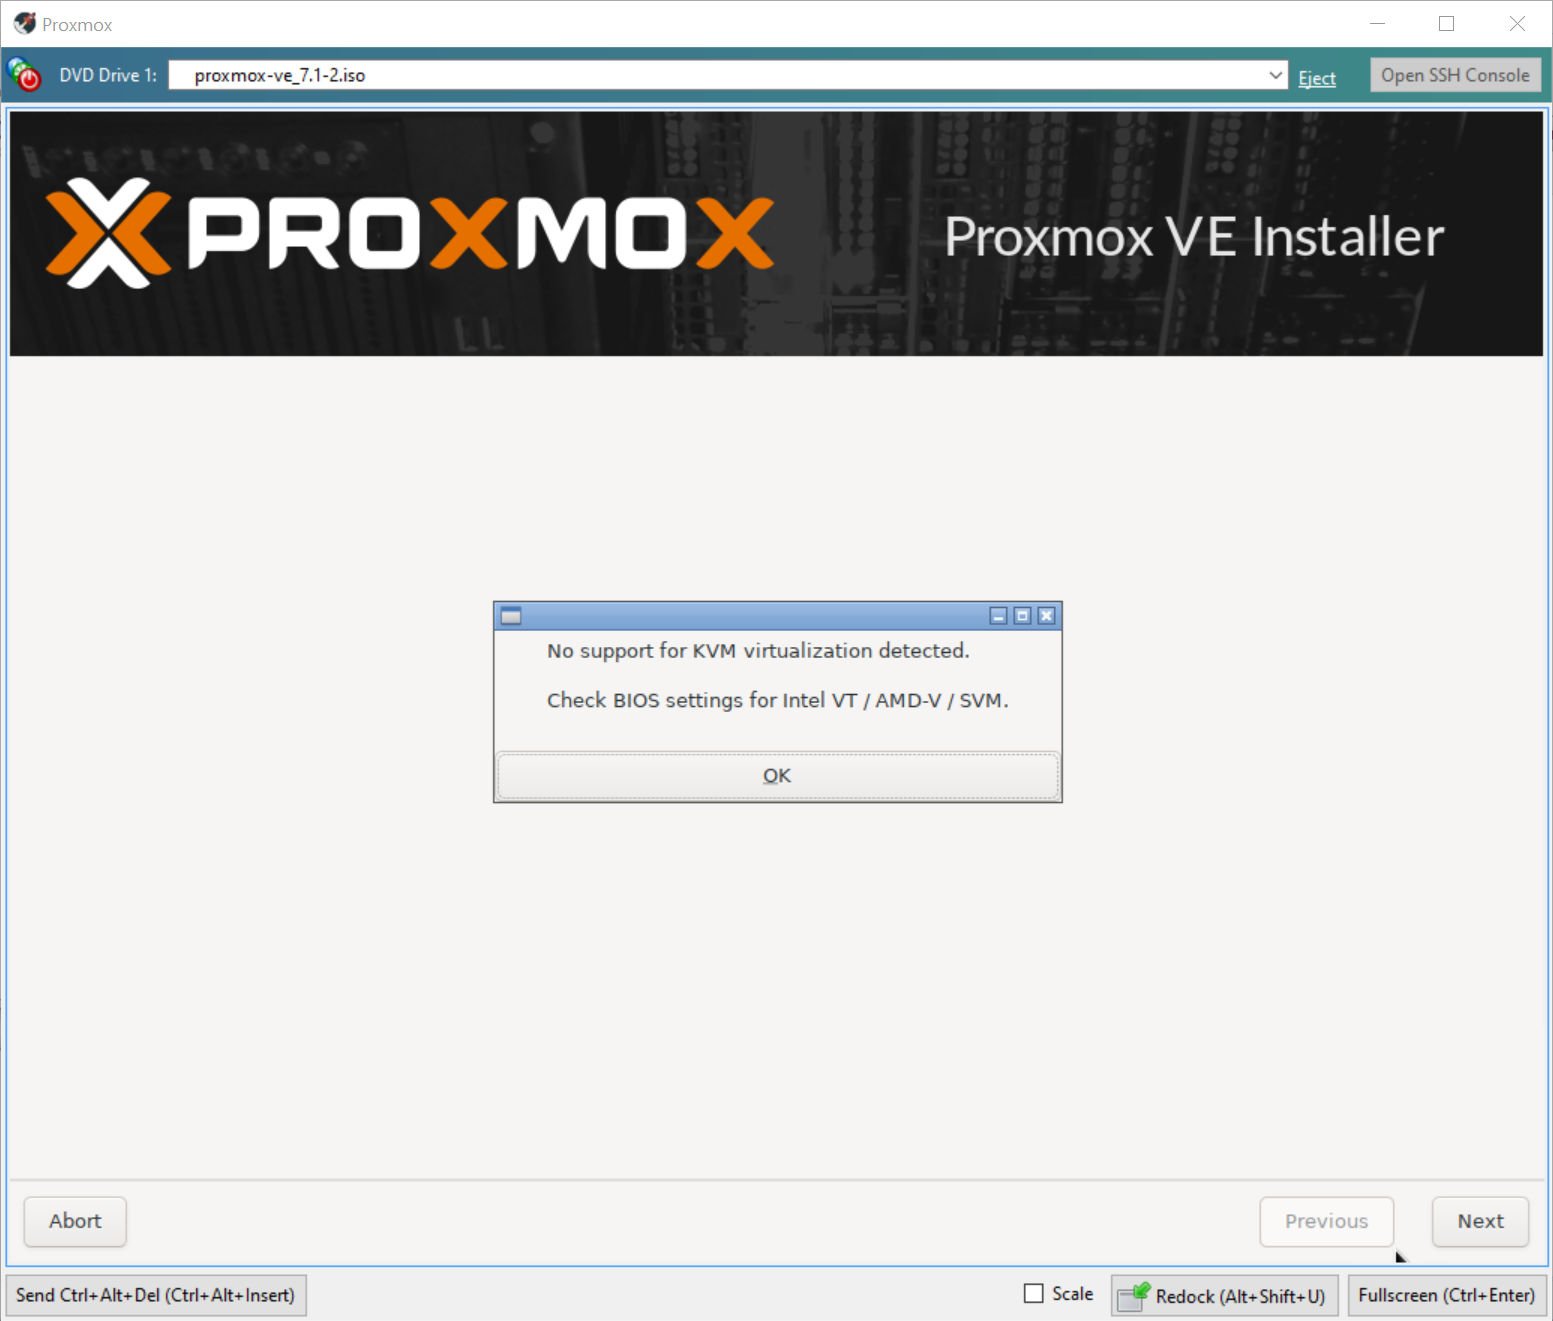
If you don’t have a spare computer, you can use a virtual machine to install Proxmox. You can create a virtual machine on Hyper-V or XCP-ng. But note that you need to enable Nested Virtualization for this Proxmox virtual machine to be able to use KVM, otherwise you will only be able to use LXC.
After creating the virtual machine, select the Proxmox ISO file created above as the bootable optical drive for the virtual machine and follow the steps below.
III. Install Proxmox VE
The Proxmox VE installation process is generally intuitive and straightforward. If you are familiar with Ubuntu or Debian installations, you will find it familiar.
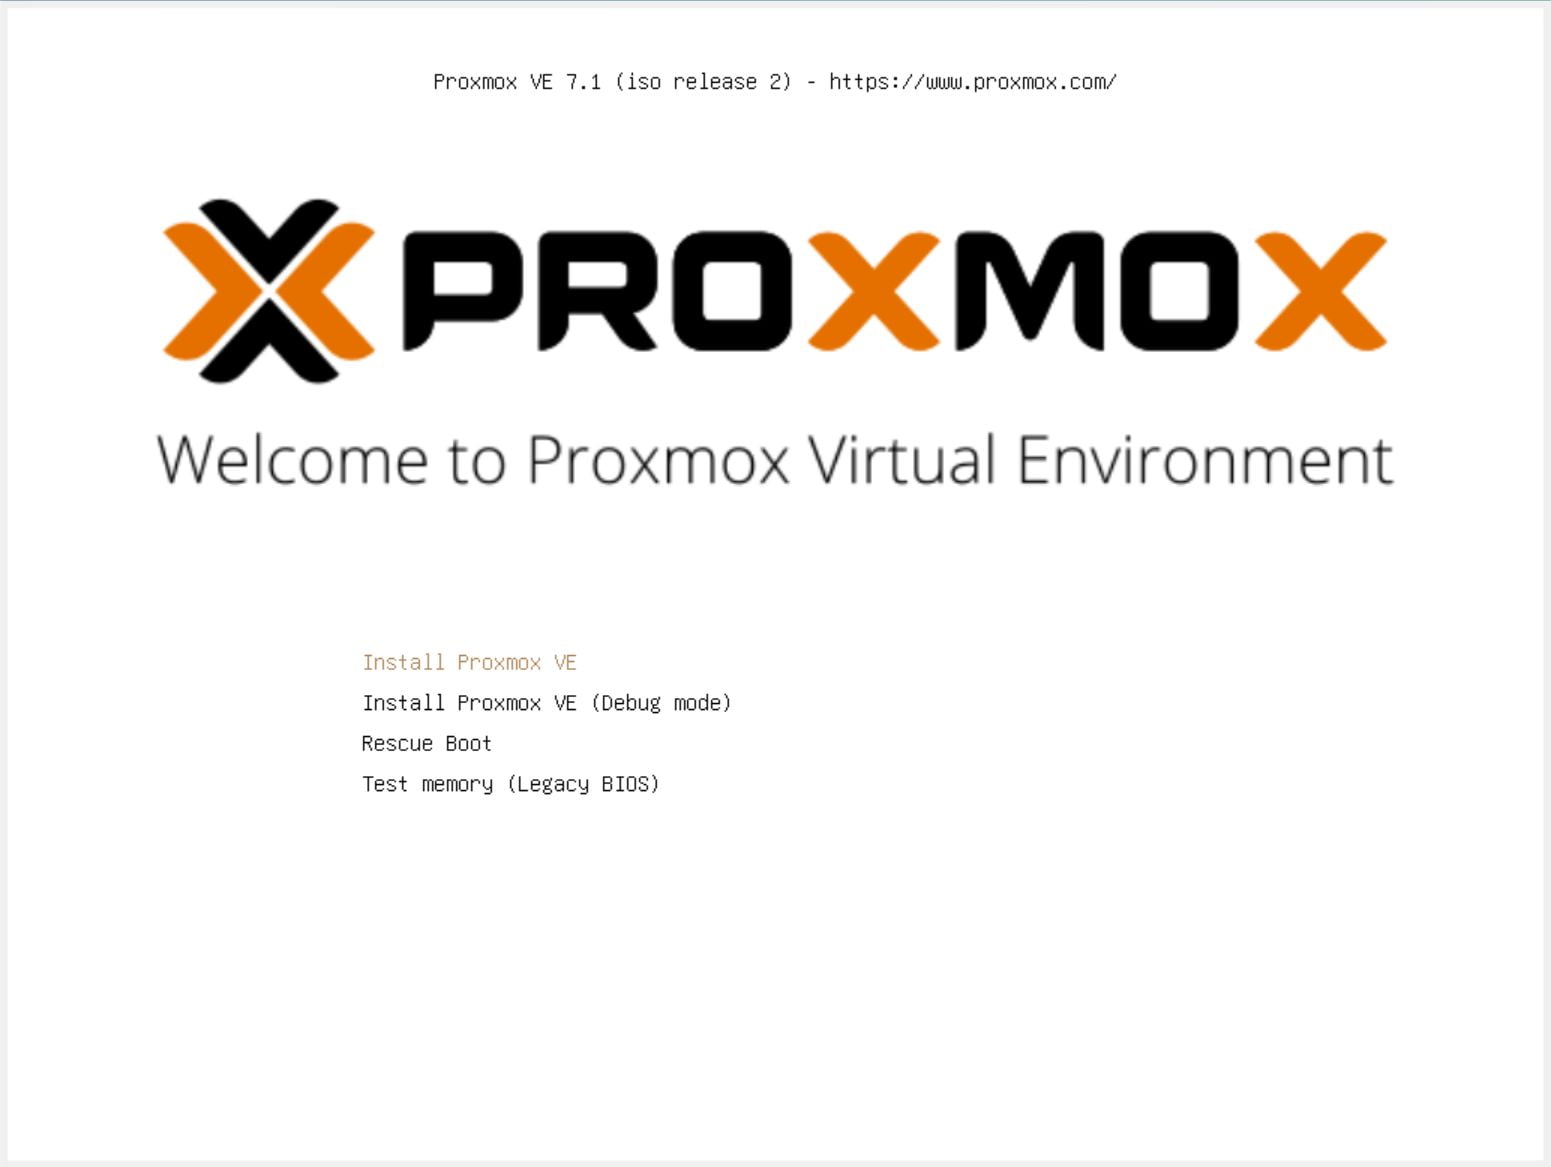
After booting the computer from USB, the Proxmox installer will appear. Select Install Proxmox VE
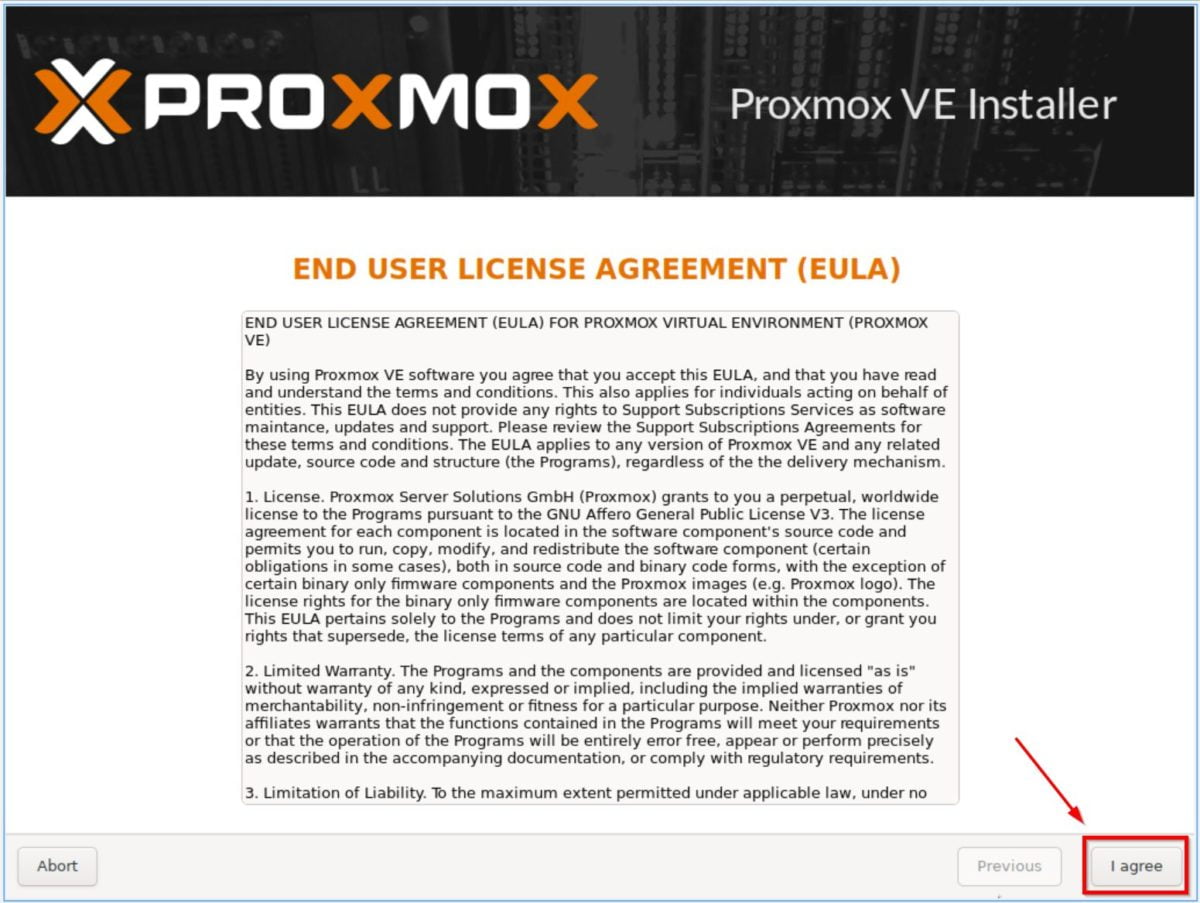
Select I agree
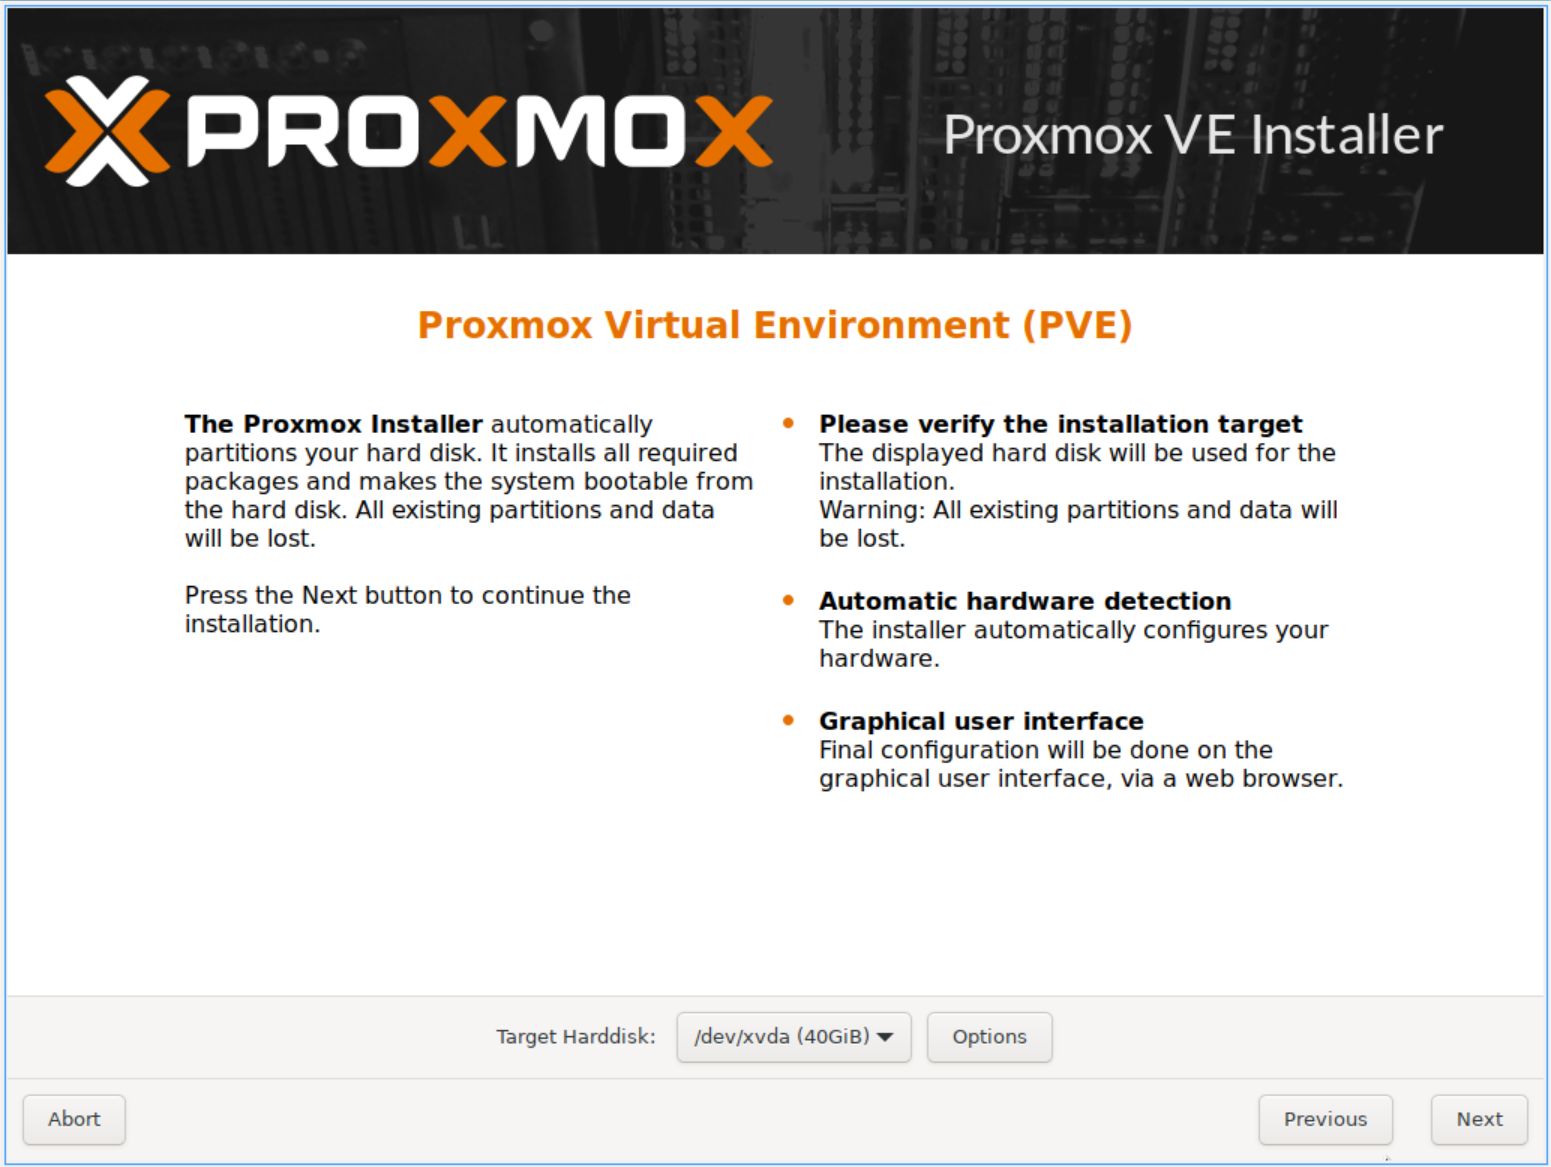
If your computer has multiple hard drives, select the hard drive you want to install Proxmox on here, then click Next. If you want to set up advanced settings, click the Options button to adjust the parameters.
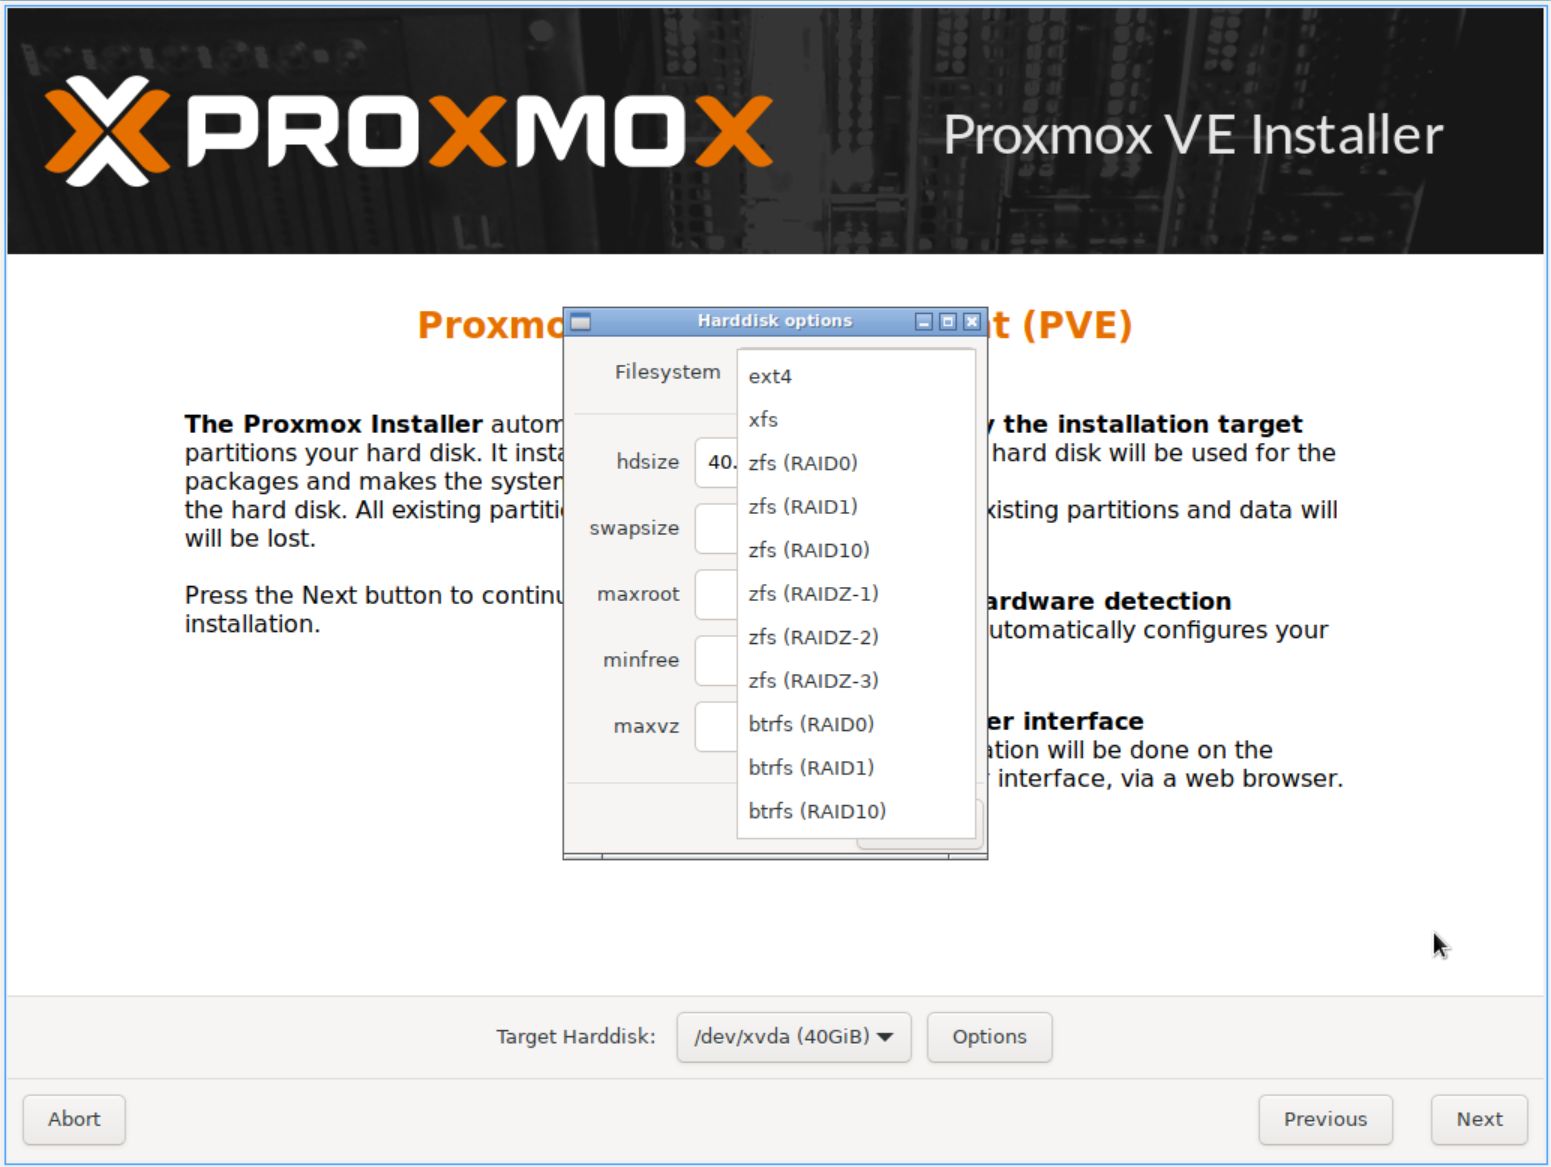
After clicking on Options, you can change Filesystem: ext4, xfs, zfs,… By default Proxmox will use ext4
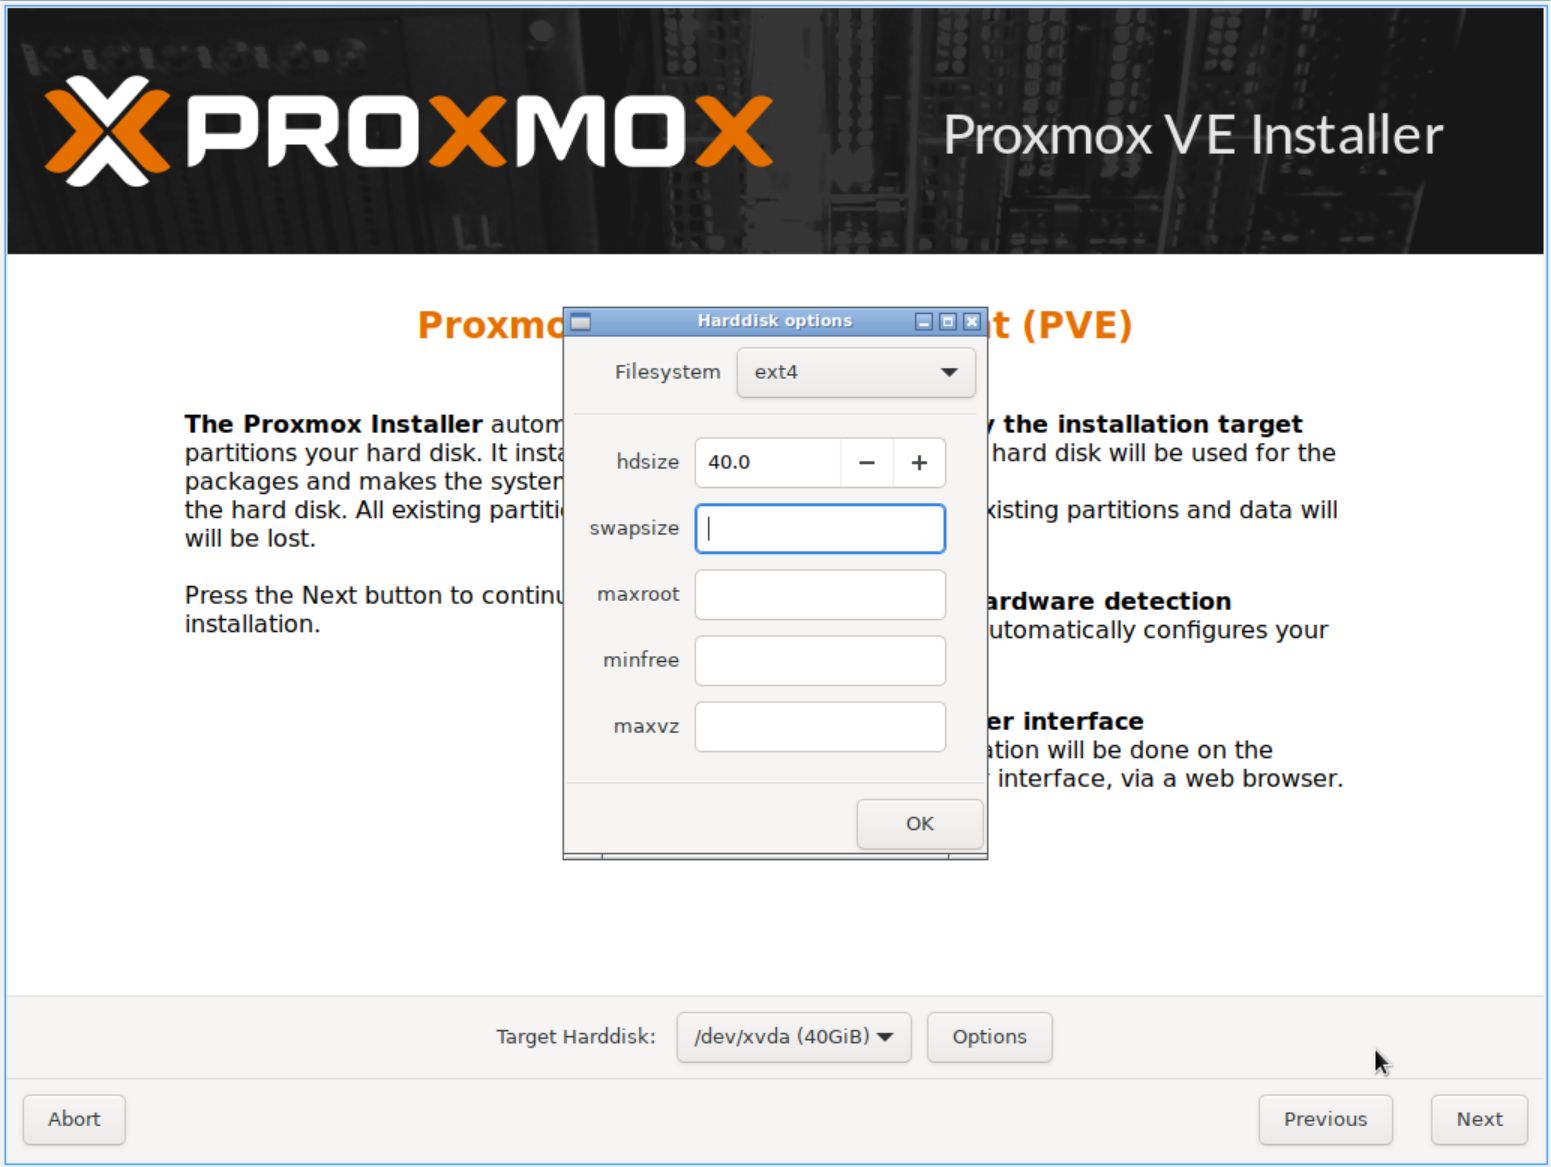
You can adjust more parameters swapsize, maxroot, minfree, maxvz. See details here. If you are just starting out, leave it blank and let Proxmox handle it.
Click OK to close the Harddisk options dialog box and click Next.
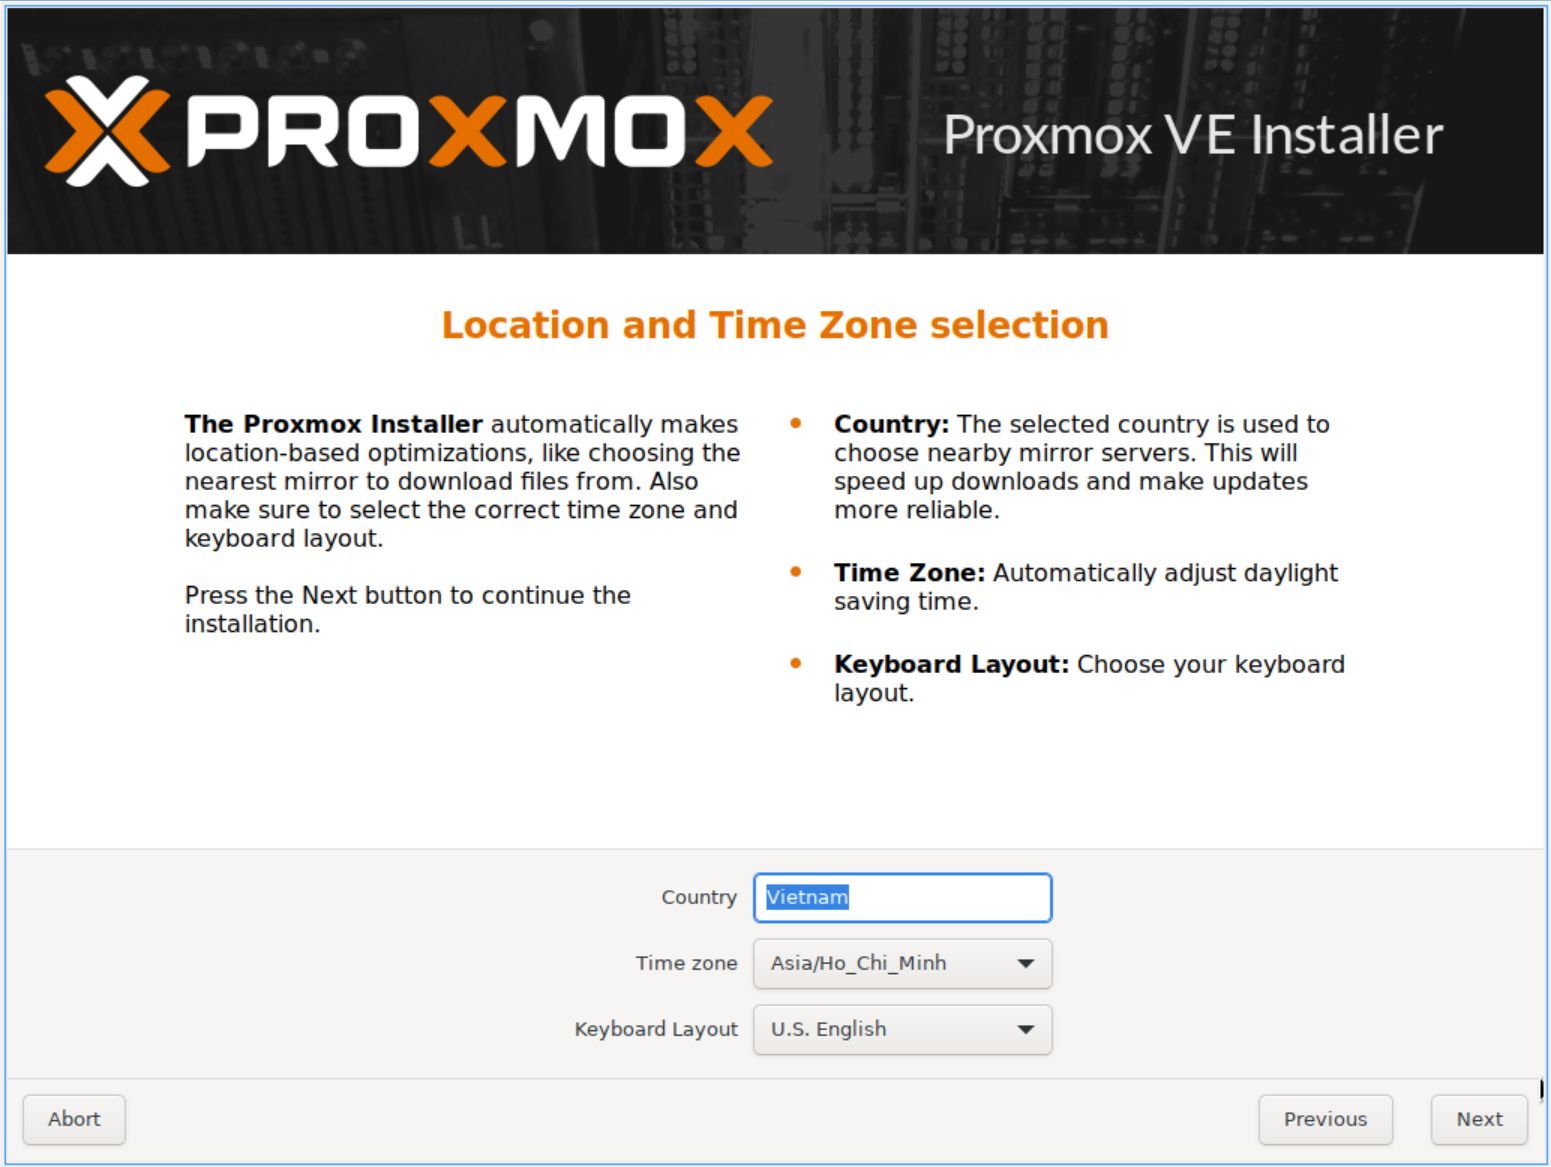
Select Country, Timezone and Keyboard layout, then click Next
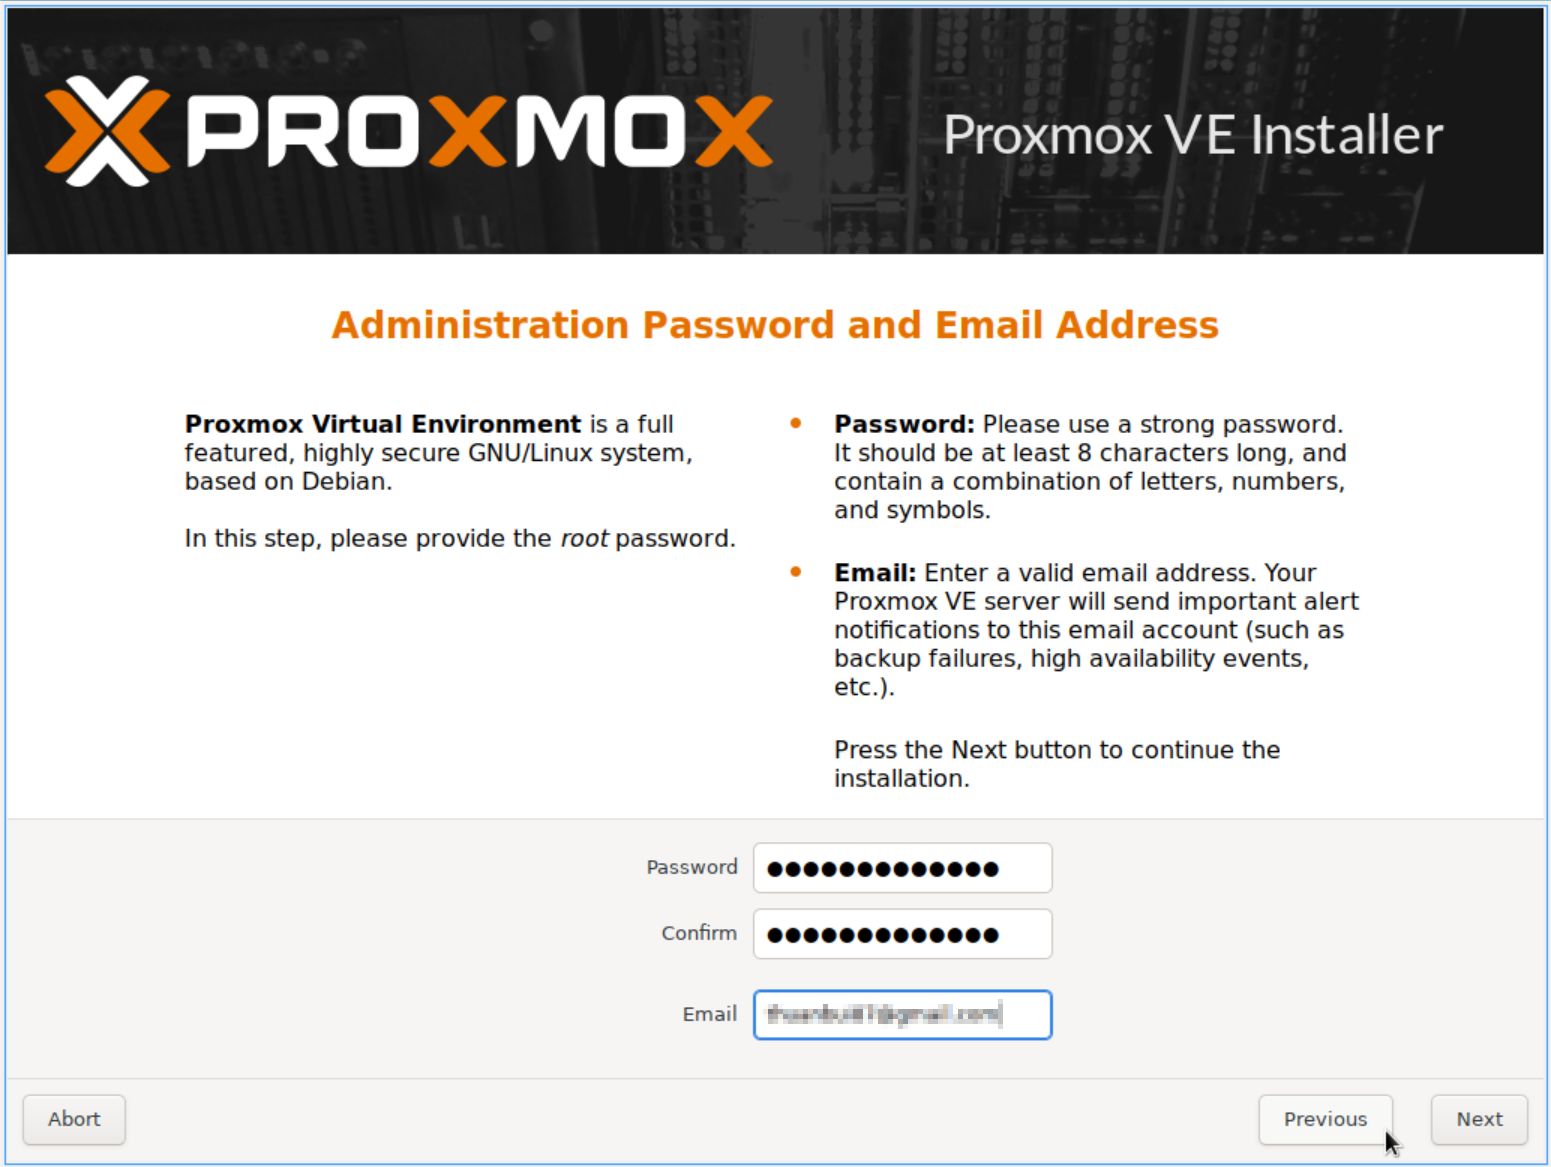
Enter the password for the root account and email address. Click Next
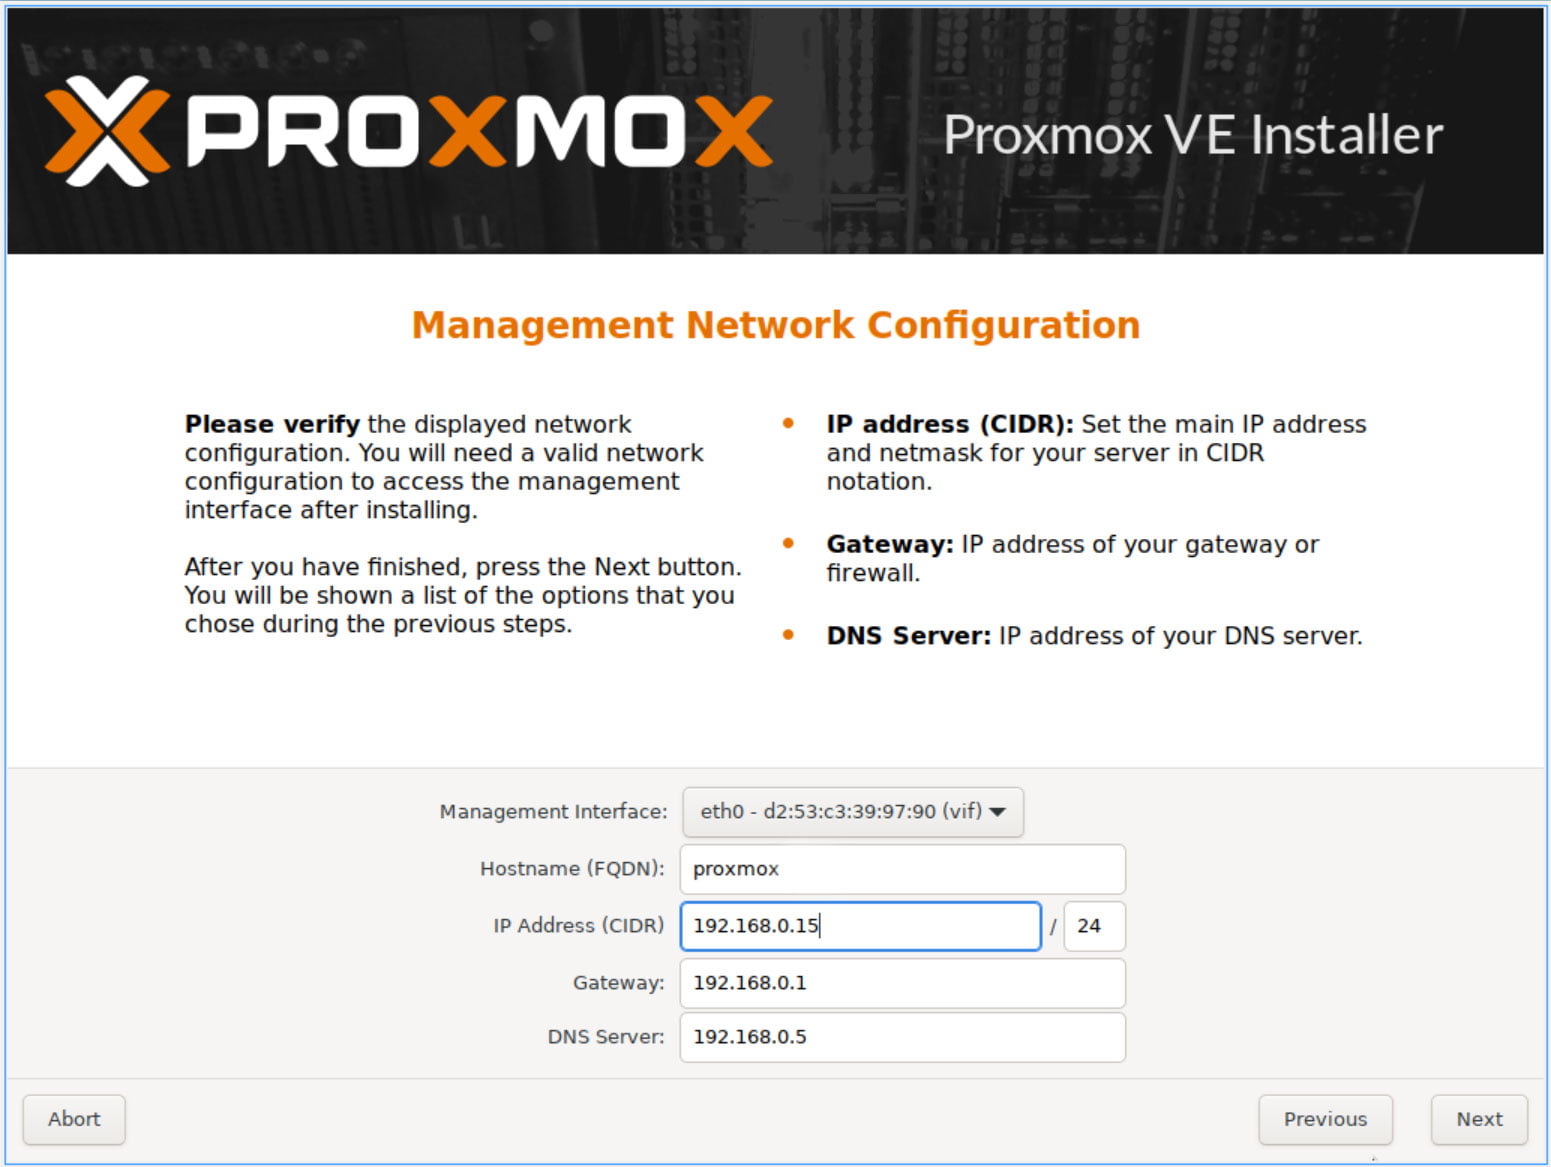
Set a static IP address for the Proxmox machine. Then click Next
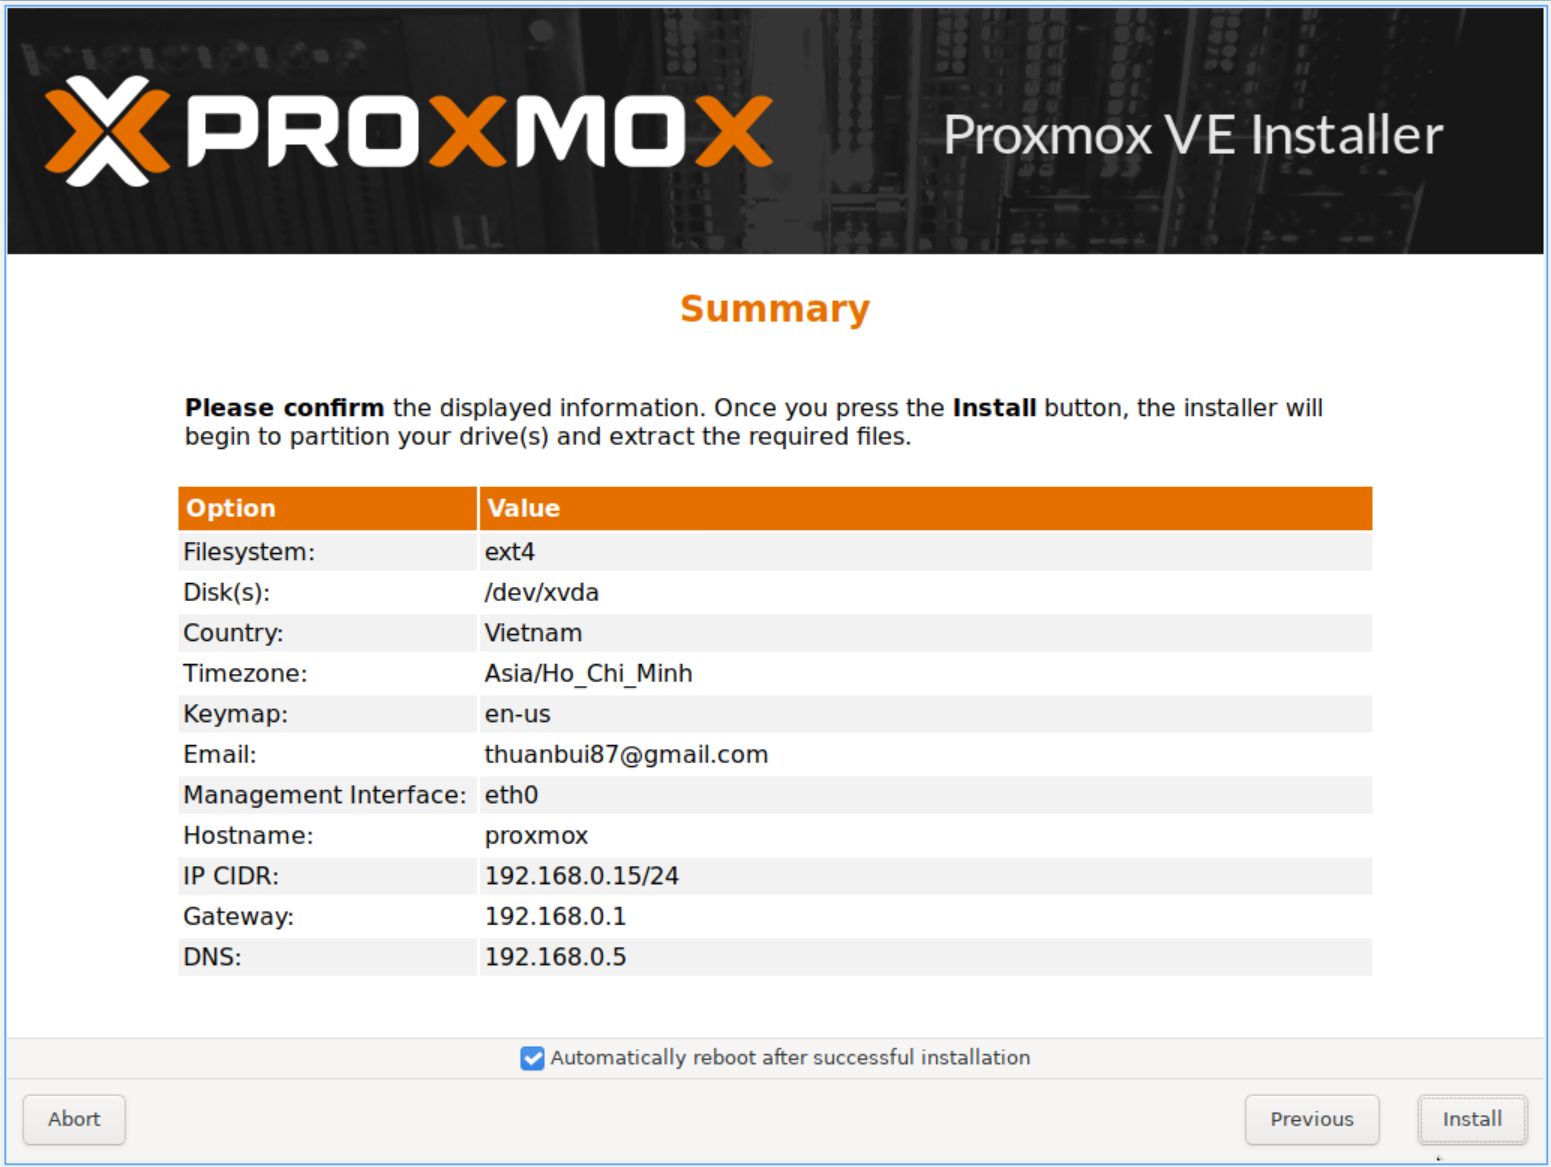
Click Automatically reboot after successful installation to have the computer automatically restart after the installation is complete. Click Install to start installing Proxmox on the hard drive.
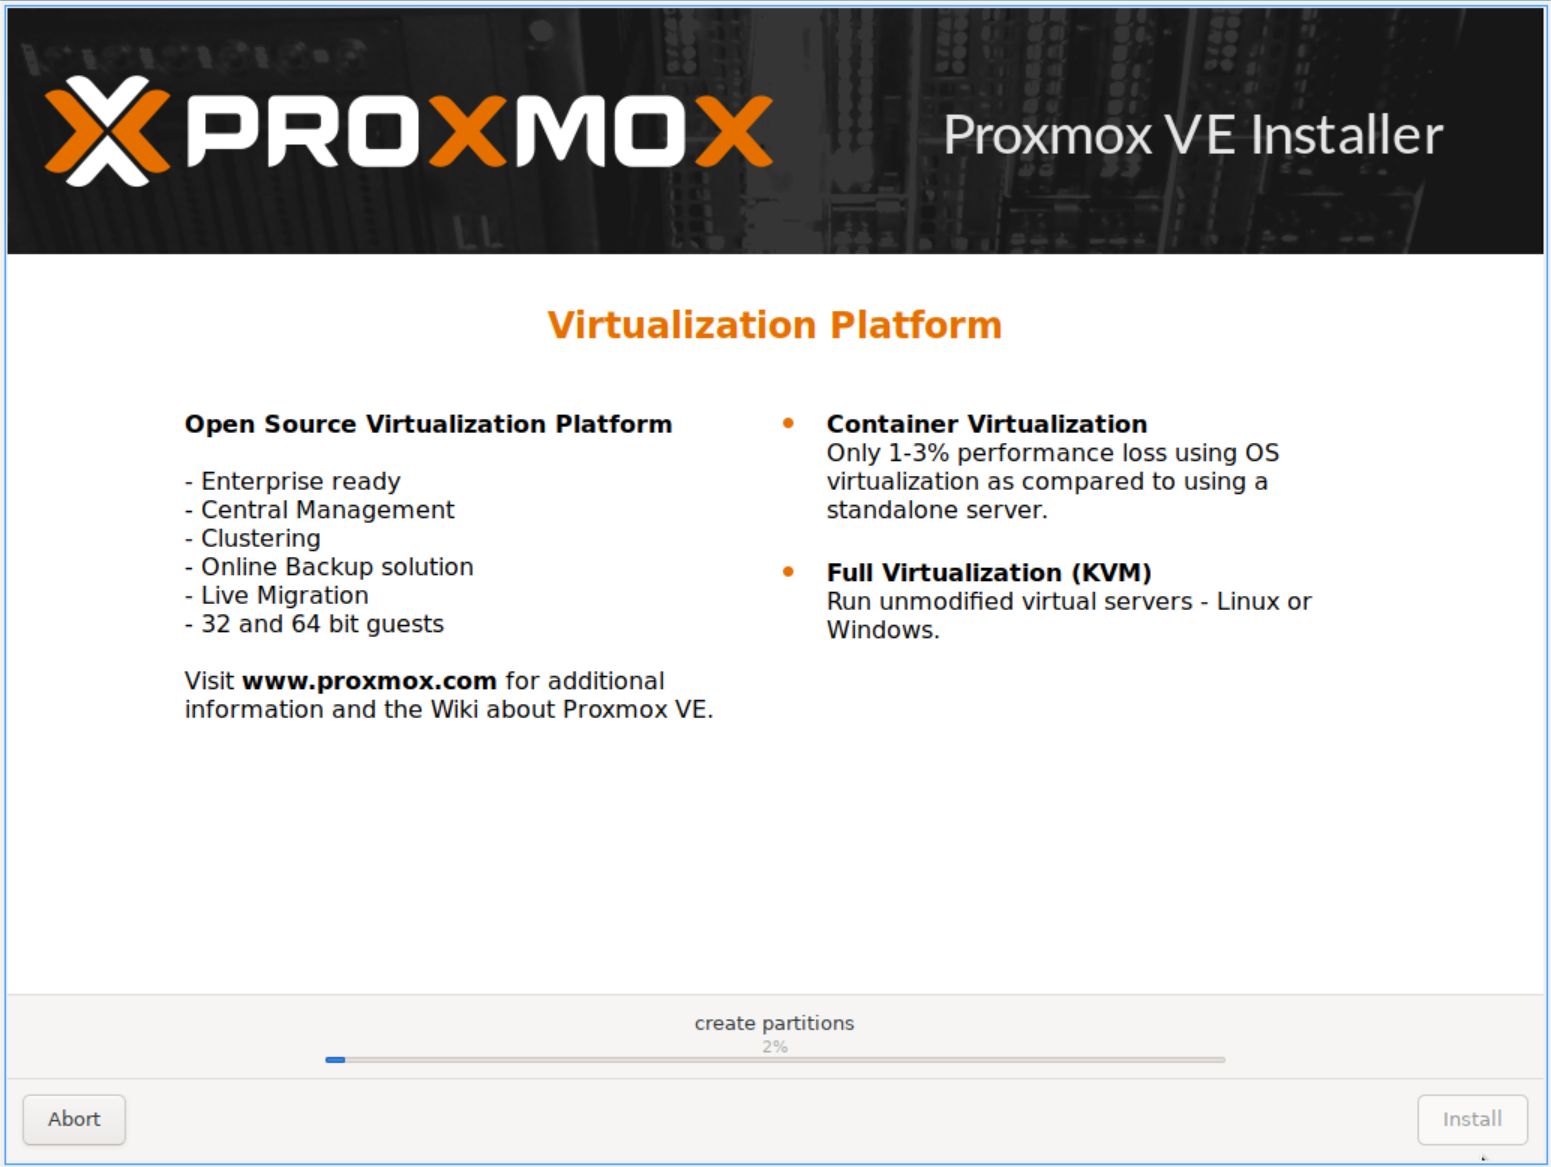
The installation process will take about 5-10 minutes depending on your computer configuration.
After installation is complete, the computer will automatically restart and boot into the Proxmox command line interface.
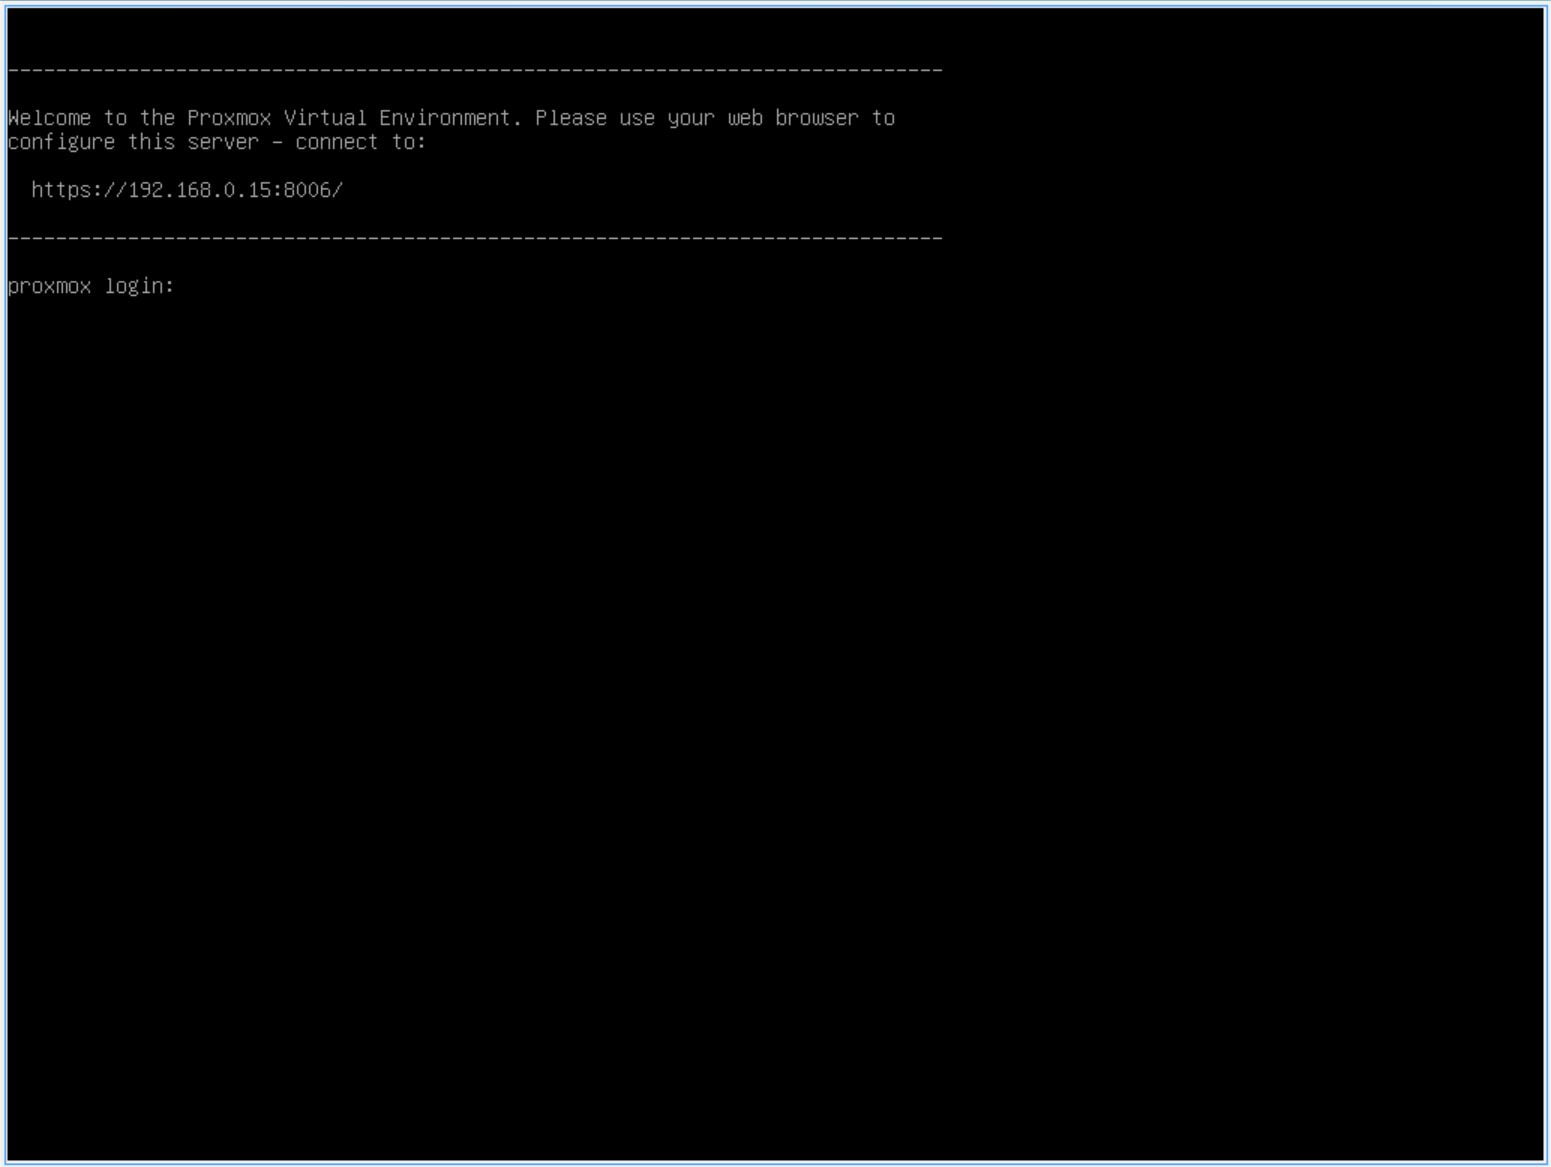
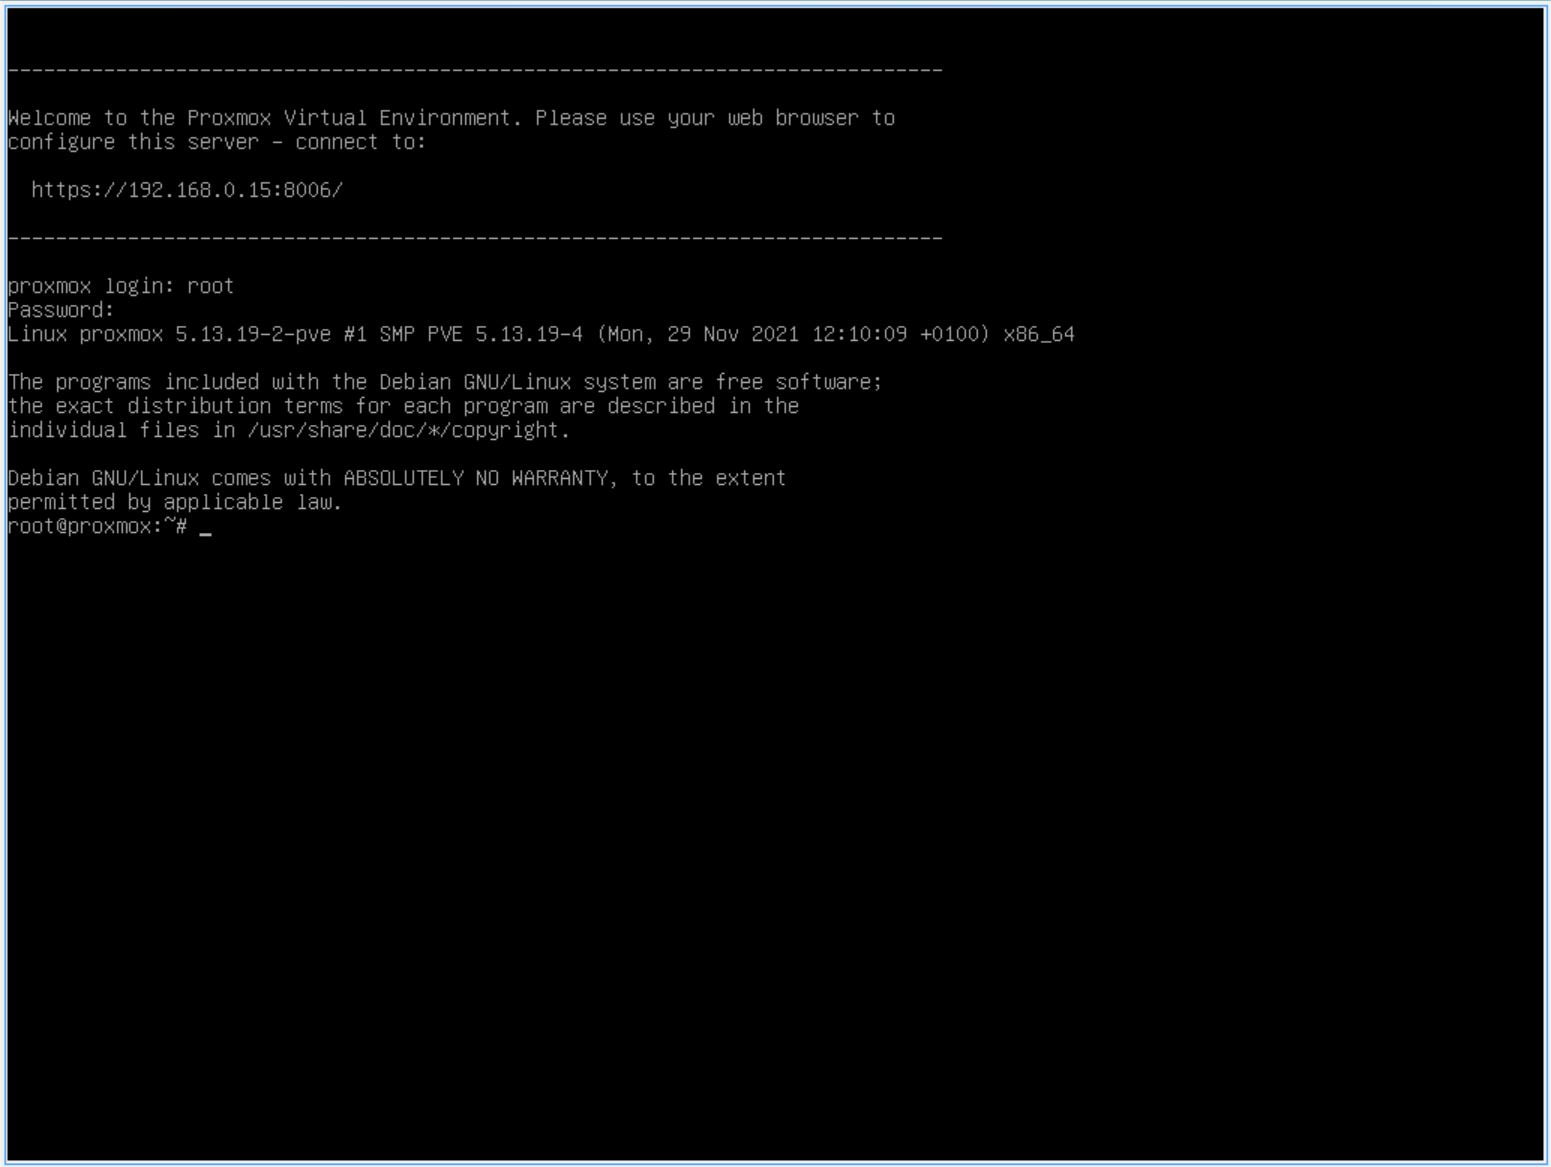
You can log in using the following information:
- login: root
- password: the password you set in the installation step
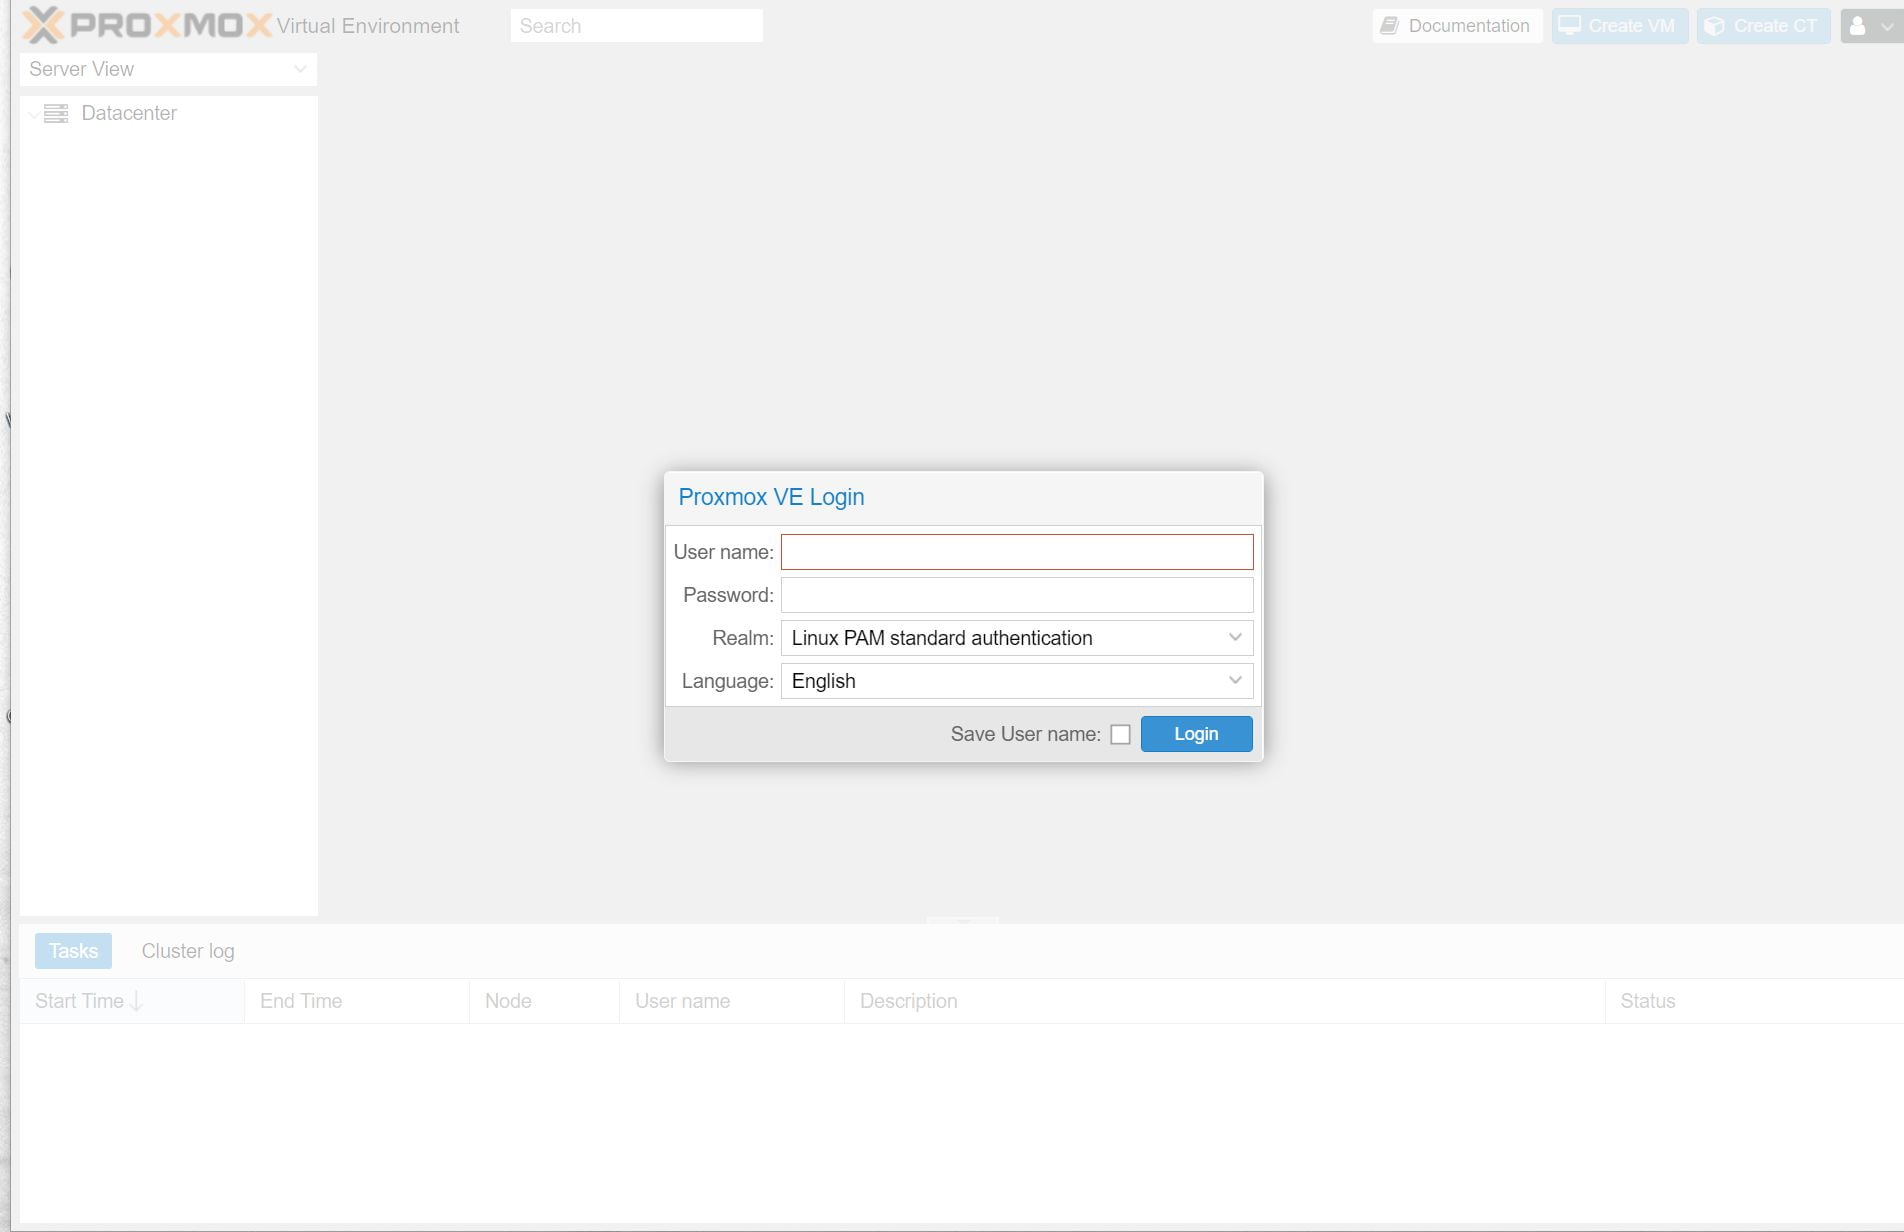
IV. Access Proxmox Web UI
To manage Proxmox, we will use a web browser to access the Web UI interface according to the IP address set in the installation step with port 8006. I will access the address:https://192.168.0.15:8006
Log in with the root account and password you set up earlier. Click Login
Proxmox will display a message that you are not subscribed to a subscription. Click OK to skip.
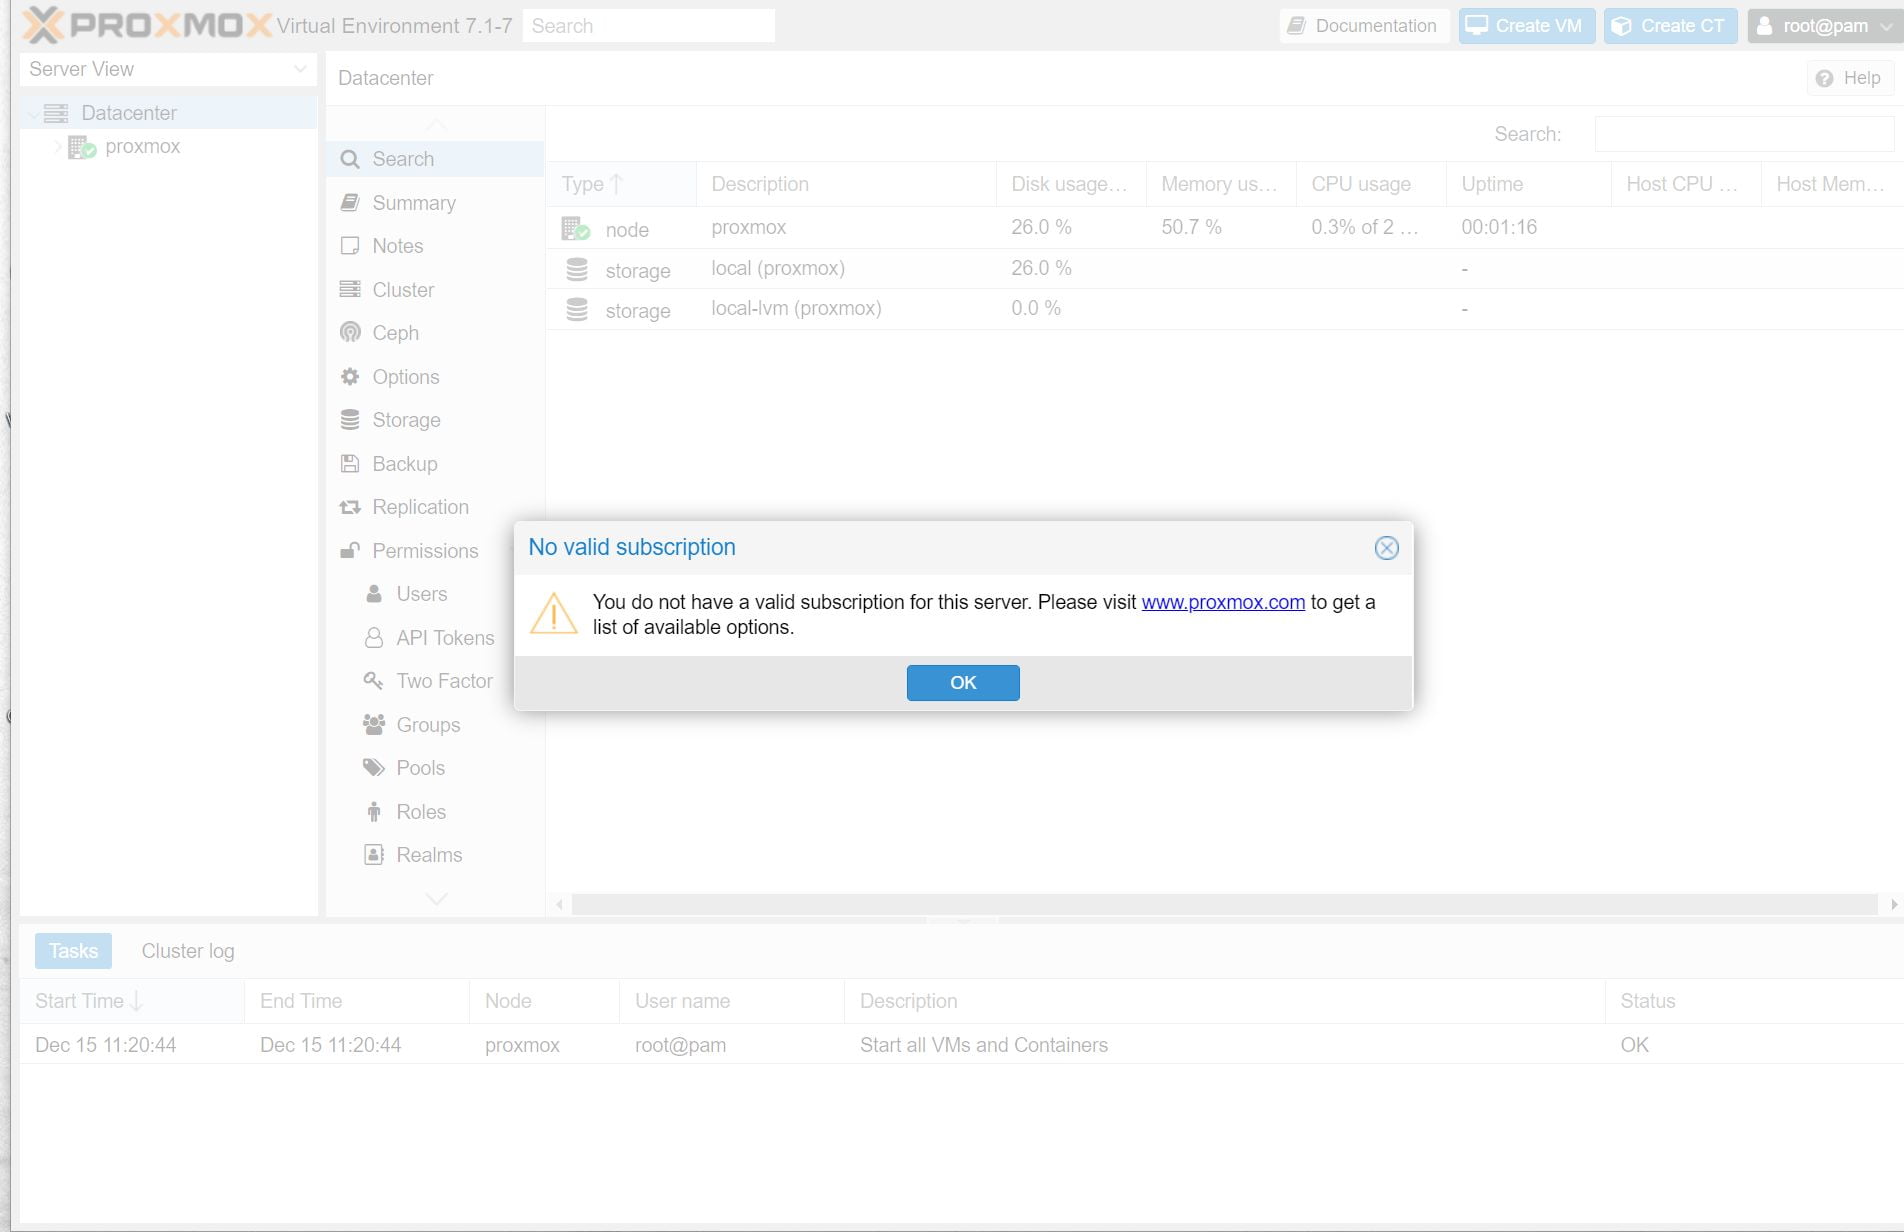
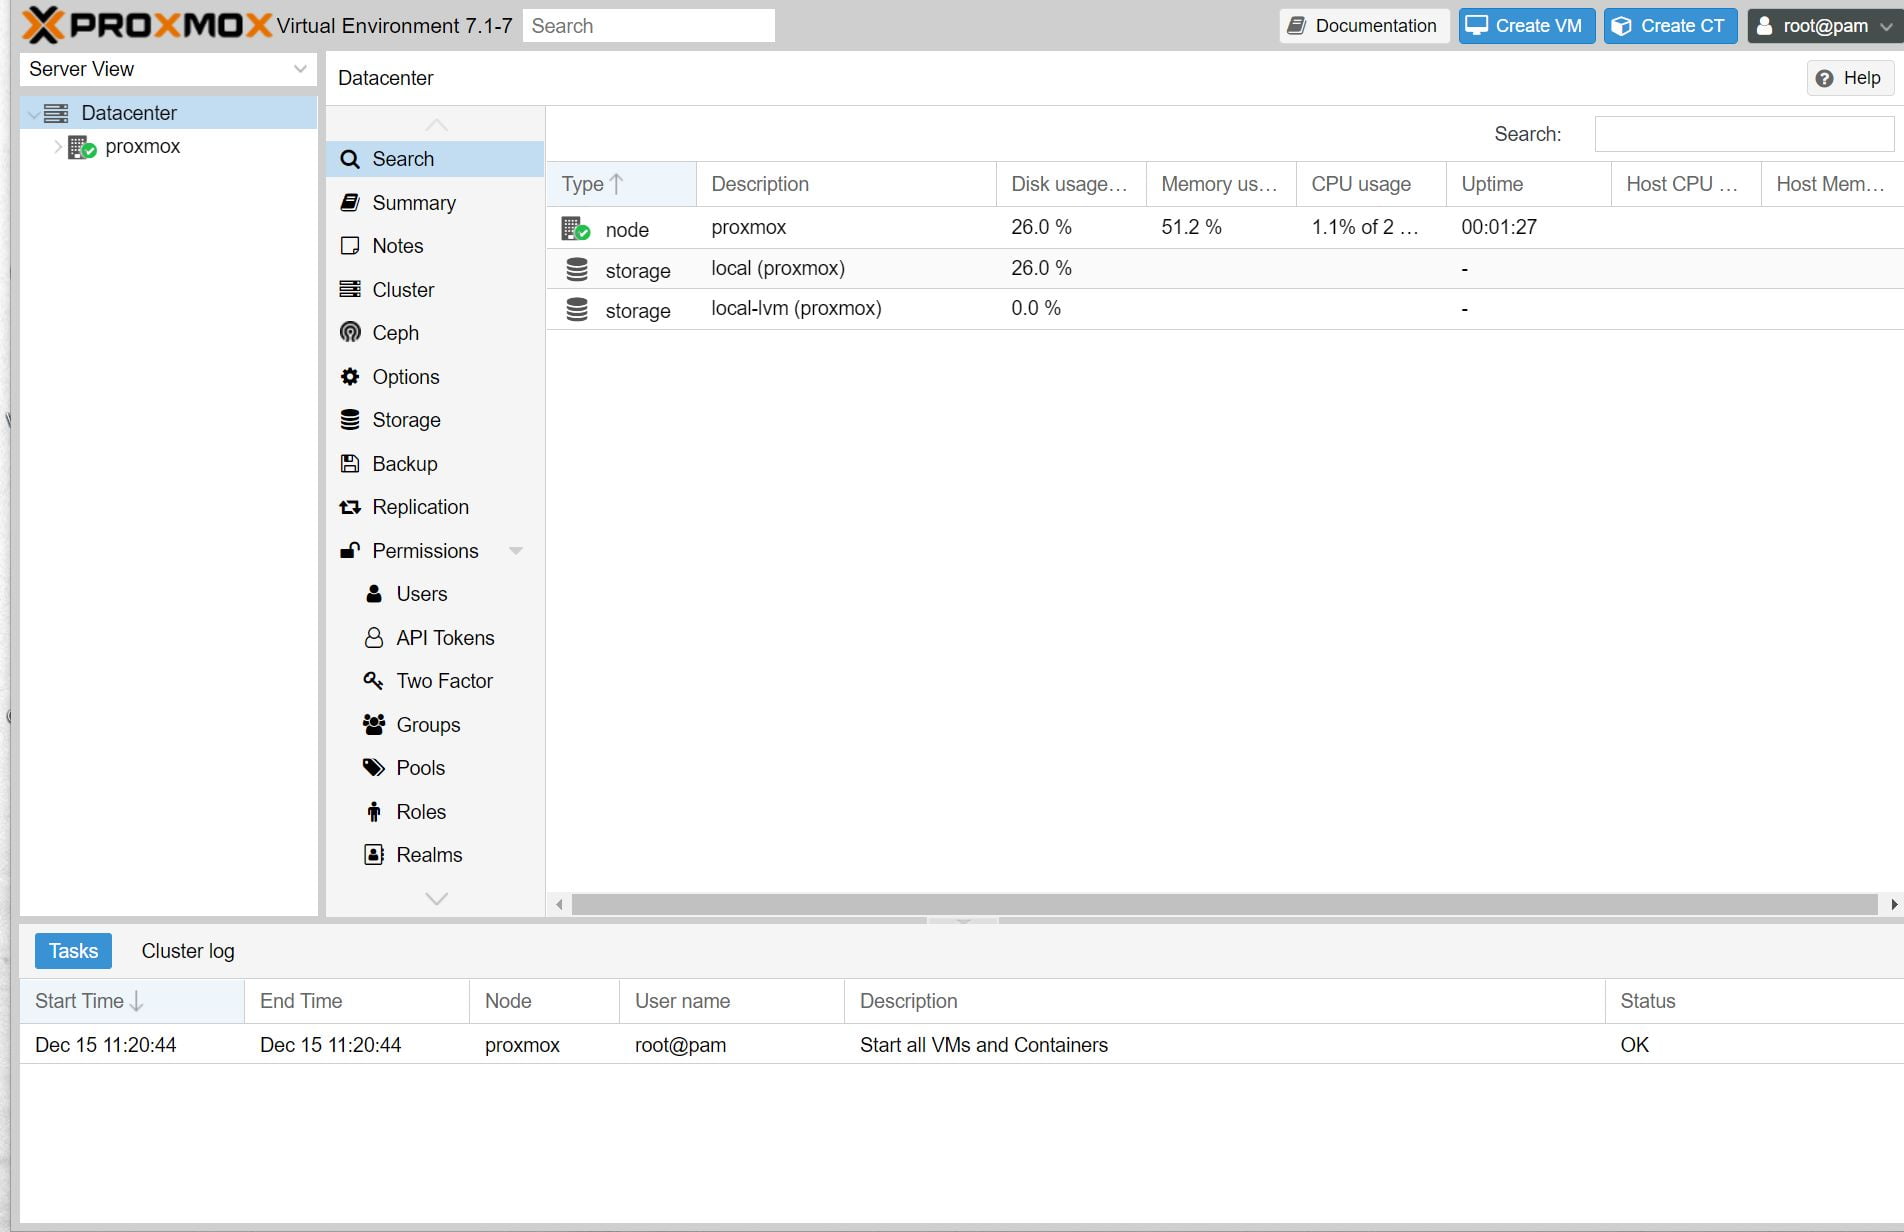
This is the interface of Proxmox VE 8.2
Proxmox has been successfully installed. In the following article, I will guide you on how to get familiar with Proxmox’s web interface and how to create a virtual machine on Proxmox.
Comment Policy: We truly value your comments and appreciate the time you take to share your thoughts and feedback with us.
Note: Comments that are identified as spam or purely promotional will be removed.
To enhance your commenting experience, consider creating a Gravatar account. By adding an avatar and using the same e-mail here, your comments will feature a unique and recognizable avatar, making it easier for other members to identify you.
Please use a valid e-mail address so you can receive notifications when your comments receive replies.