After a period of running Xpenology on Proxmox and ESXI virtual machines, I switched to Xpenology settings directly on the mini PC Lenovo M600. The purpose is for long -term and stable XPENLOLOLY use, limiting conflicts when running on virtualization platform.
I will transfer some docker applications from the LXC of Proxmox to the manager XPenology. Therefore, it is imperative to install the docker into the fake Synology. And here is the guide.
1. Installing Container Manager
On DSM 7.2, access package center, find package name “Container Manager”, and install it. If you use DSM 6.x or 7.1.x, install the “docker” package. Compared to the Docker Package on the old versions, Package Container Manager above 7.2 is updated to support additional compose docker.

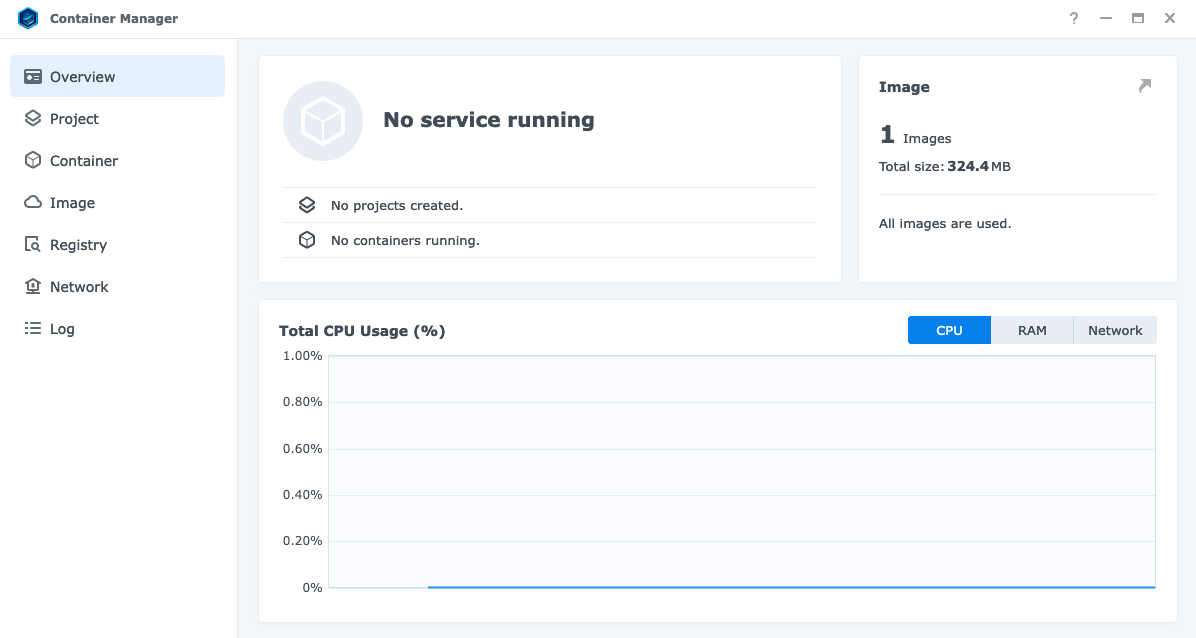
Container Manager application includes the following items:
- Overview: General information
- Project: Display information on docker applications (docker compose)
- Container: Information of the container docker is available on the system
- Image: Information Docker Image has downloaded
- Registry: Display popular docker image so you can download it quickly
- Network: Display the internal network.
- Log: Record the notifications of the Docker applications.
2. Install the docker application by container manager
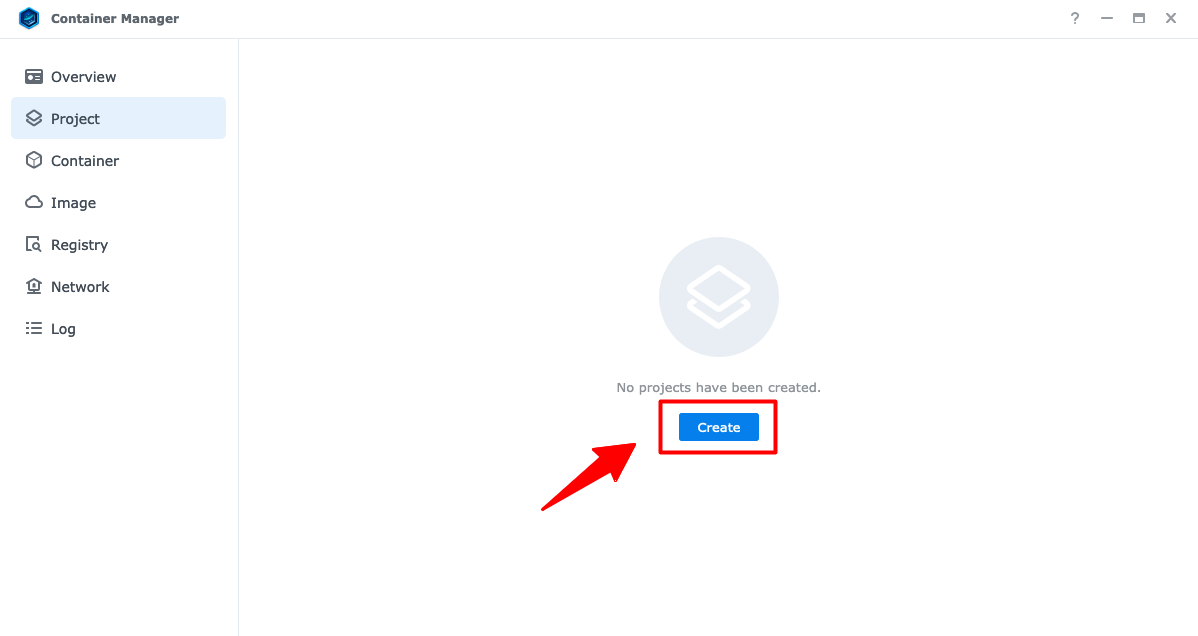
Visit the Project section of the Container Manager and click Create to create a new project.
For example, I will install Cosmos-Server to DSM.
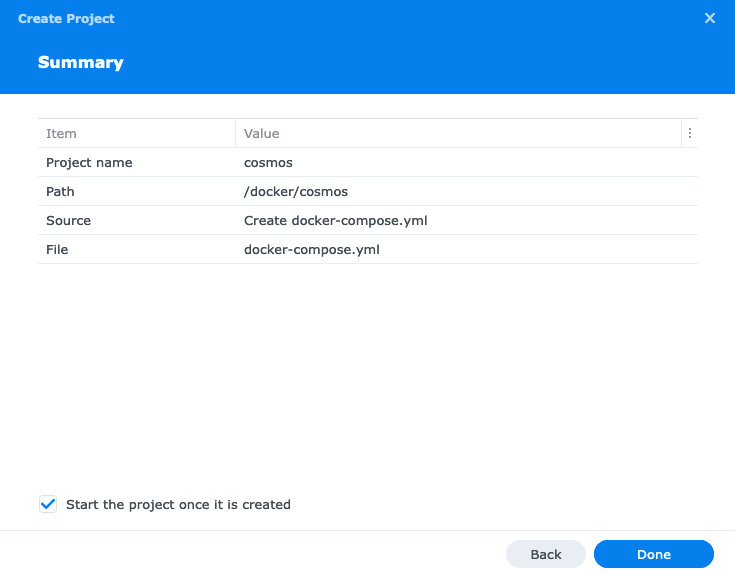
- Project Name: Name the project.
- Path: Select the path to save the docker-compose.yml file
- Source: Select Create Docker-Compose.yml and Paste content into the input section below.
Click Next.

Click Next. No need to set up web portal.

select the Start the Project once it is created. Click Done to complete.
In many cases, you will be reported Error response from deamon: Bind mount failed: ... Docker cannot be activated.
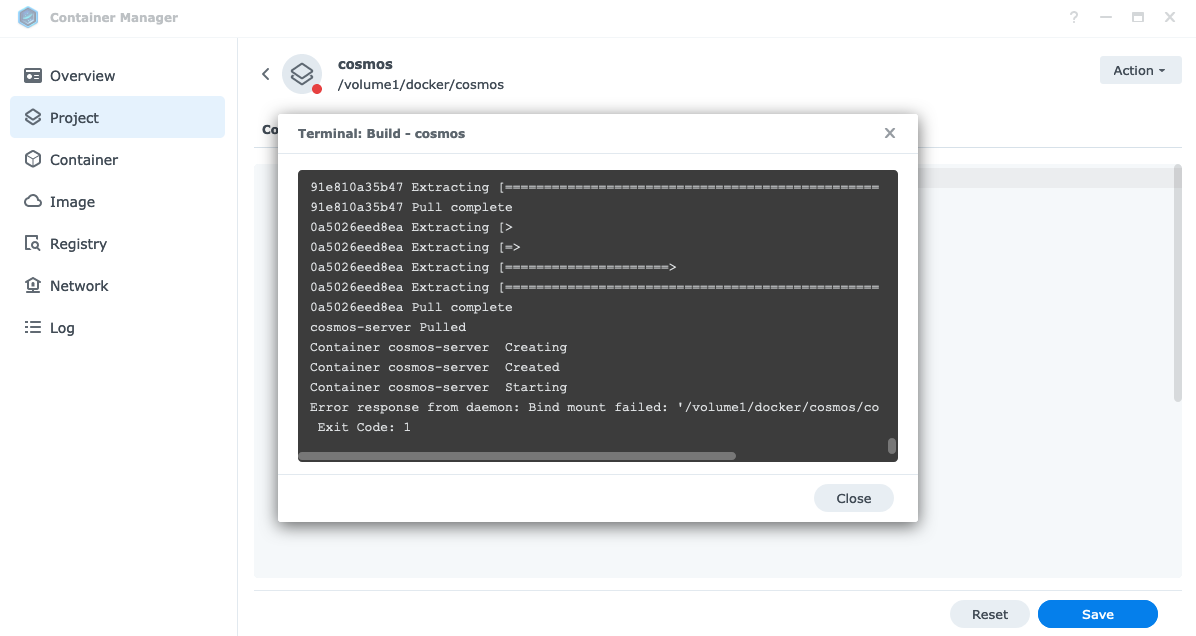
The above error occurs because the Synology Docker does not automatically create a new folder when activating Docker. Meanwhile, on Linux, new folders are declared in the file docker-compose.yml Always be automatically created when activating Docker.
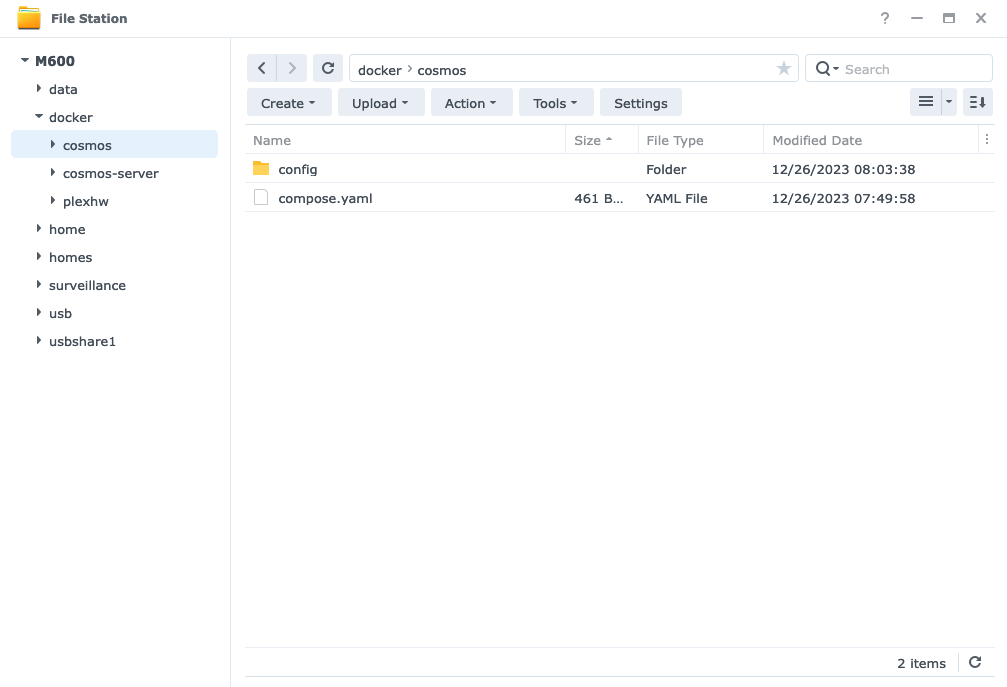
The solution is to use the station file, access the corresponding folder and create new folders. In this case, I create more config folders in the path /volume1/docker1/cosmos
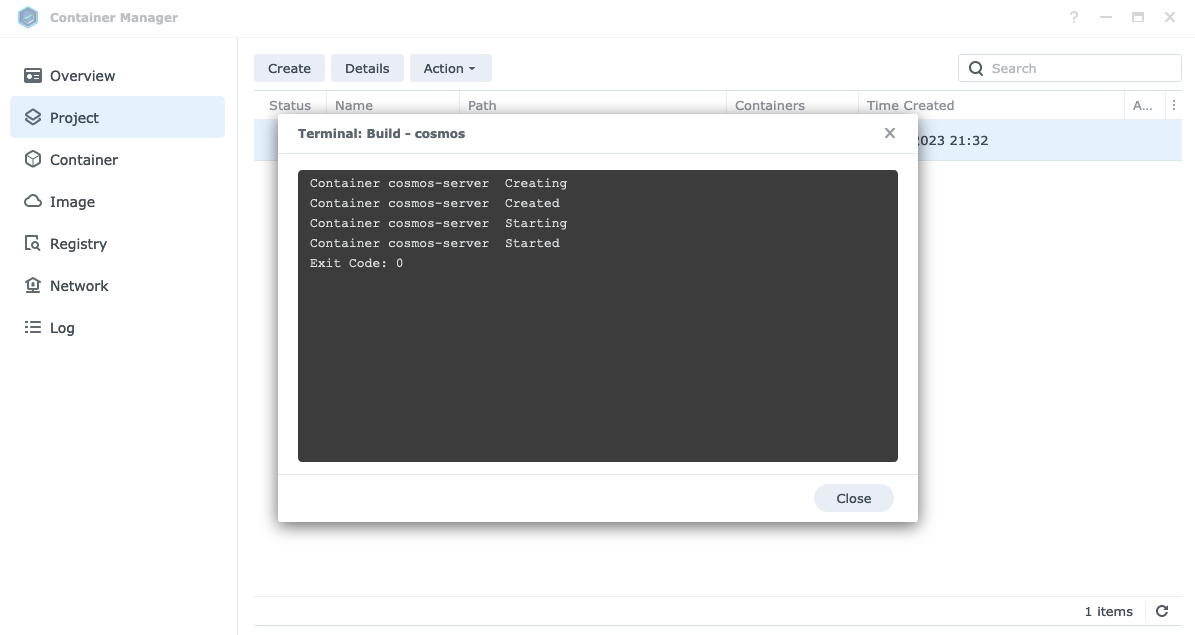
Back to Container Manager, access the Project section, select the created Project, click Action, select Build to activate. The application will be activated successfully.
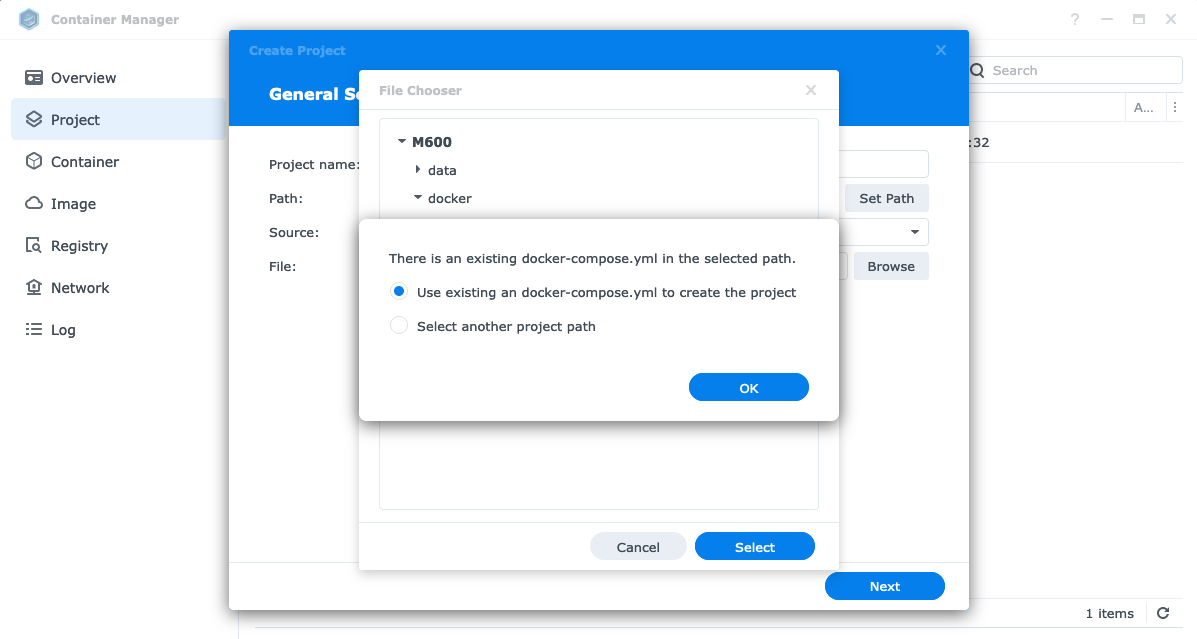
3. Activate the Docker from the compose.yml file available
In addition to creating files compose.yml (or docker-compose.yml) Directly by container manager, you can create a YML file using text editor, or rsync folder containing YML file from another machine.
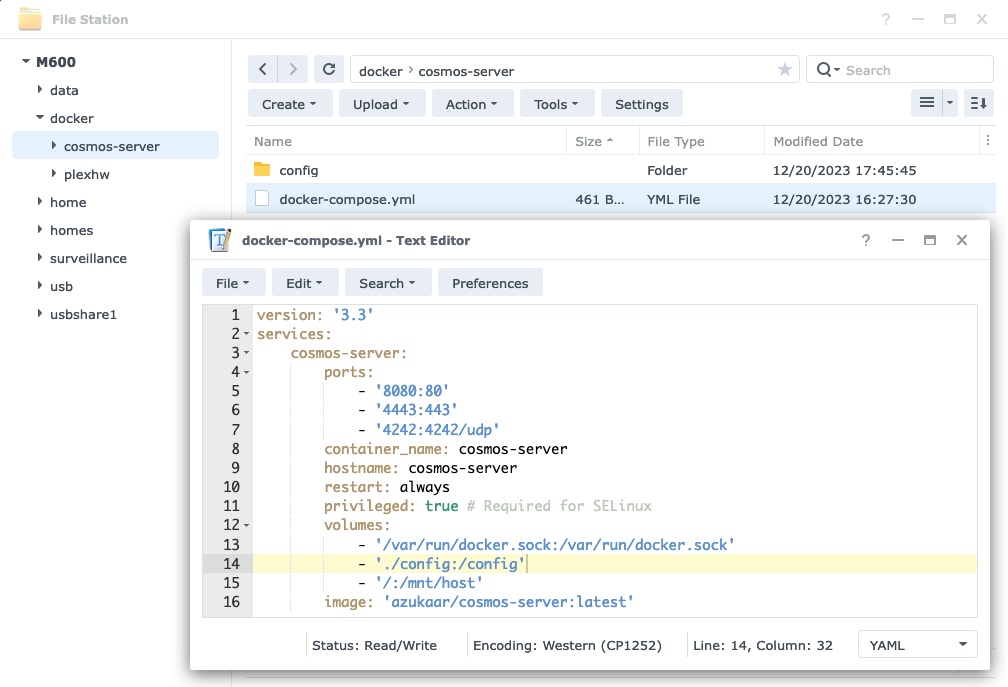
Then access the Project of Container Manager to create a new project. When selecting the folder already has files docker-compose.ymlthe system will download this file to the new project.
After successfully activating Docker applications, you can view general information in the Overview section, accompanied by CPU/RAM/NETWORK parameters.
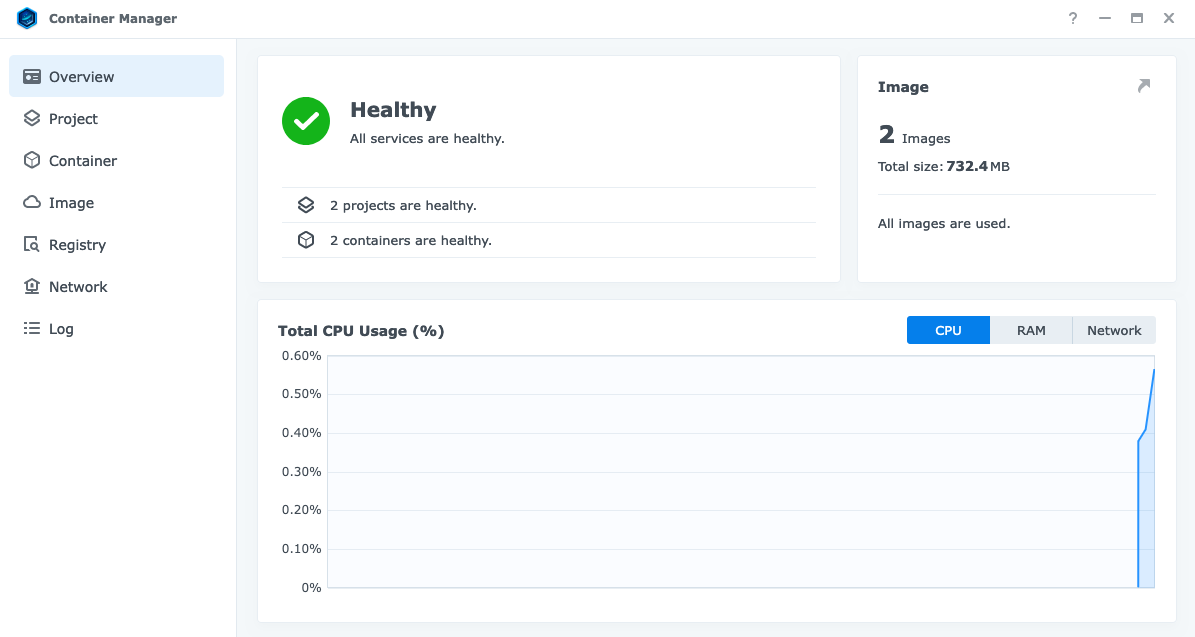
That’s it! Synology/Xpenology now runs Docker!
Comment Policy: We truly value your comments and appreciate the time you take to share your thoughts and feedback with us.

Note: Comments that are identified as spam or purely promotional will be removed.

To enhance your commenting experience, consider creating a Gravatar account. By adding an avatar and using the same e-mail here, your comments will feature a unique and recognizable avatar, making it easier for other members to identify you.

Please use a valid e-mail address so you can receive notifications when your comments receive replies.