In this article, I will show you how to install N8N – A powerful Automation tool – up LXC Container of Proxmox, using an automatic installation from ProxmoxVE Helper Script. This helps you quickly deploy N8N to deploy your automation processes.
1. Request before starting
- A server with Proxmox VE 8.x or later installed. See Proxmox installation guide
- Proxmox has an Internet connection, to download the necessary packages to your computer.
- Familiar with Proxmox Web UI or SSH.
2. Download Script Helper Install LXC
Visit the shell of Proxmox via the UI web interface, then download the N8N settings using Script from Proxmox helper scripts by the following command:
bash -c "$(curl -fsSL https://raw.githubusercontent.com/community-scripts/ProxmoxVE/main/ct/n8n.sh)"Code language: Bash (bash)This script will automatically create a new LXC container and install N8N to this LXC.
Note: According to the recommendation from Proxmox Helper Scripts, you should install the application via Proxmox Ve Shell, should not be installed via SSH connection to avoid errors.
3. Set container parameters
The installer will ask you to answer some questions to set the parameters for the new container.
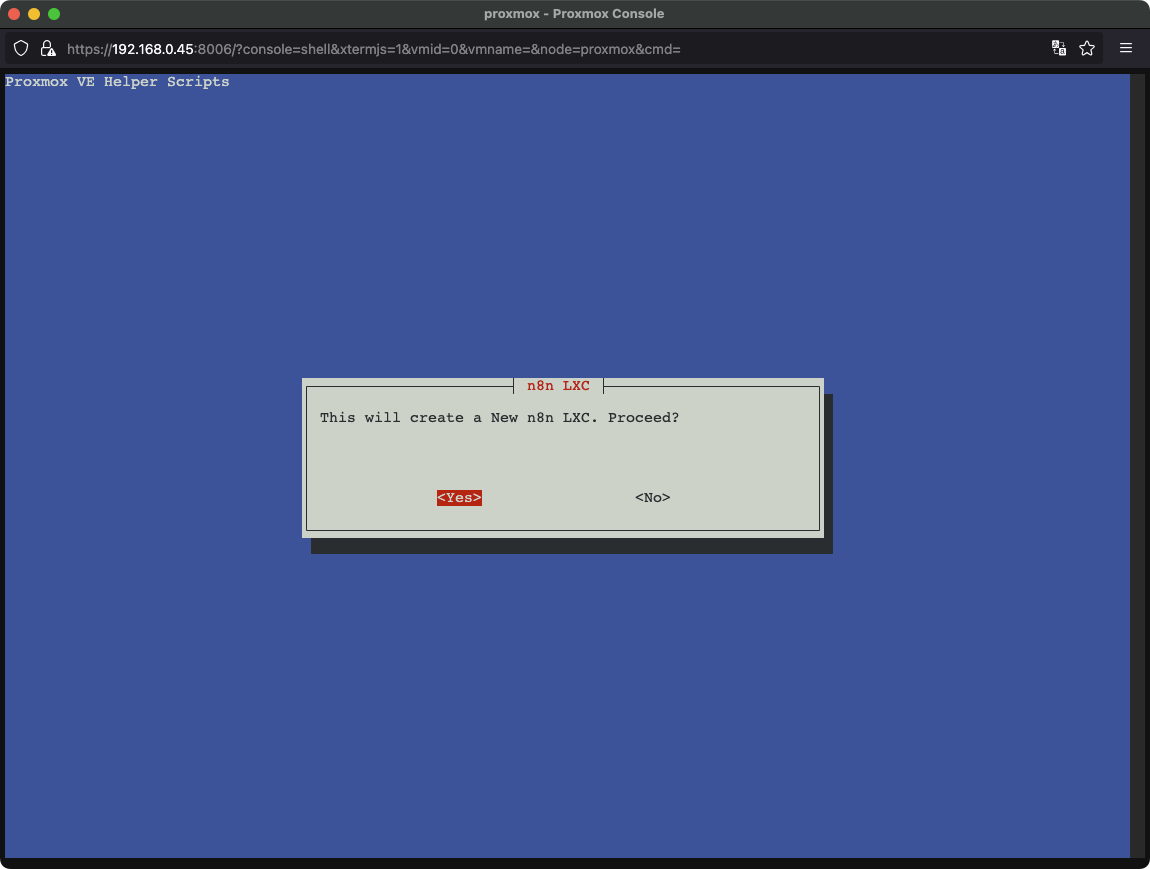
Select Yes to confirm the creation of new containers for N8N.
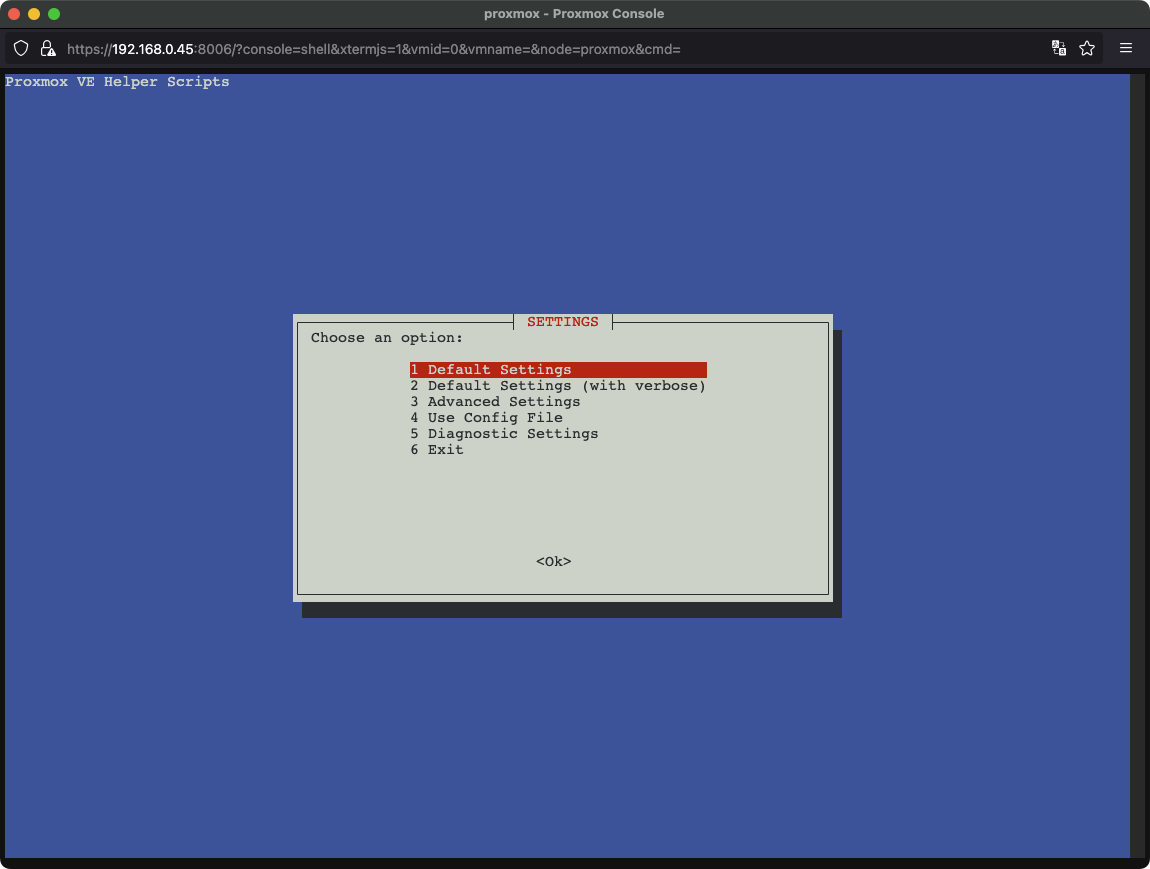
Select Default Settings to keep the default parameters or select other options if you need to customize the parameters for the LXC container.
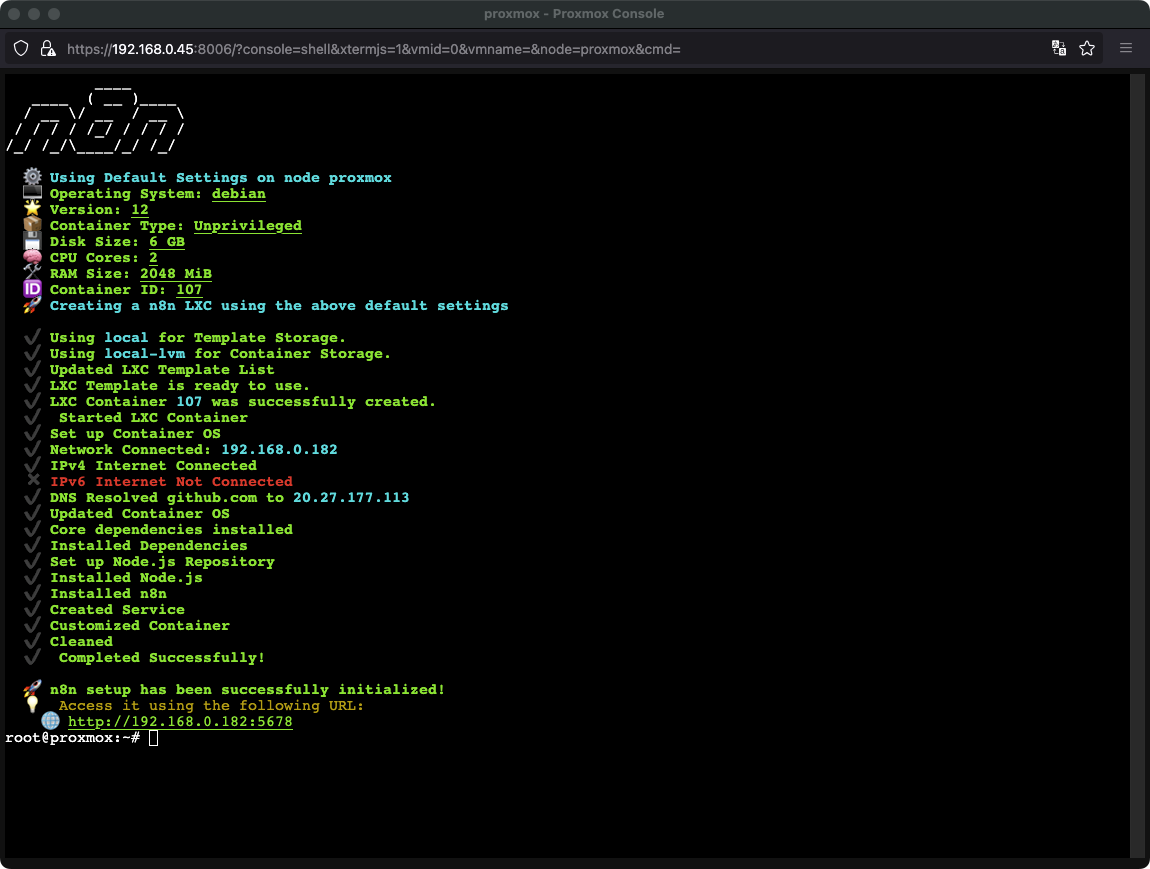
The installation process will last about 5-10 minutes depending on the network speed and Server configuration. All happen fully automatically.
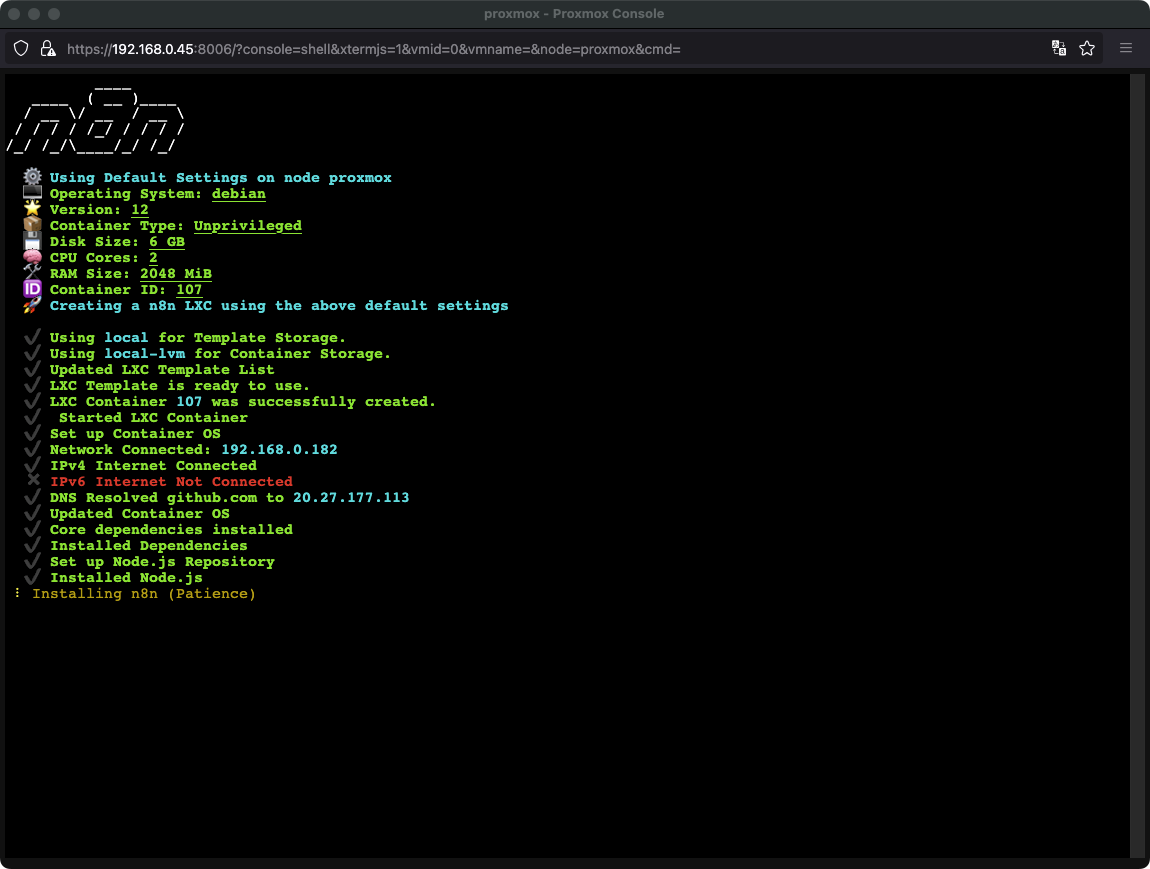
After the installation is complete, you will see the notice. “N8N Setup has been successfully Initialized!” The same URL address to access N8N.
4. Configuration N8N
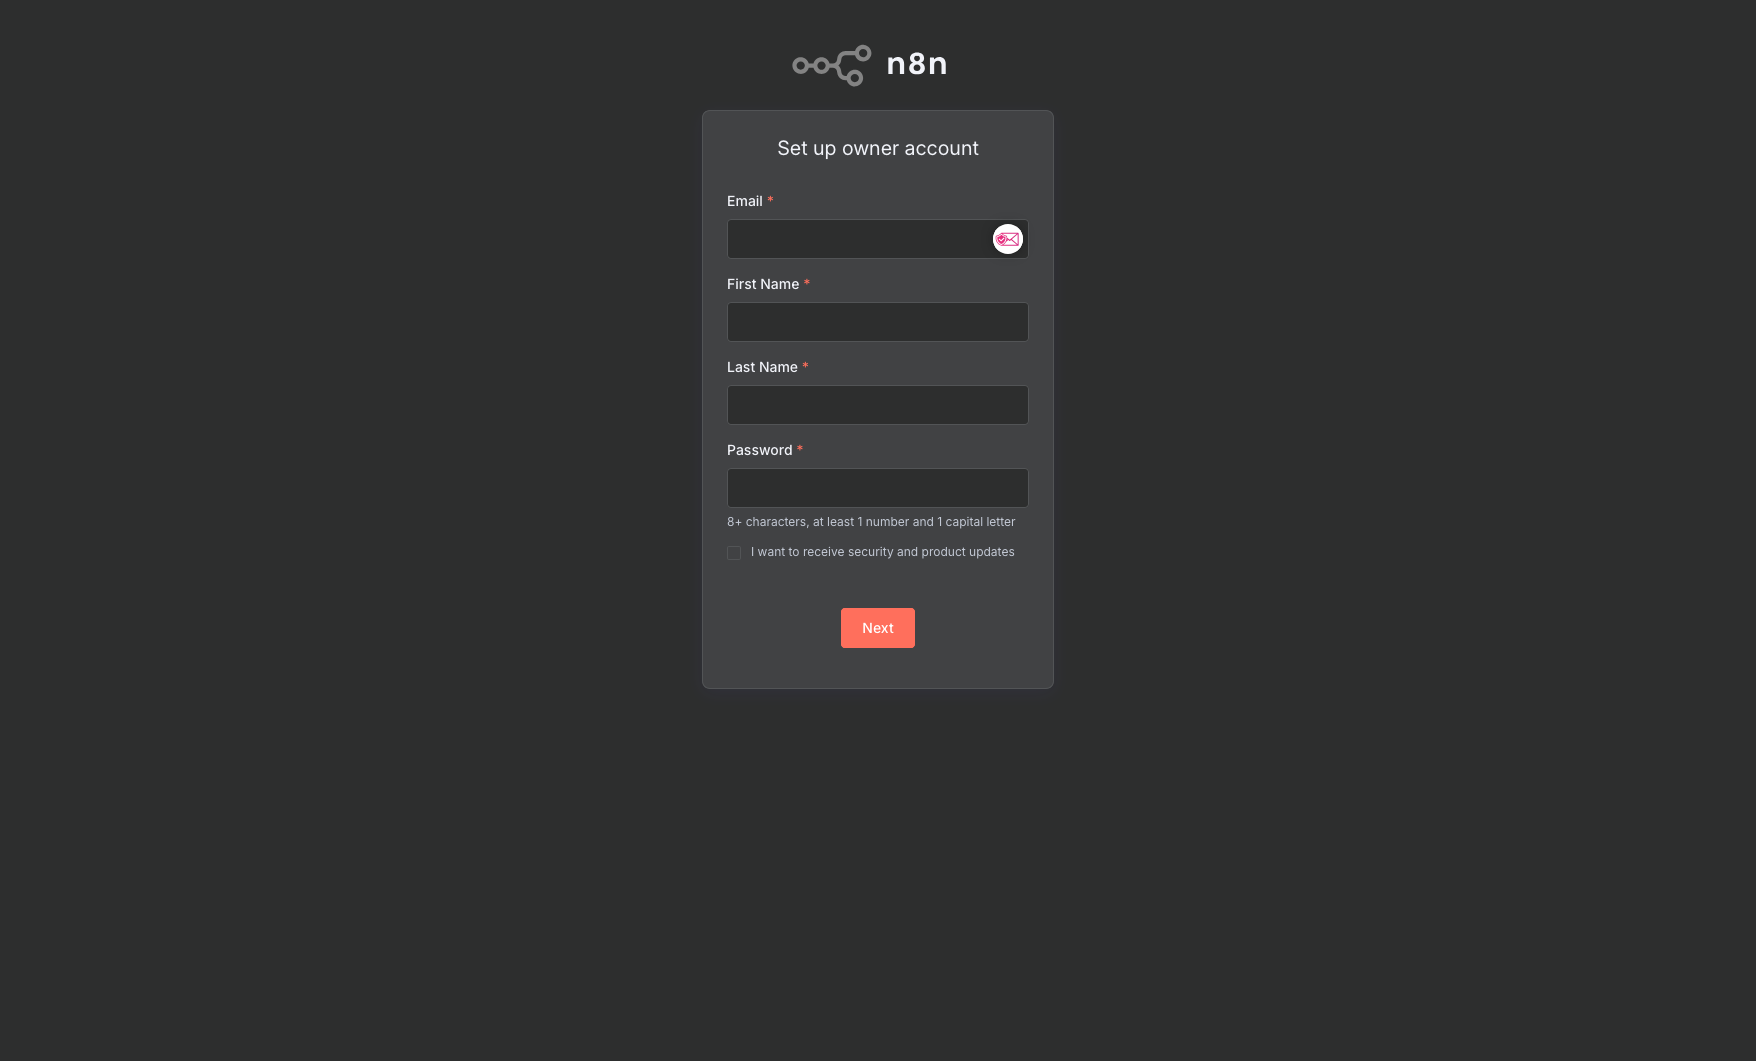
Open the browser and access the URL address appearing above to configure the original for N8N.
First, need to create an admin account (Owner Account) to manage N8N.
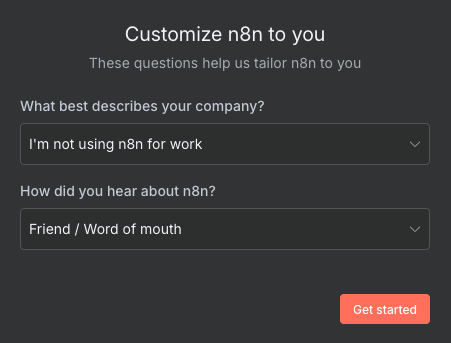
Choose the purpose of use and where do you hear from N8N
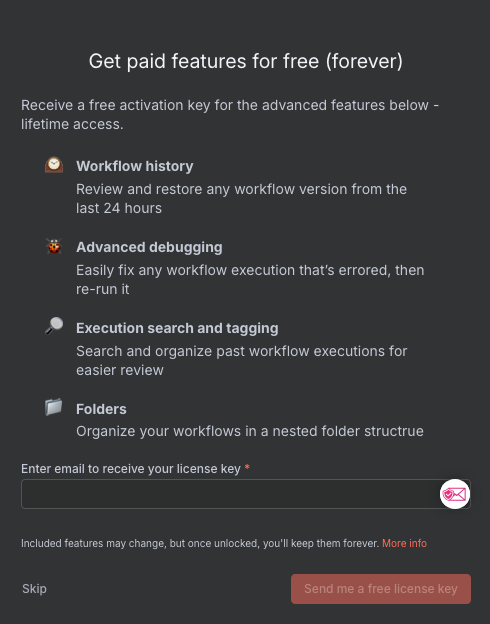
Temporarily I have not cared about advanced features so I click Skip to ignore.
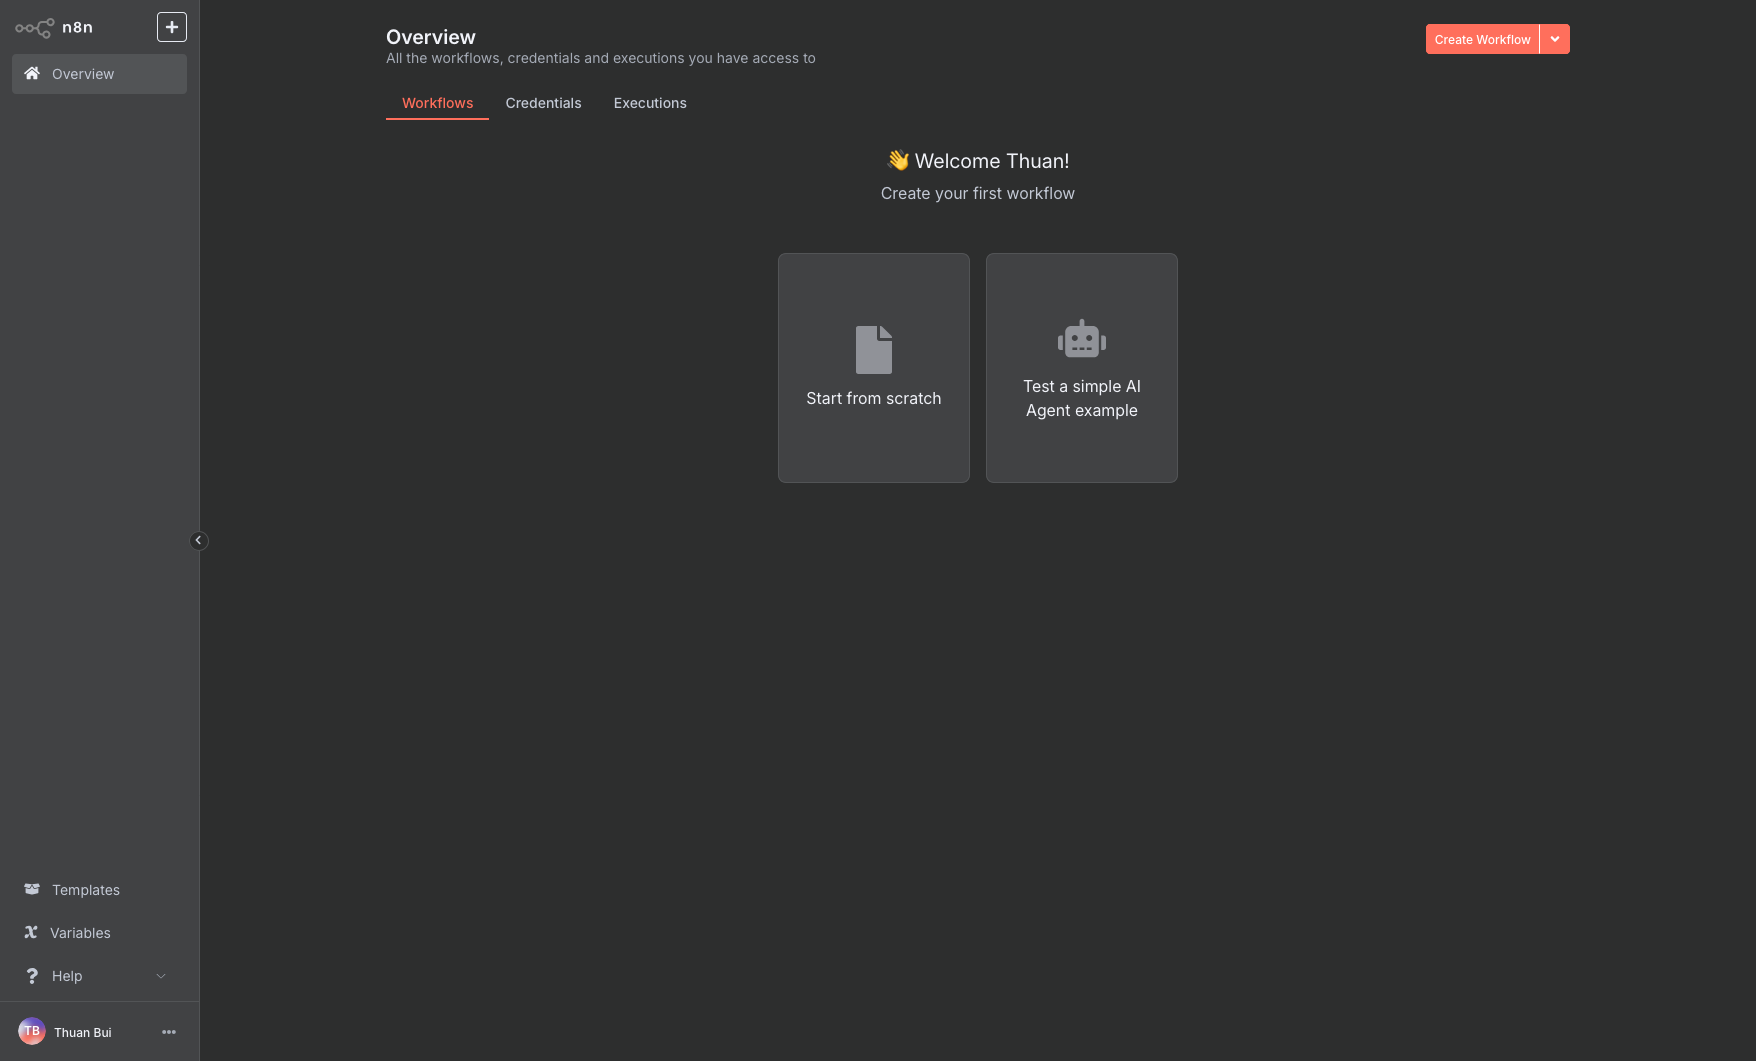
N8N’s management Dashboard has now appeared. To create a new Flow, click the Start from Scratch button.
5. Set Reverse Proxy for N8N
To be able to access N8N with a domain name, use Nginx Proxy Manager or Caddy. I have configured Caddy on Proxmox with Dynamic DNS and Wildcard SSL settings, so creating a new Reverse Proxy is now very simple.
Add to Caddyfile declaration to N8N
n8n.homelab.markknow.com {
        reverse_proxy 192.168.0.182:5678
}Code language: YAML (yaml)
Restart CADDY
docker compose restartCode language: Nginx (nginx)CADDY has been set up Wildcard SSL for the domain name *.homelab.markknow.com So after restarting caddy, domain name n8n.homelab.markknow.com Will immediately be ready to access with the attached SSL.
6. Conclusion
With the support of ProxmoxVE Helper Script, installing n8n on Proxmox becomes extremely simple and fast. If you want to install n8n on VPS, you can refer to the installation method using Docker Compose.
Hope this article helps you save time and easily deploy your own automation system.
Good luck with your installation!
Comment Policy: We truly value your comments and appreciate the time you take to share your thoughts and feedback with us.

Note: Comments that are identified as spam or purely promotional will be removed.

To enhance your commenting experience, consider creating a Gravatar account. By adding an avatar and using the same e-mail here, your comments will feature a unique and recognizable avatar, making it easier for other members to identify you.

Please use a valid e-mail address so you can receive notifications when your comments receive replies.