Update 09/2024: Added instructions for installing DSM 7.2 on Proxmox virtual machine
I have had many articles sharing about how to install Xpenology on the blog. However, all are installation instructions on Proxmox or ESXi virtual machines.
This time I will guide you through installing DSM 7.2 (currently the latest version is DSM 7.2.1-69057 Update 5) directly to the Server (Baremetal).
- The server is a Lenovo M600 mini PC configured with Intel Pentium J3710 CPU (4 Core), 8GB RAM, 256GB SATA SSD.
- I will use ARC Loader’s bootloader AuxXxilium.
If you install Proxmox, refer to this article to create the correct Virtual Machine Configuration:
You can watch the Video instructions on how to install XPEnolog DSM 7.2 on the Proxmox virtual machine below. I did the instructions on a Proxmox virtual machine, but you can apply the same to install on a physical server.
1. Download ARC Loader and create USB Bootloader
Visit here to find the latest ARC Loader download: https://github.com/AuxXxilium/arc/releases/. The current version is 07.24.25
Download files arc-24.07.25.img.zip Go to your computer and unzip.
Plug the USB Flash Drive (minimum capacity 4GB and USB 3.0 is recommended) into the computer, then use Rufus to create Bootloader from file arc.img.
2. Configure Bootloader
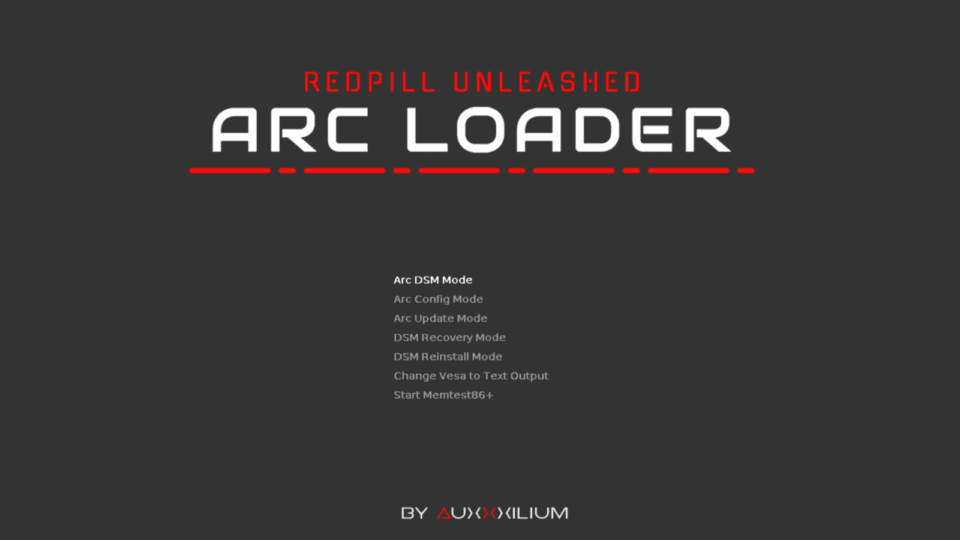
Plug the USB Bootloader into the server where Xpenology needs to be installed. Boot and select boot from USB. Wait a few minutes and you will see the screen appear as below:
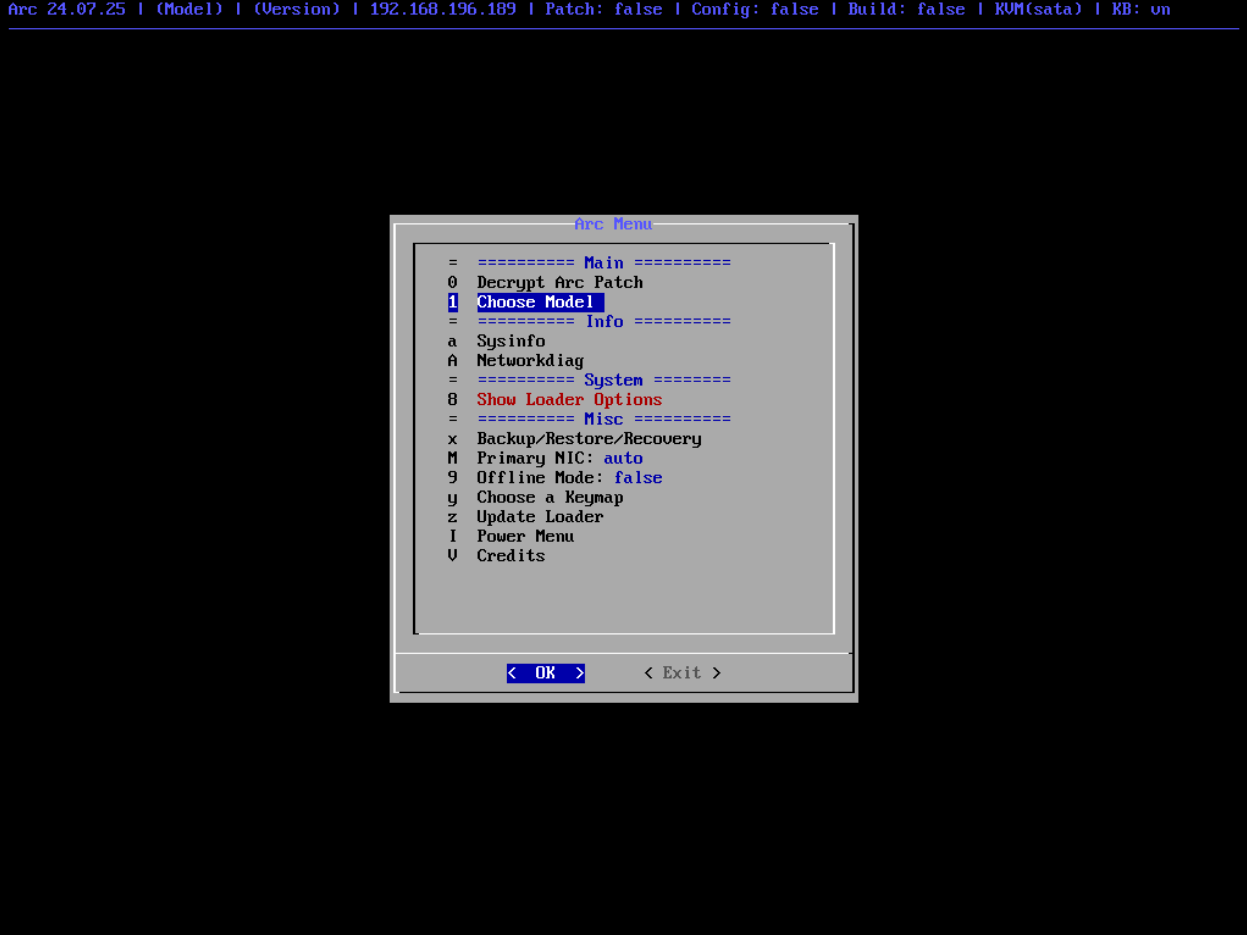
You can configure directly on the server or use a web browser on another computer and access the address. http://:7681. I use the browser access method to make it easier to take screenshots and write articles.
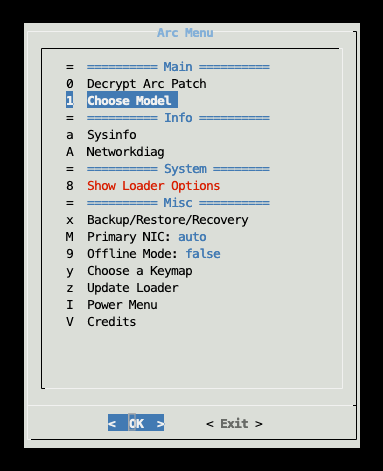
Since version 24.xx.xx, the ARC Patch feature has been locked, requiring the use of Decryption Key to unlock to activate. ARC Patch is a feature only available on ARC Loader, helping to add 3 additional features QuickConnect, Push Notification and Advanced Media Extentions to XPEnology.
If you are not interested in these additional features, you can skip the Decrypt Arc Patch section, and start configuring the Boot Loader immediately.
Choose model: I chose DS920+
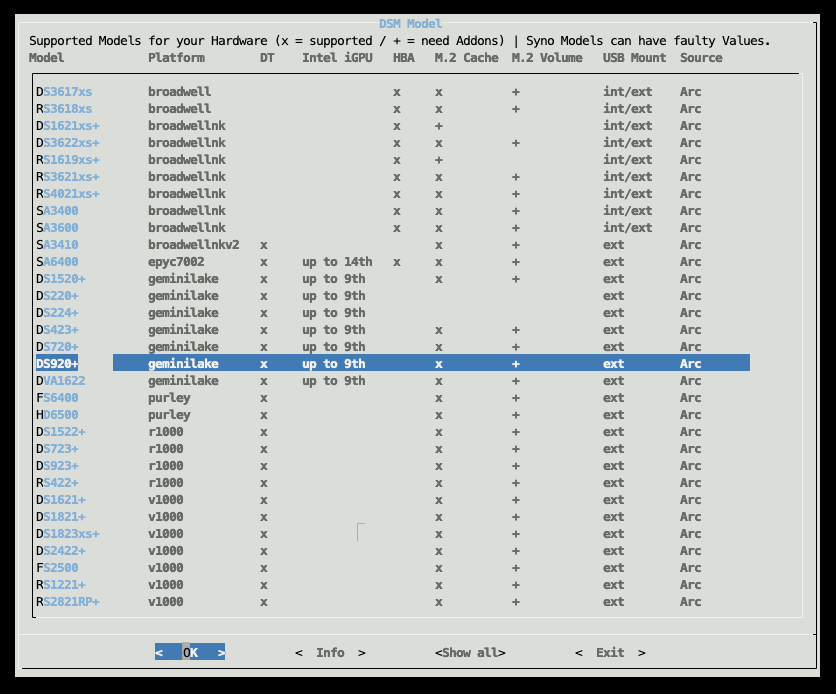
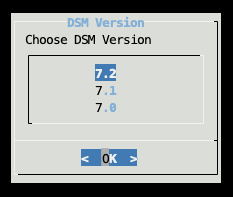
Select Version 7.2
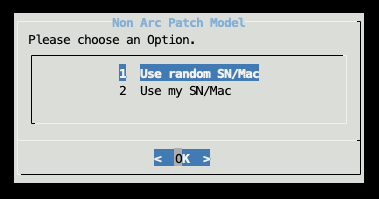
Select Use random SN/Mac
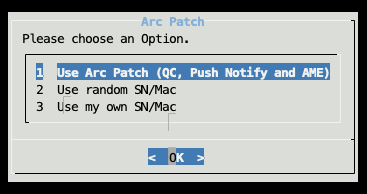
If you have unlocked ARC Patch, in this step select Use Arc Patch (QC, Push Notify and AME)
In the next step of selecting DSM Addons, some addons are already selected by default. Select additional surveillancepatchn if you want to use 58 camera licenses for Surveillance Station.
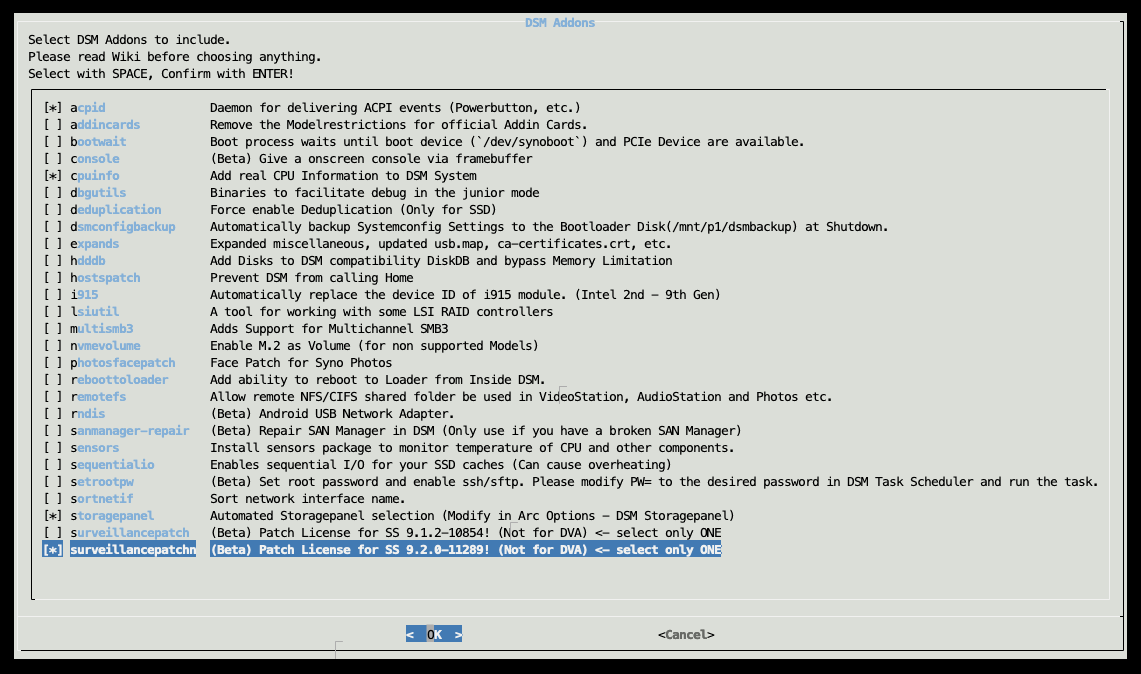
Confirm the addons will be installed
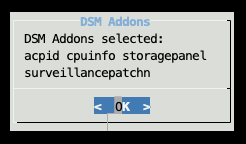
If you see a message like the one below, click OK to skip

Select Yes – Build Arc Loader now
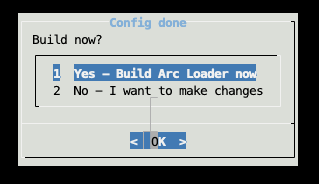
Click OK to confirm
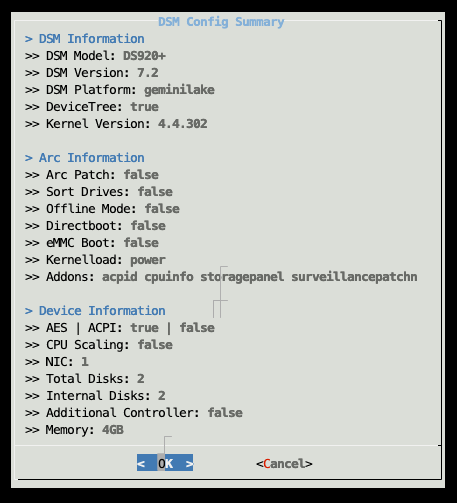
After the Bootloader is created, select Yes – Boot Arc Loader now
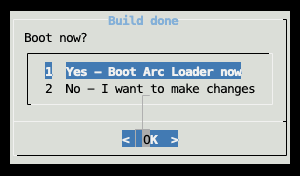
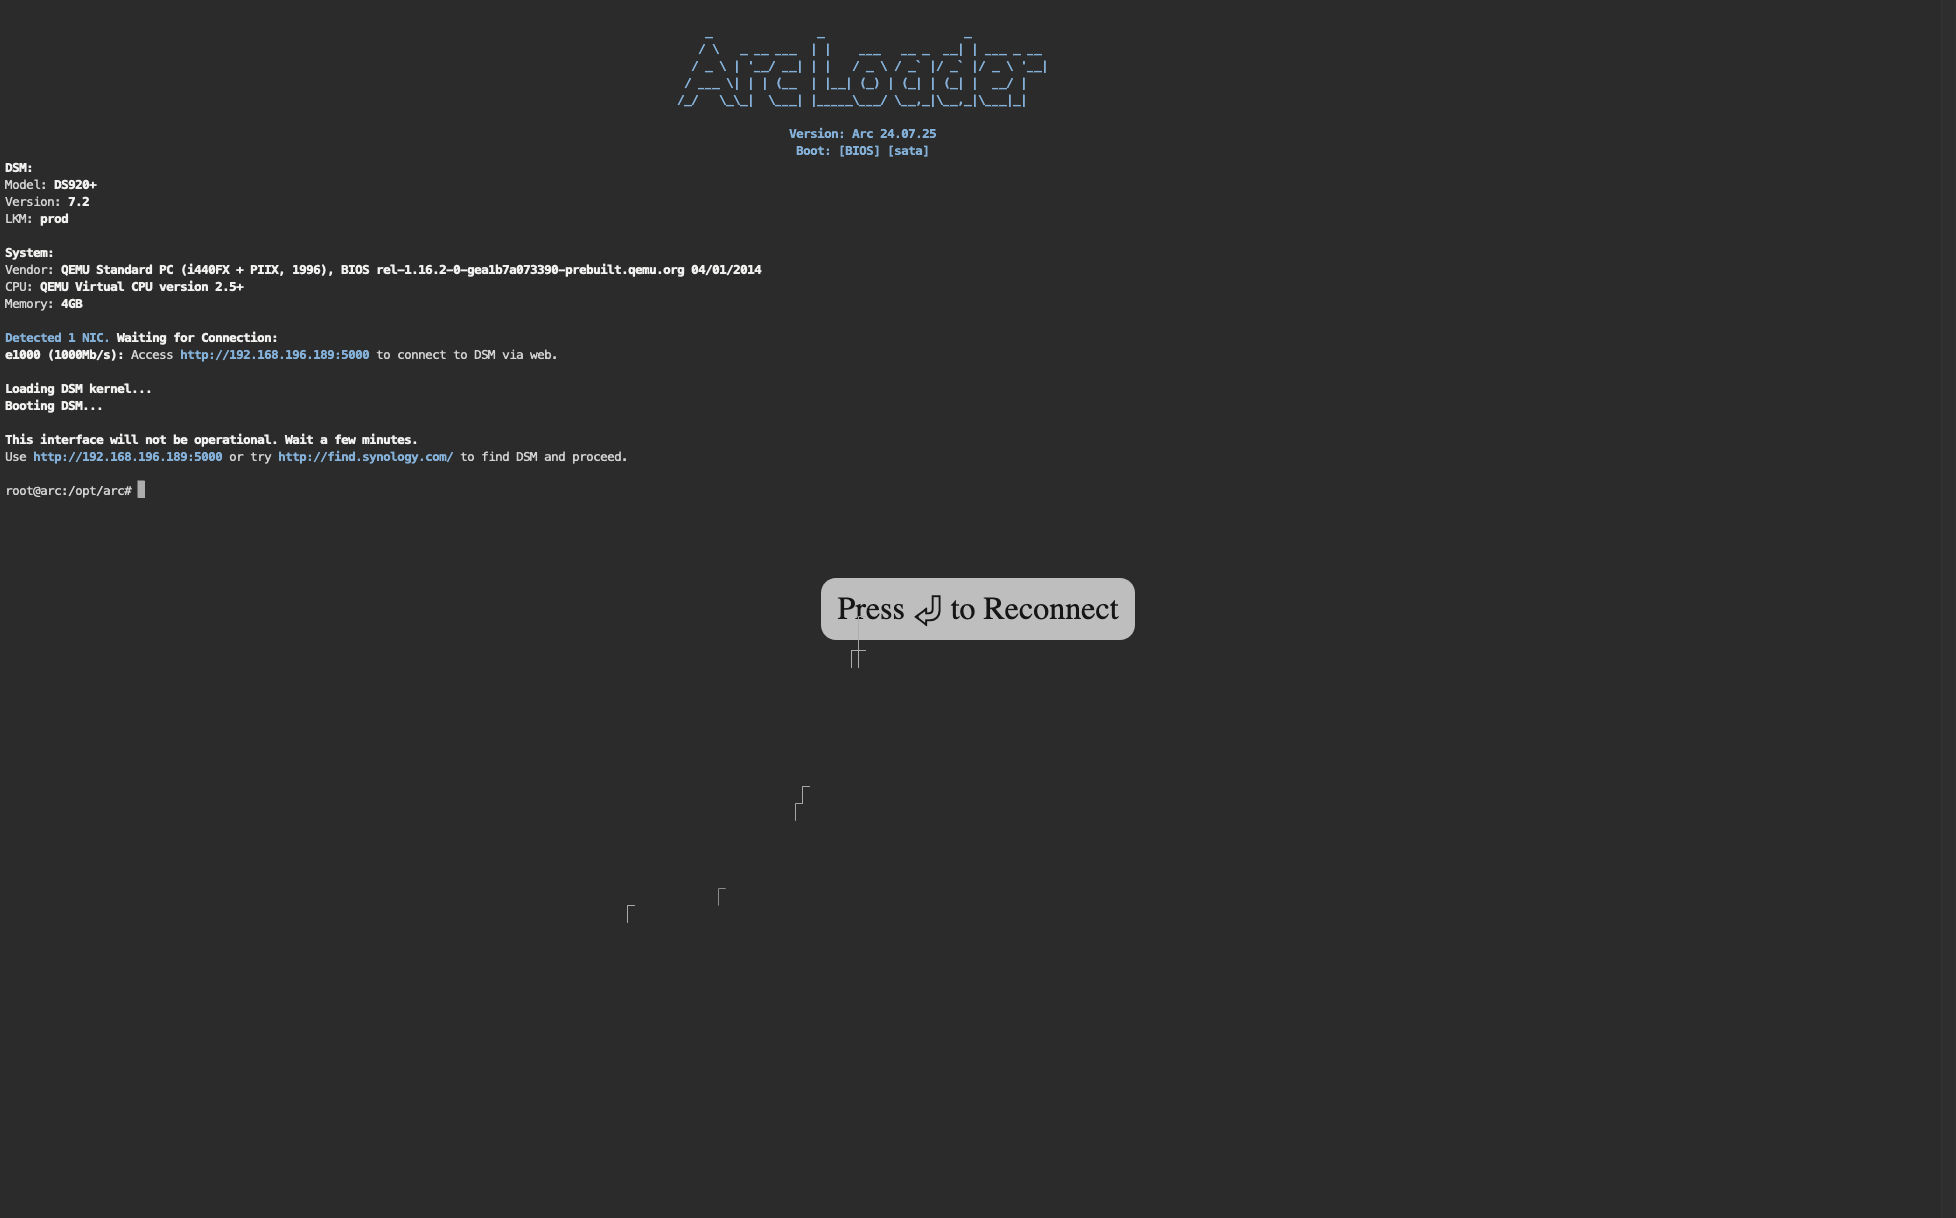
Wait a few minutes for the server to restart, then access the address http://:5000 to start installing DSM 7.2
3. Install DSM 7.2
The steps to install DSM 7.2 are exactly the same as DSM 7.1, so I won’t present them again. Everyone can refer back to this article
After 15 minutes of operation, Xpenology DS920+ was successfully installed.
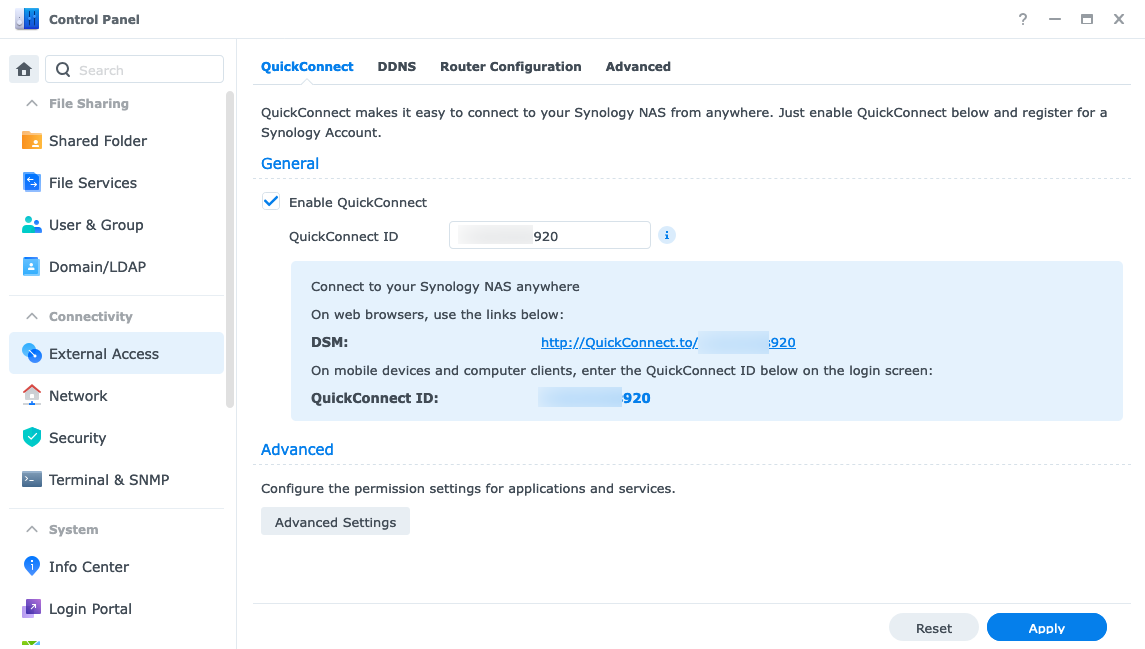
When using ARC Patch, I can connect this Fake Synology to my Synology account, and can also use the QuickConnect ID feature. Everyone can try it out!
Wishing you a successful installation!
Comment Policy: We truly value your comments and appreciate the time you take to share your thoughts and feedback with us.

Note: Comments that are identified as spam or purely promotional will be removed.

To enhance your commenting experience, consider creating a Gravatar account. By adding an avatar and using the same e-mail here, your comments will feature a unique and recognizable avatar, making it easier for other members to identify you.

Please use a valid e-mail address so you can receive notifications when your comments receive replies.
